Simply Heat Embossing
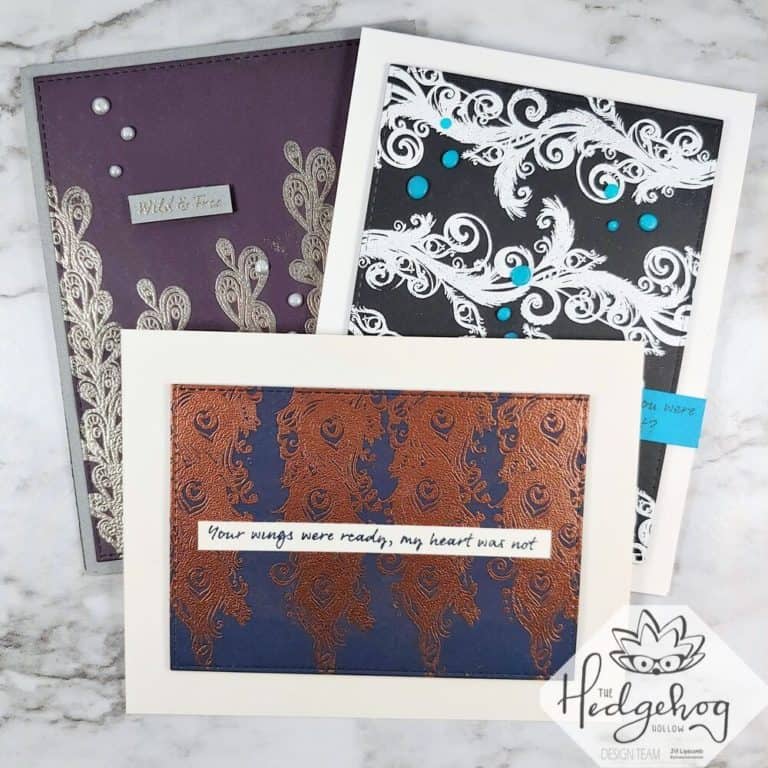
Hello! Let’s jump in and do some heat embossing in a few different ways. Today we’ll look at using different colors of embossing powder on a single layer card, emboss resist, and using embossing powder to create a unique die cut.
Watch this video to see each card come to life.
This post contains affiliate links for your convenience. This means if you make a purchase after clicking a link, I will get a small commission with no additional cost to you as the consumer. I participate in the Amazon Services LLC Associates Program, an affiliate advertising program designed to provide a means for sites to earn advertising fees by advertising and linking to Amazon.com. For full disclosure policy click here.
Supplies Used
Altenew Halftone Circles Stamp Set
Altenew Striped Florals Stamp Set
Altenew Sentiment Strips
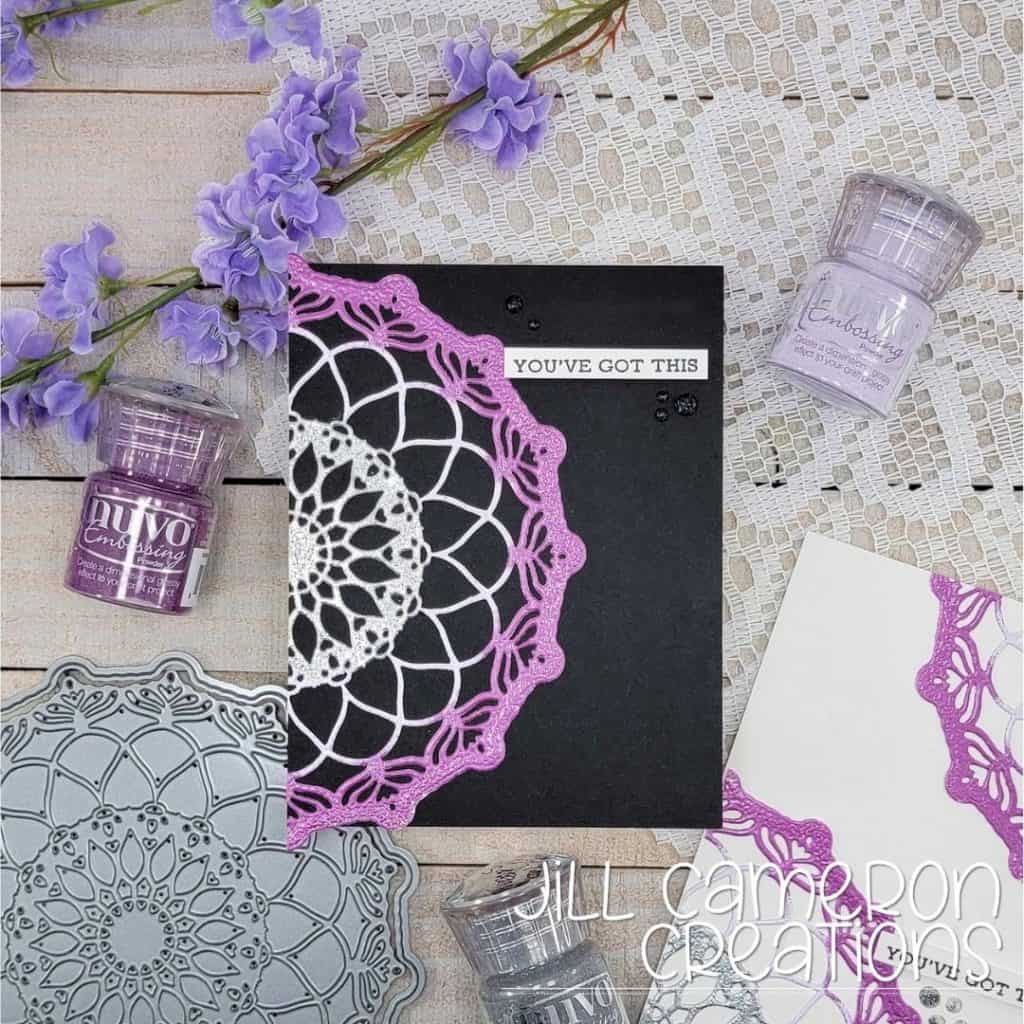
Altenew Mandala Die
Altenew Ink – Lava Rock, Desert Night, Dusk, Ocean Waves, Sea Glass
Altenew Small Ink Blender
Altenew Pure White Embossing Powder
Distress Embossing Glaze – Vintage Photo, Walnut Stain, Hickory Smoke
Nuvo Embossing Powder – Crushed Mulberry, Silver Moonlight, Soft Lilac
Nuvo Drops – Gloss Simply White, White Blizzard, Midnight Sky
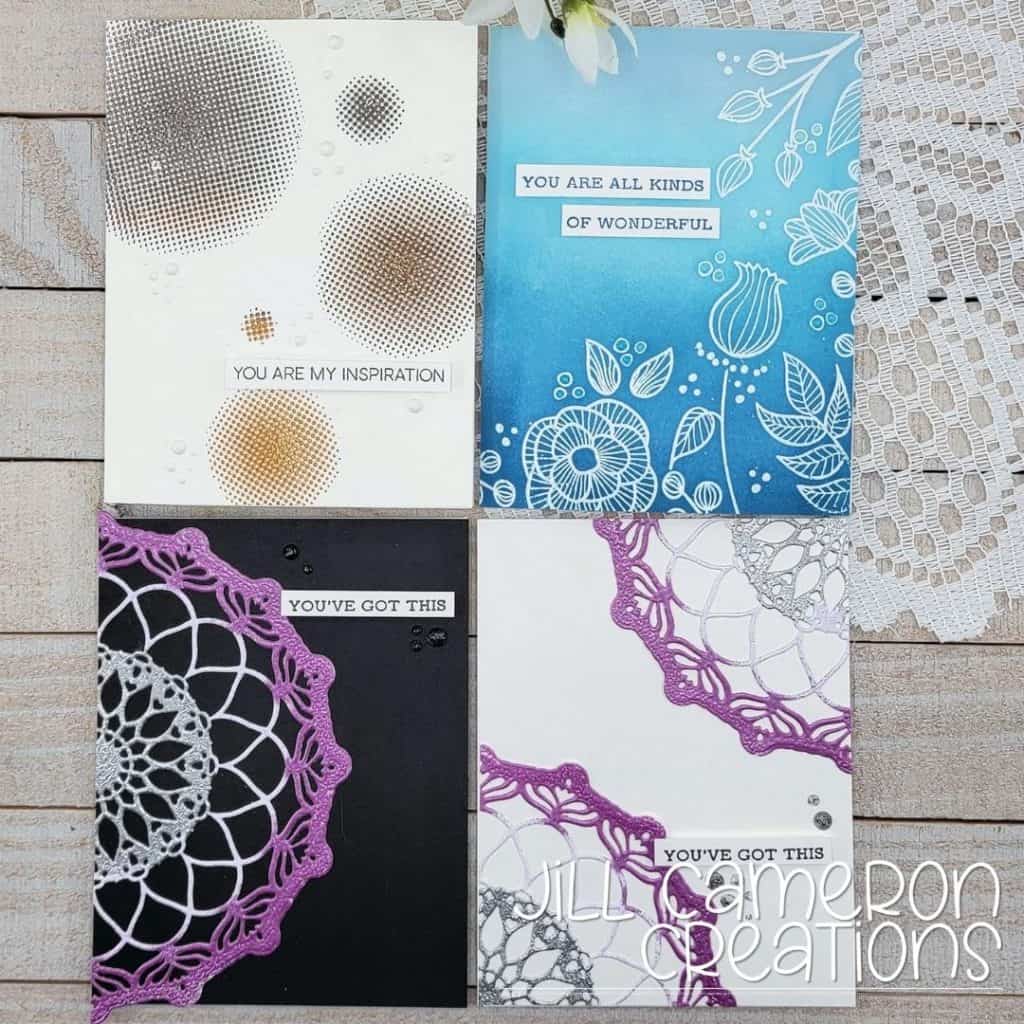
I picked up a few ideas from the Altenew class Impressive Heat Embossing.
Emboss resist has always been one of my most favorite techniques but one thing I forget to do is wipe off my embossing after I ink blend over it. This was a great reminder to get super bright white embossing.
I had never done multiple embossing powders on a single panel before because I wasn’t sure exactly how to do it. And it’s actually really simple! It’s all in how you dump off the embossing powder. Watch the video to see how I shook off the different colors on the large die cut.
Then heat embossing a die cut is one way to create different looks so easily. I used multiple colors on it too.
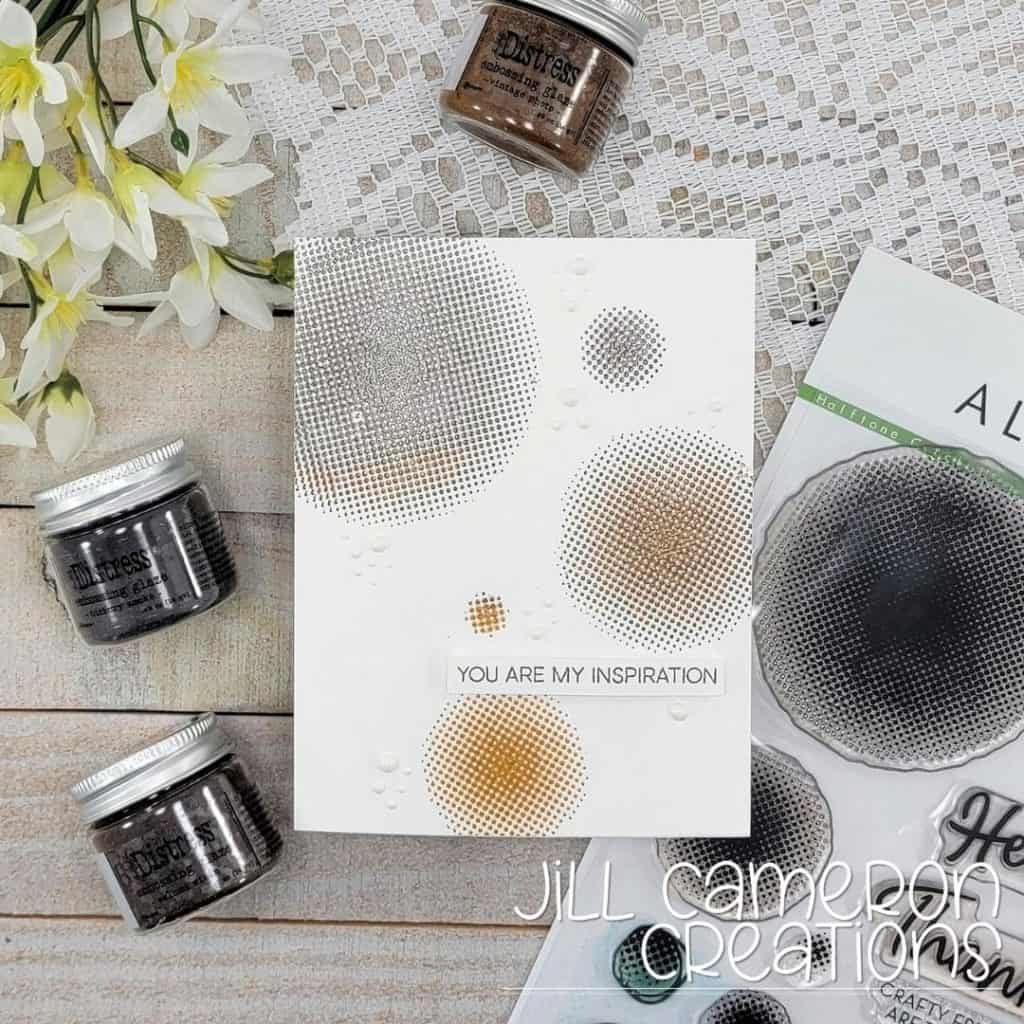
This first card is a masculine card and so so simple. I stamped all of the circles at once on white cardstock in Versamark ink. Then I poured Distress Glaze Embossing Powder in three different colors over it. I started at one end of the panel and worked my way up (or down) the panel. To finish off this card, I popped up a little sentiment and added some Nuvo Drops in Glossy White.
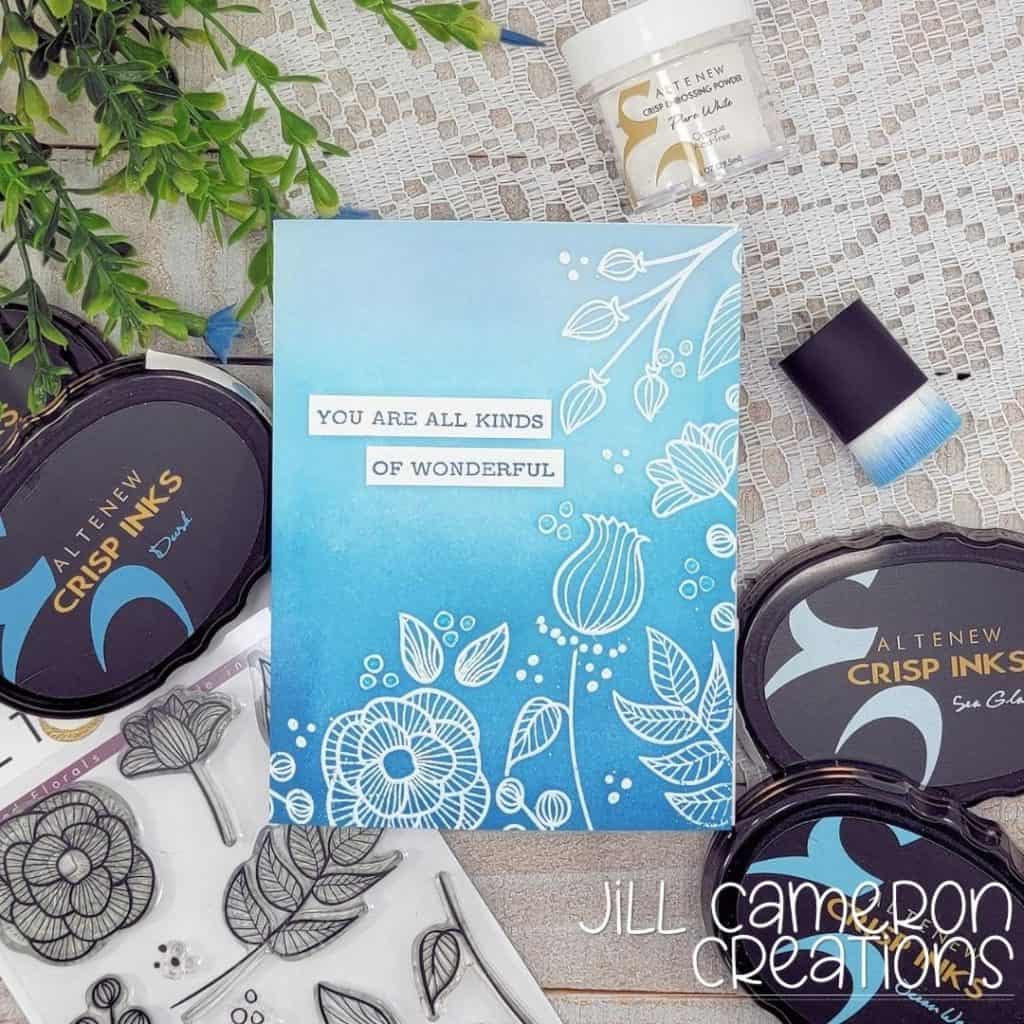
For this card, I placed all of the large stamps around the bottom and right side. I stamped them all at once using my MISTI. Then I went back with some of the smaller stamps and filled in different areas using a stamping block. I white heat embossed everything and then ink blended the panel from light to dark down the panel. I popped up a sentiment and added a few clear Nuvo Drops.
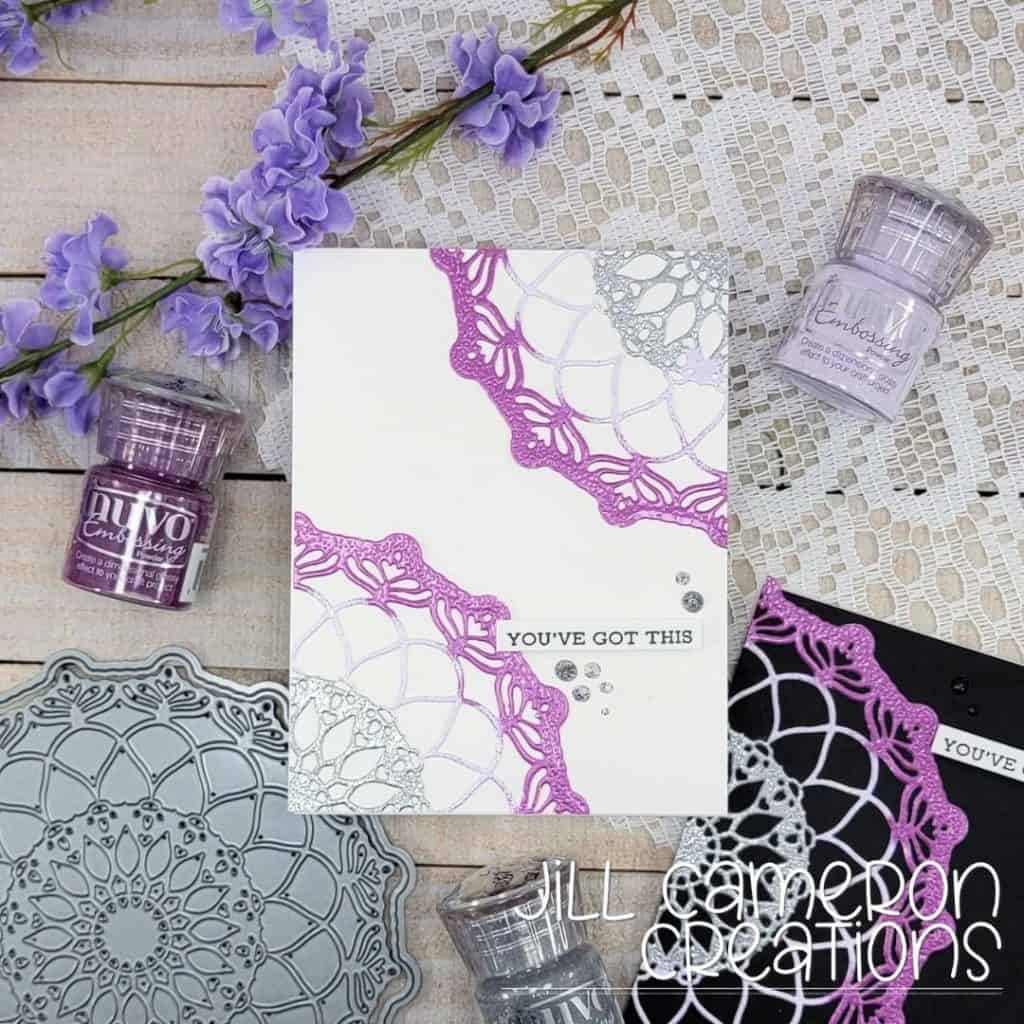
These last two cards were a two for one. Die cut the mandala out of white cardstock then used three different colors of embossing powders to give it texture and sparkly shine. I glued down half of it to black cardstock with a popped up sentiment and a few sparkly drops. Then I cut the other half of the die in half again and glued it down on white cardstock.
I hope you enjoyed each of these simple heat embossed cards.

The cards look beautiful! Thank you for your wonderful submission to the AECP assignment gallery.