Hello! Today we’re going to make a quick die-cut inlay card using a stamp and die set from Pinkfresh Studio. Die-cut inlay is an easy way to create a beautiful card and it doesn’t take long at all.
All of the products used in this card are linked at the bottom of this article.
Quick Die-Cut Inlay Encouragement Card
The Pinkfresh stamp set Take Pride is perfect for this technique. The main image has a perfect coordinating die. It’s a large image with beautiful details.
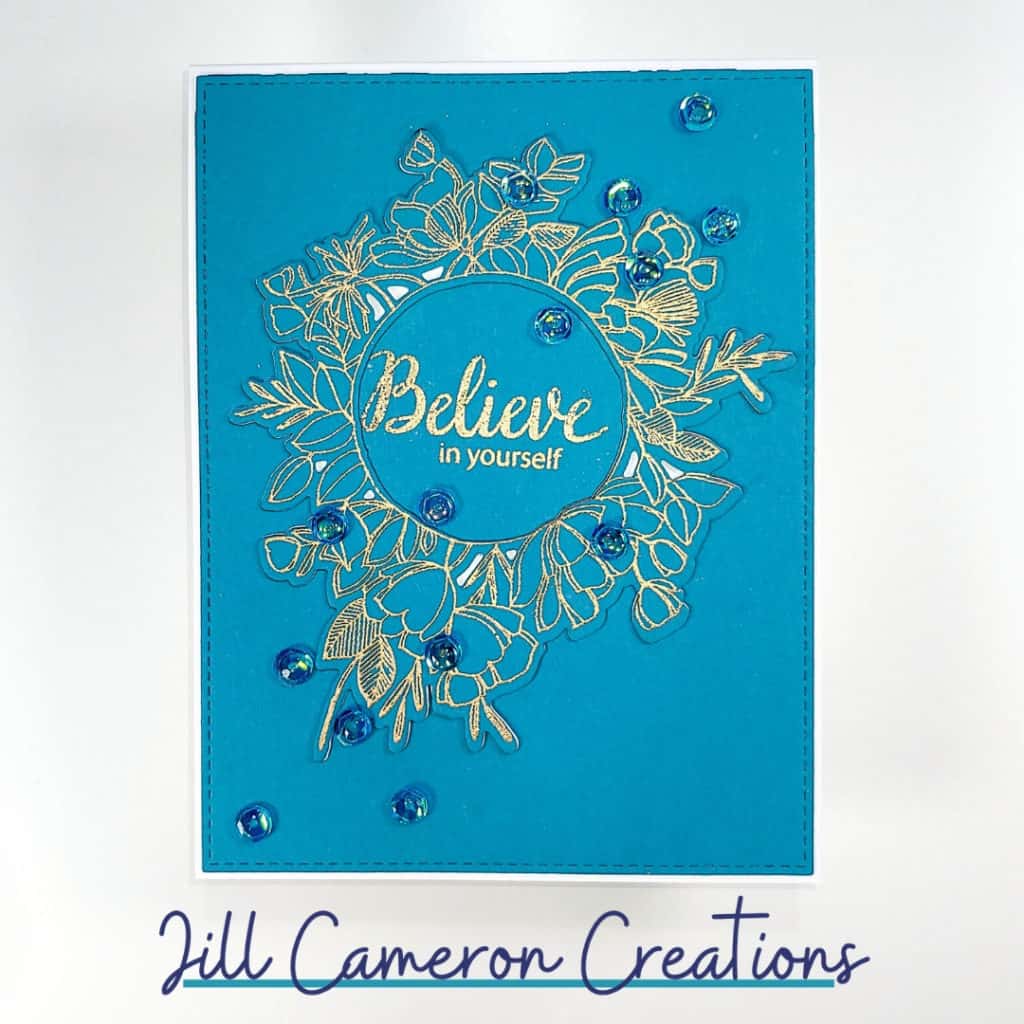
The only big decision I had to make while creating this card was which colors to use. I just love the look of the gold embossing powder with the bright teal cardstock. The colors really compliment each other.
To create the die-cut inlay, first stamp the image and emboss it. Next, die-cut the image using the coordinating die. Set the embossed and die-cut image aside.
Die-cut two additional pieces from white cardstock or from another contrasting color. Adhere the layers together using liquid adhesive.
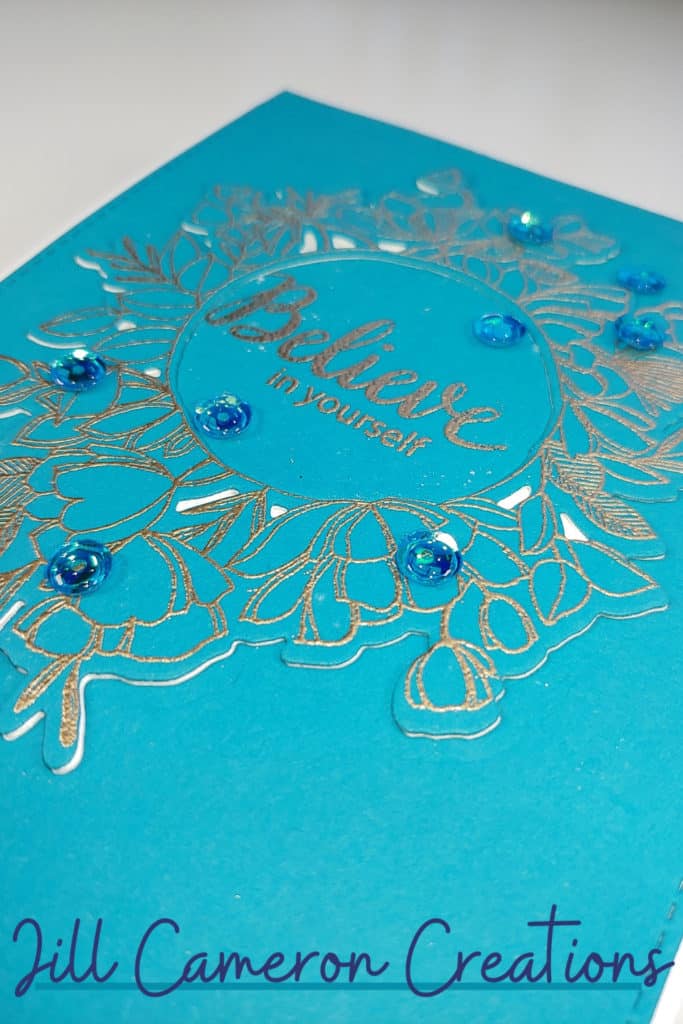
Then, glue the negative space panel on the card front. Pop the die-cut inlay piece. Finally, add what ever finishing touches you want to add. I used sequins with Glossy Accents in the center of each.
I hope you’ve enjoyed this quick die-cut inlay card. We’ll see you tomorrow!
This post contains affiliate links for your convenience. This means if you make a purchase after clicking a link, I will get a small commission with no additional cost to you as the consumer. I participate in the Amazon Services LLC Associates Program, an affiliate advertising program designed to provide a means for sites to earn advertising fees by advertising and linking to Amazon.com. For full disclosure policy click here.

