Happy Friendship Day One Layer Card
The other week I watched a video by Yana Smakula where she completed a one layer card using a floral stamp. It was amazing!! A dark, solid color background and a bright floral stamp. How beautiful! When I think of one layer cards, I think of building a scene like Sandy Allnock or Kelly Latevola. These ladies knock it out of the park with every single card! But Yana brought to my attention (now I hope to bring to yours), one layer doesn’t have to mean building a scene! Wow! That simple revelation was so freeing. Let’s jump in and see what’s up with this simple one layer card.
Affiliate Disclosure Policy
This post contains affiliate links for your convenience. This means if you make a purchase after clicking a link, I will get a small commission with no additional cost to you as the consumer. Jill Cameron Creations/Jill Lipscomb participates in the Amazon Services LLC Associates Program, an affiliate advertising program designed to provide a means for sites to earn advertising fees by advertising and linking to Amazon.com. For full disclosure policy click here.
Happy Friendship Day One Layer Card
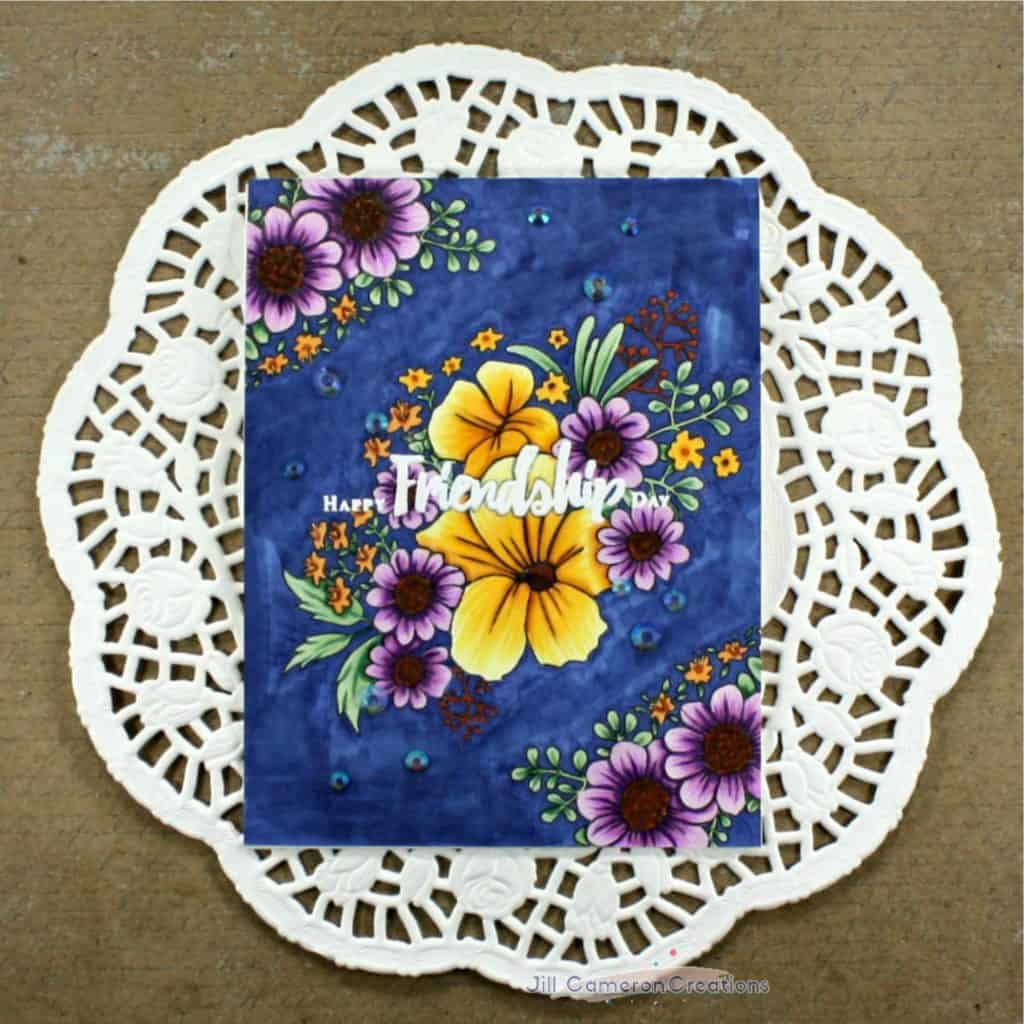
I don’t have the exact stamp set that Yana used in her one layer card but I do have lots of floral stamp images and digital stamp images. Man oh man would this technique be AMAZING with a digital stamp image from Power Poppy?!?! Gah! Next project right there yall!! Sorry, I hoped on a rabbit trail there. The main requirement for the image: it needs to be large enough to stand on the front of a card all alone. Now, I picked the Dearest Friend stamp set by Altenew, which was fine but it was a tad small. To solve that issue, I stamped the main image slightly off center then used the smaller floral image in the stamp set to accent the corners of the card.
Copic Coloring
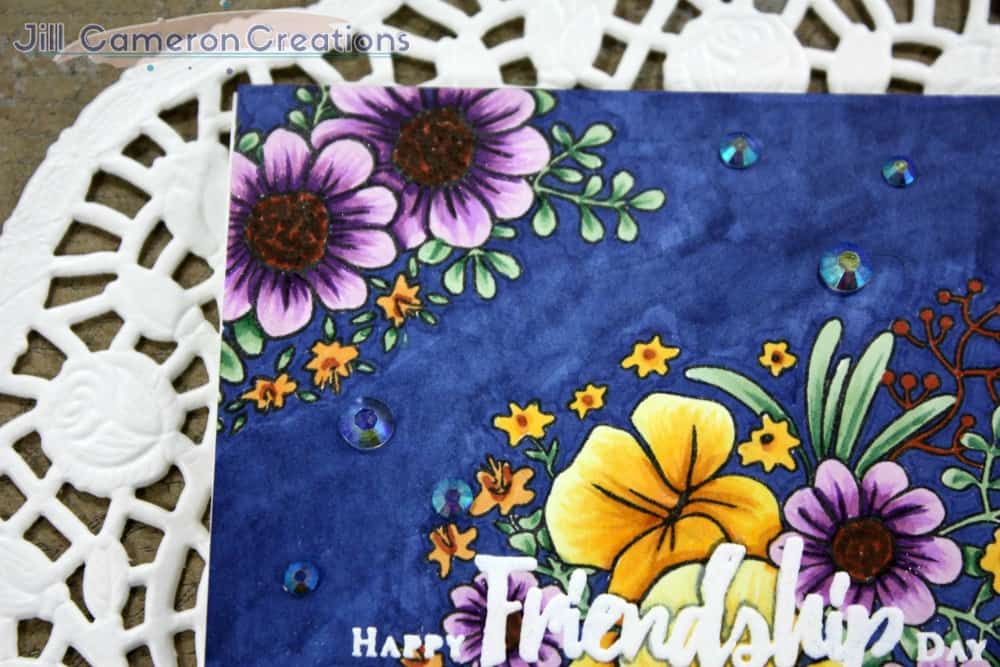
First, I colored the background using a B39 marker. Don’t worry about streaks or darker spots. Just put the color down in the background. We can solve the streaking issue later.
Next, I colored the greenery using G21, G24, and G28.
Then, I moved onto the small round flowers in purple. I used V01, V04, V06, and V09.
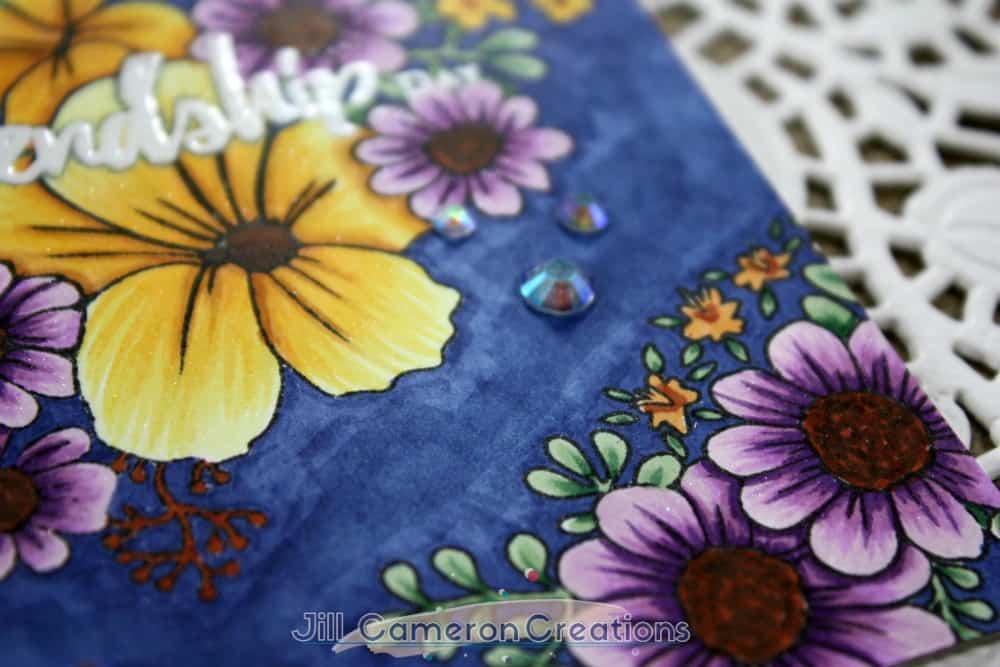
The larger yellow flowers are colored using Y11, Y15, Y17, YR14, and YR27.
I colored the centers of each of the tiny flowers with E19 and the flowers in YR14. The centers of the larger flowers are a combination of E19, E29, and E49.
It took me about an hour and a half to color this card. Check out the video and see it in action!! (link below)
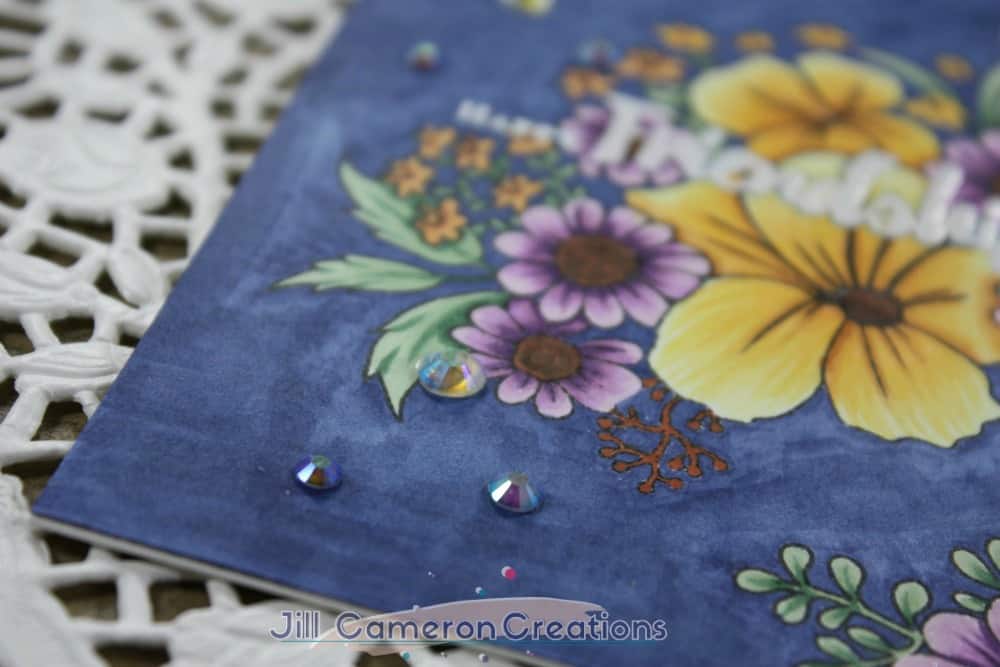
Now, I mentioned we’d take care of the streaks in the background…I didn’t show this part in the video because I didn’t notice it until I went to take pictures of the card. The streaks were very distracting to me so I grabbed my colorless blender marker and just colored the entire background part of the one layer card. Just the navy blue part, not the flowers. This resulted in the super cool cloudy looking background on the card! How simple was that??!!
Adding the sentiment
I used the same Altenew Dearest Friend stamp set for my sentiment. Before you move forward with this next step give the entire panel about 10 minutes to dry. Alcohol inks dry super quickly but there’s a lot of ink on the panel. Next, use your anti-static powder tool over the entire background…trust me it’s worth it to do the entire thing. I used my MISTI to stamp the sentiment. I stamped it once, poured embossing powder over it, and melted the embossing powder with my heat tool but the sentiment didn’t stand out enough for me. So through the power of the MISTI, I stamped it a second time. BAM! Beautiful and perfect!
Also, I added a tiny bit of shadow to some of the letters using a Copic.
Don’t be afraid to try something new! Grab your stamps and Copics and go to town! Be sure to share your cards on social media and tag me in them! I’d love to see YOUR creations one layer cards!

See more Copic Coloring:
Watercolor Hummingbirds and Copic Flowers
Print and Cut Copic Coloring + Save The Crafty YouTuber Video Hop
How-to Correct Copic Coloring Mistakes


One Comment
Comments are closed.