Fidget Spinner Birthday Card
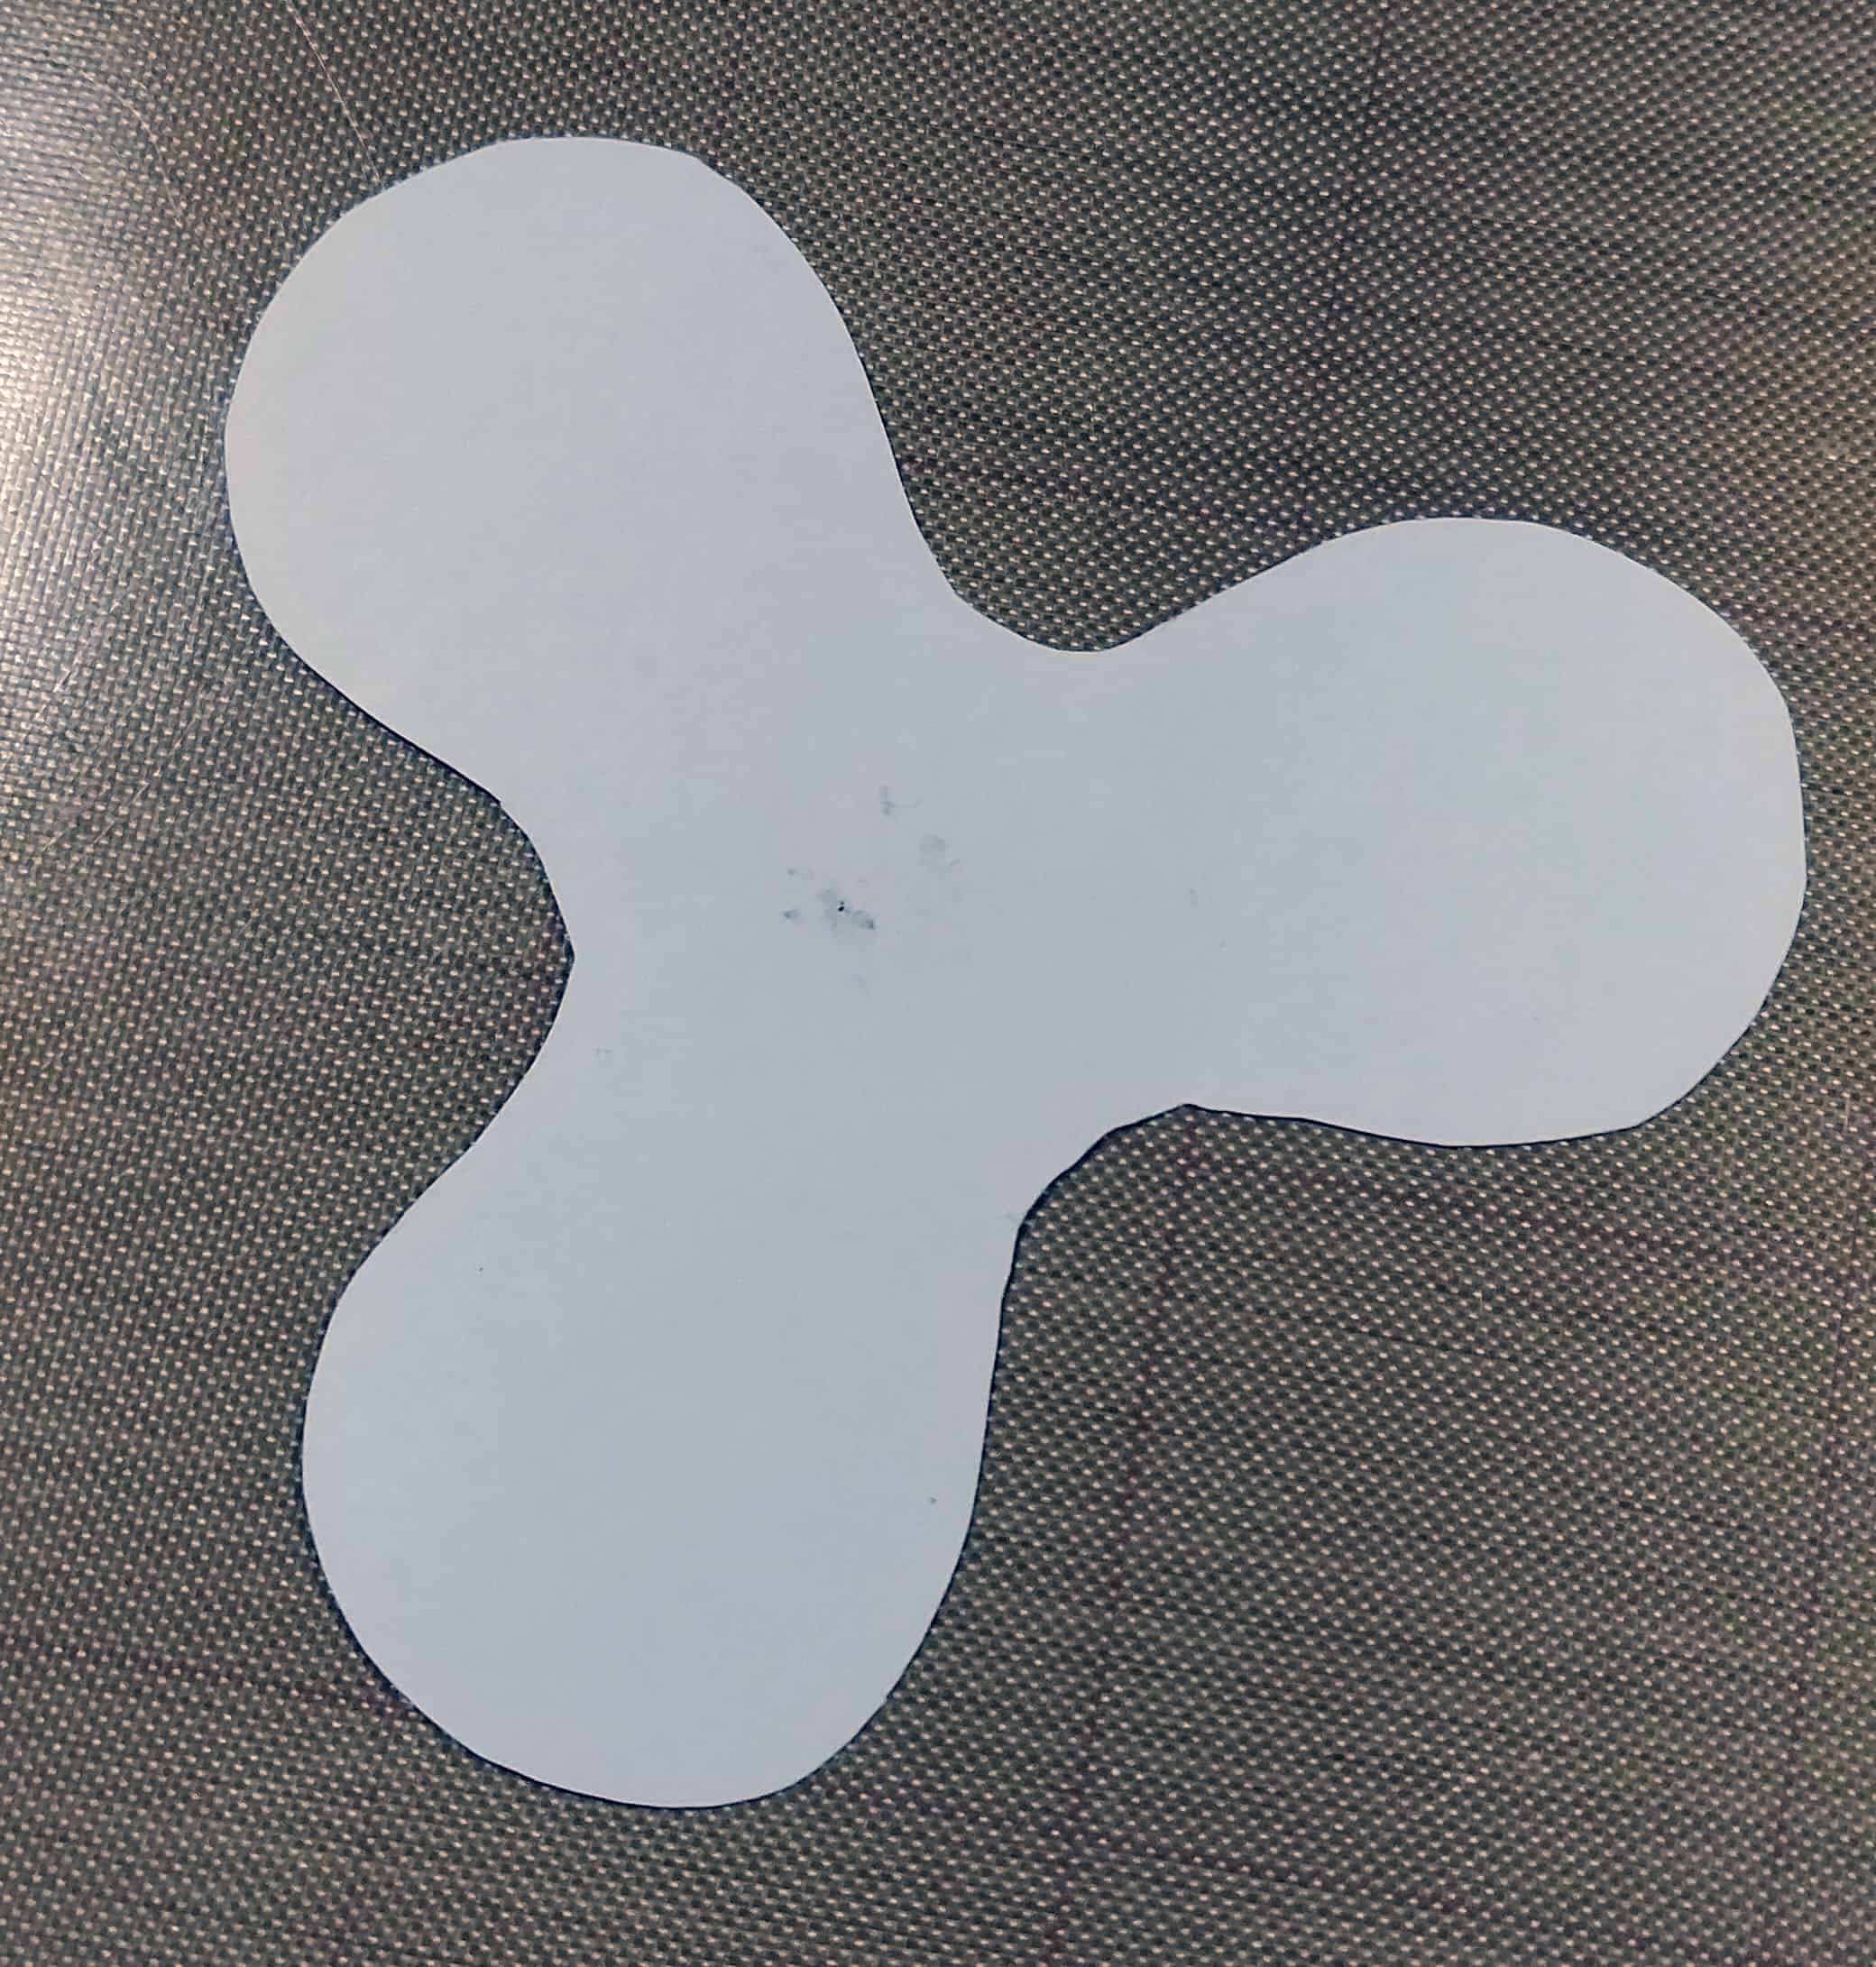
I was asked the following question: “Do you think you can make a Fidget Spinner Birthday Card?” My answer…Of course, I can! Truth be told, I had no idea how I would accomplish this but found it to be VERY simple. My biggest hurdle was that I don’t own a fidget spinner so I had to find a template for one out on the interwebs. Let’s get started.
Fidget Spinner Birthday Card
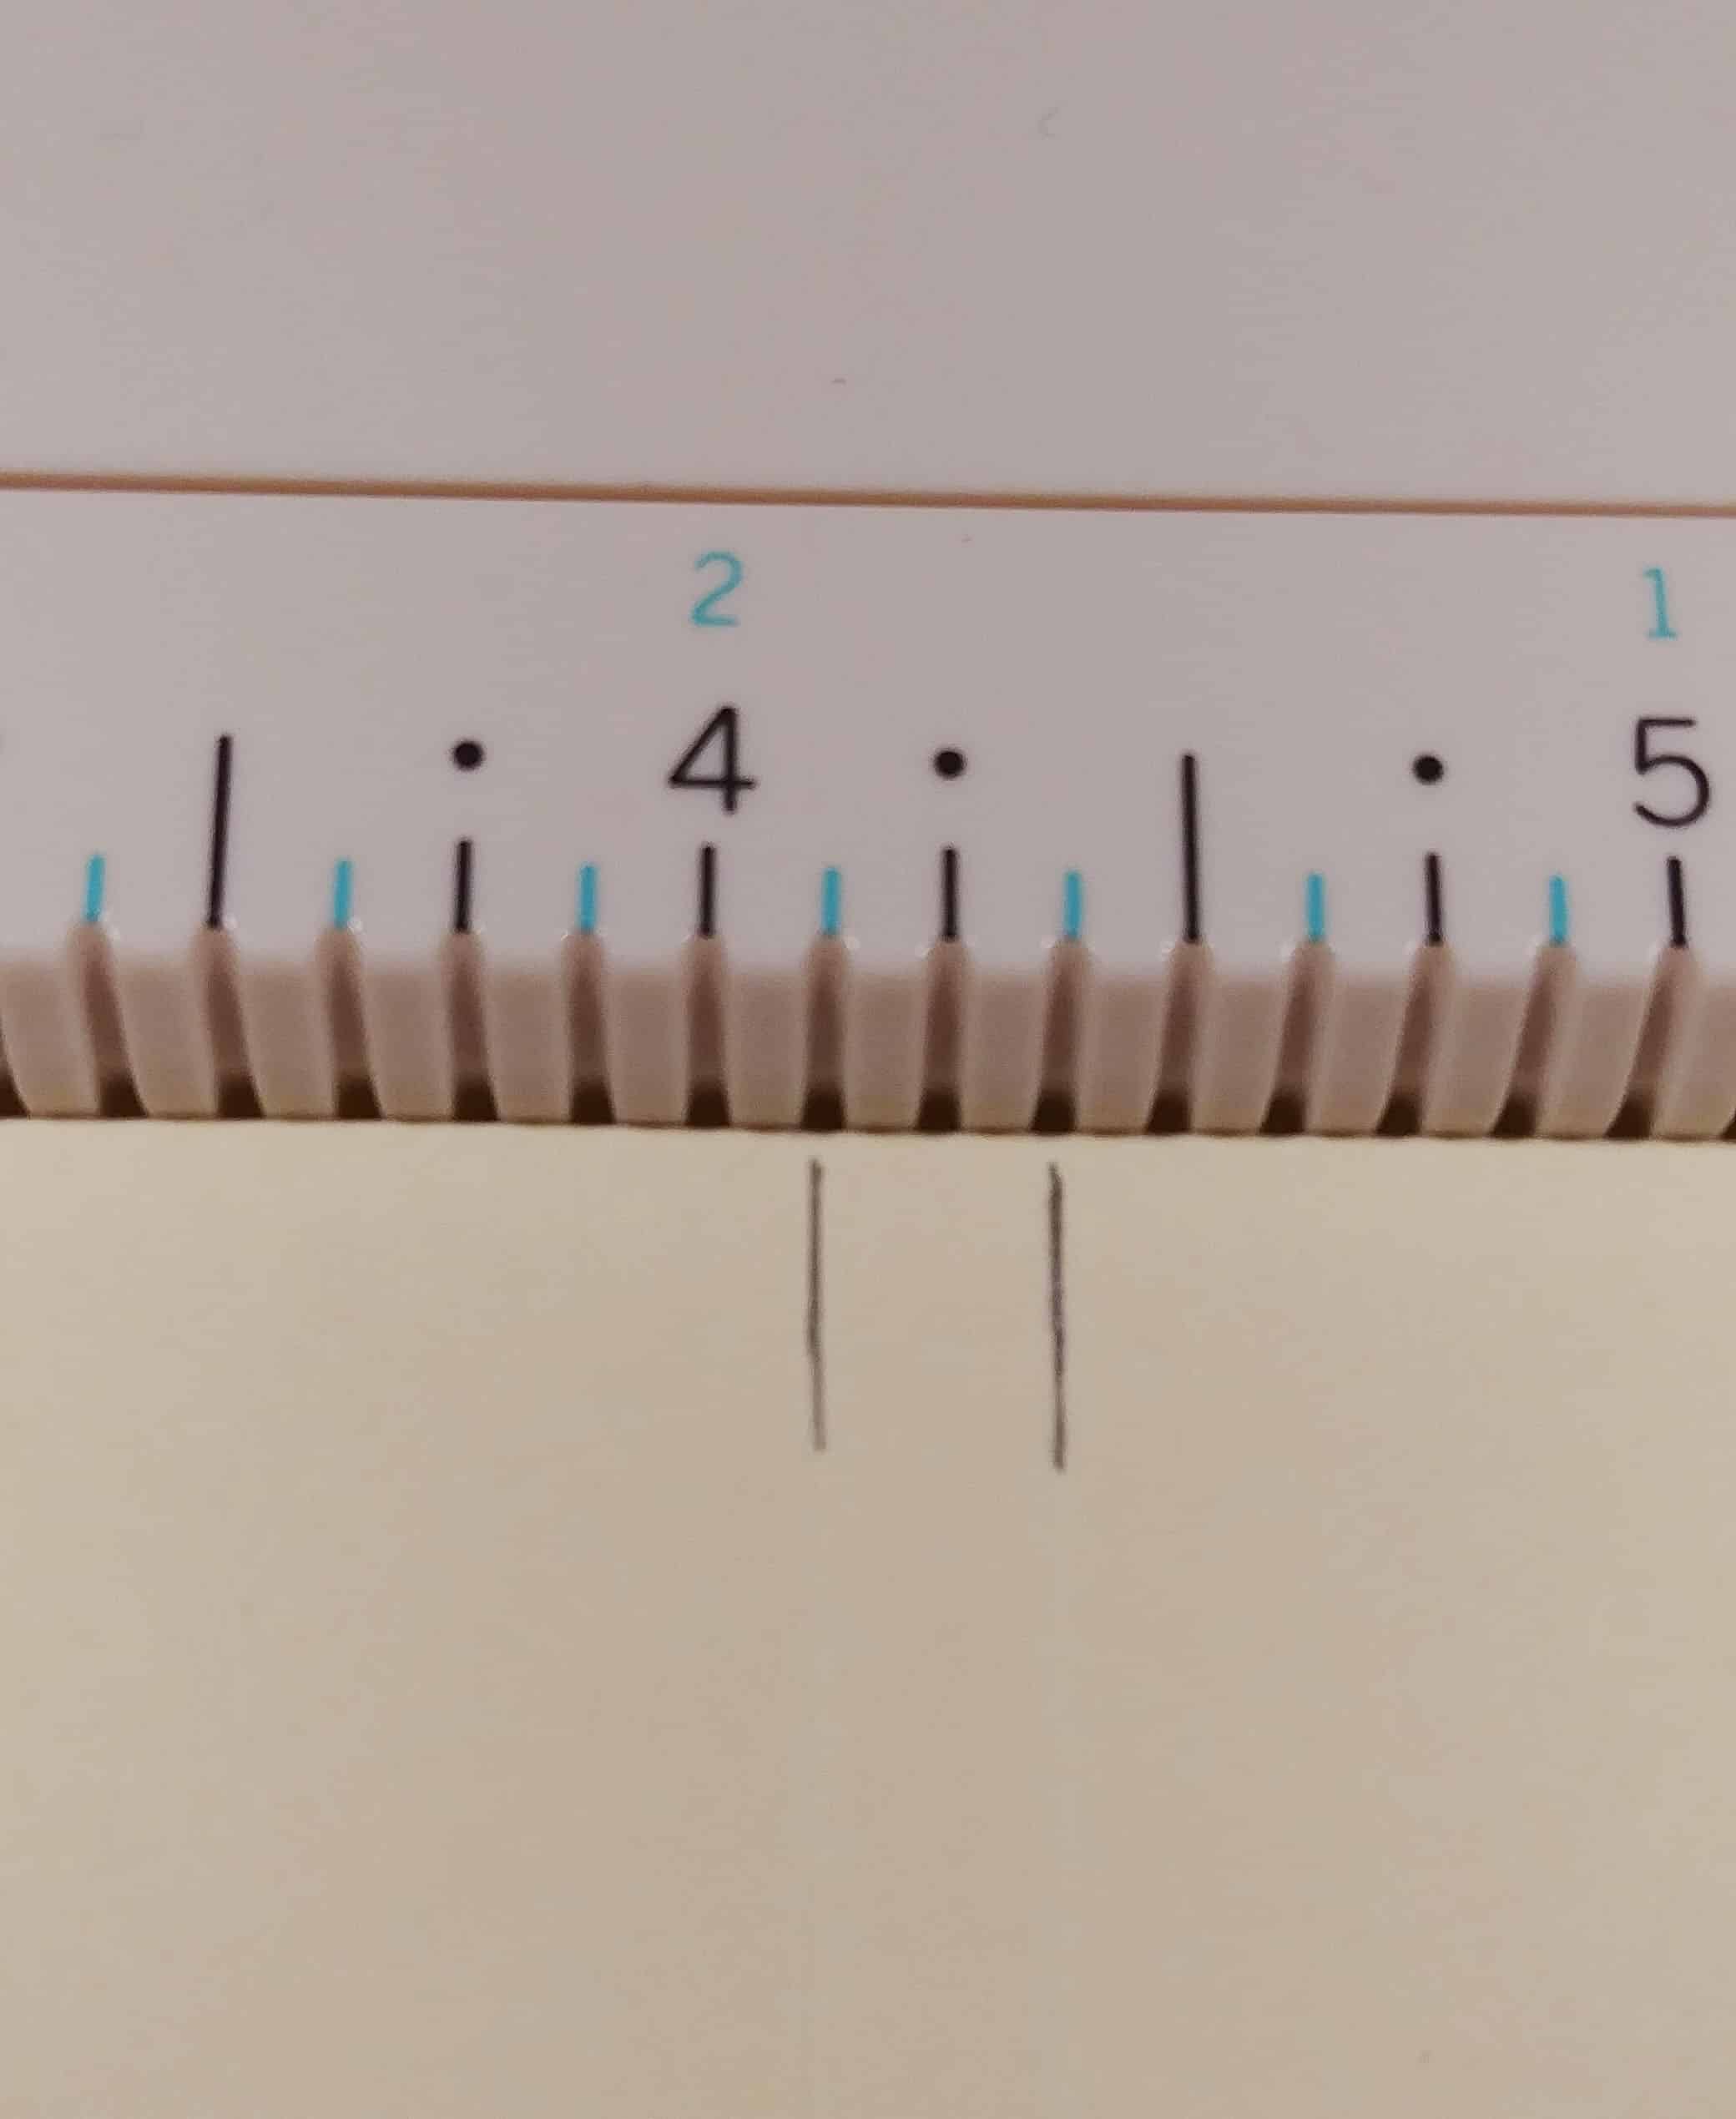
Now, how on earth was I going to put this thing INSIDE of the card? I cut down an 8-1/2 x 11″ sheet of inexpensive practice paper to 8-1/2 x 5-1/2″. Instead of scoring it once down the middle, I scored it twice; once on either side of the 4-1/4″ mark. This allowed me to create a little book for the card.
Then, I cut a panel of the same cardstock down to 4 x 5-1/2″. I used the Swing and Slide die set from Essentials by Ellen to cut a circle in the top 1/3 of the panel. To give the panel the height it needed to allow the spinner to work, I cut a piece of fun foam just slightly smaller than my panel. I lined up the fun foam piece where I wanted it and used the same circle die to cut out the channel. Keep the middle piece of fun foam from the die cut out.
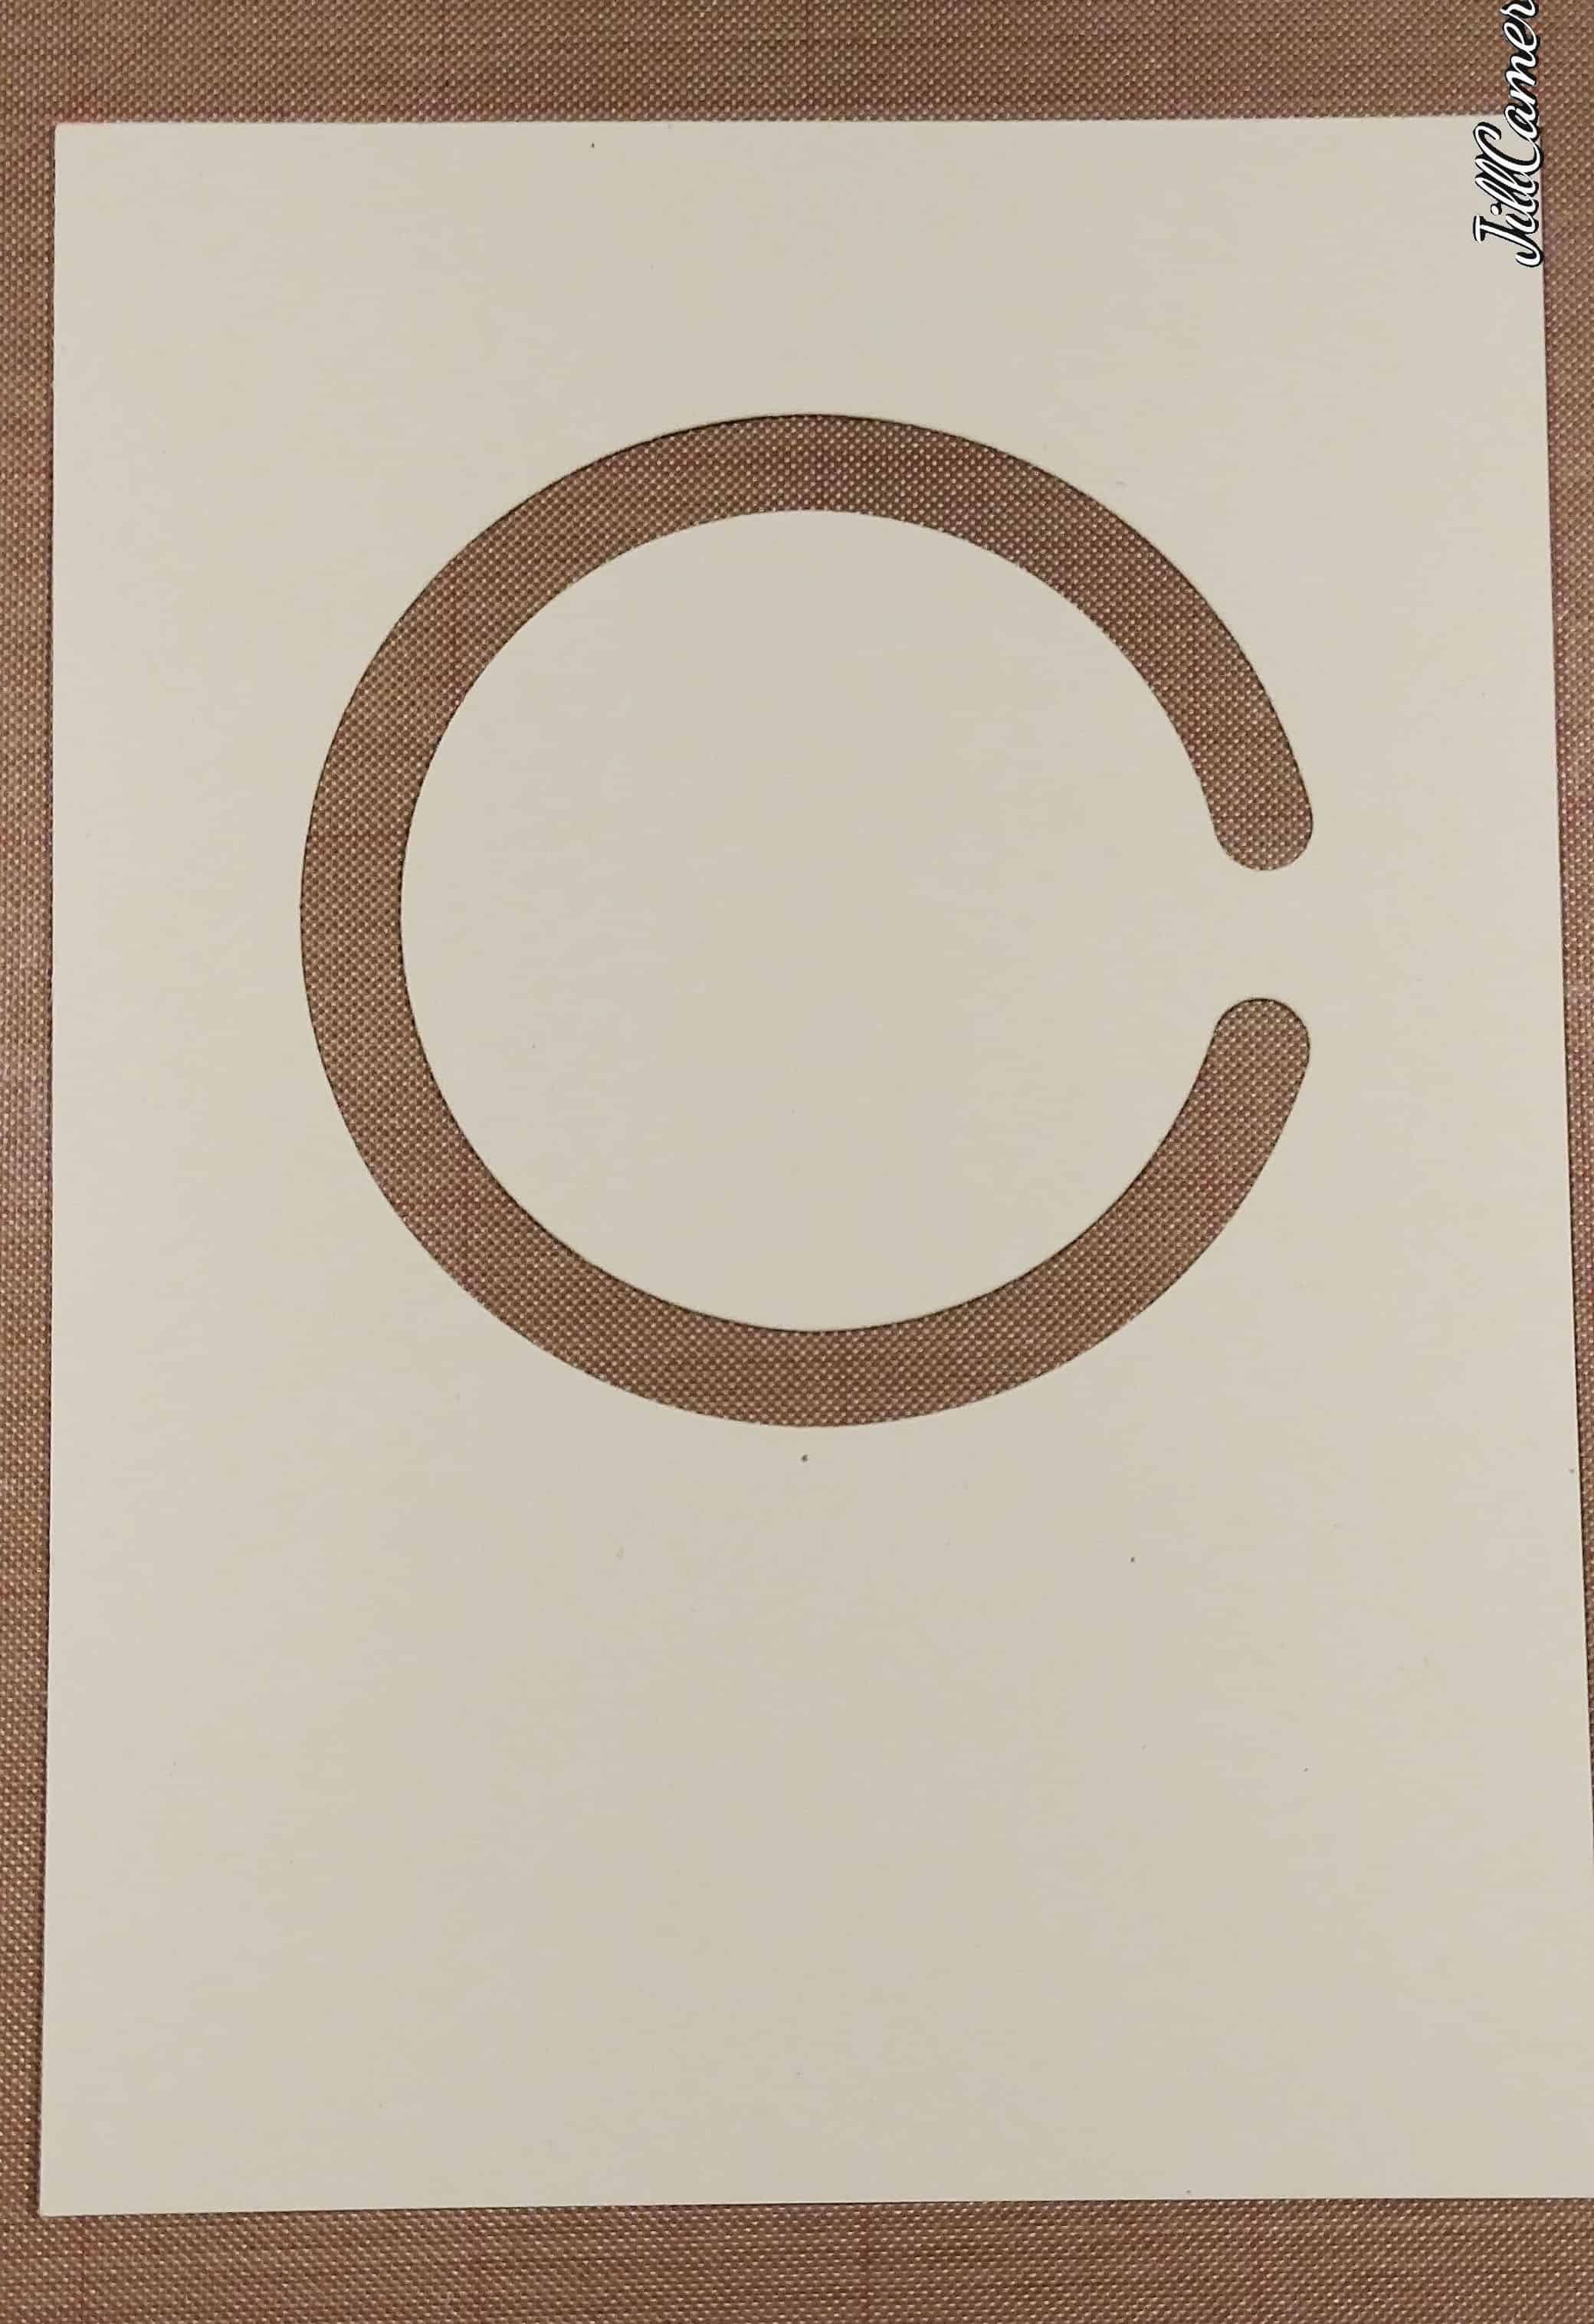
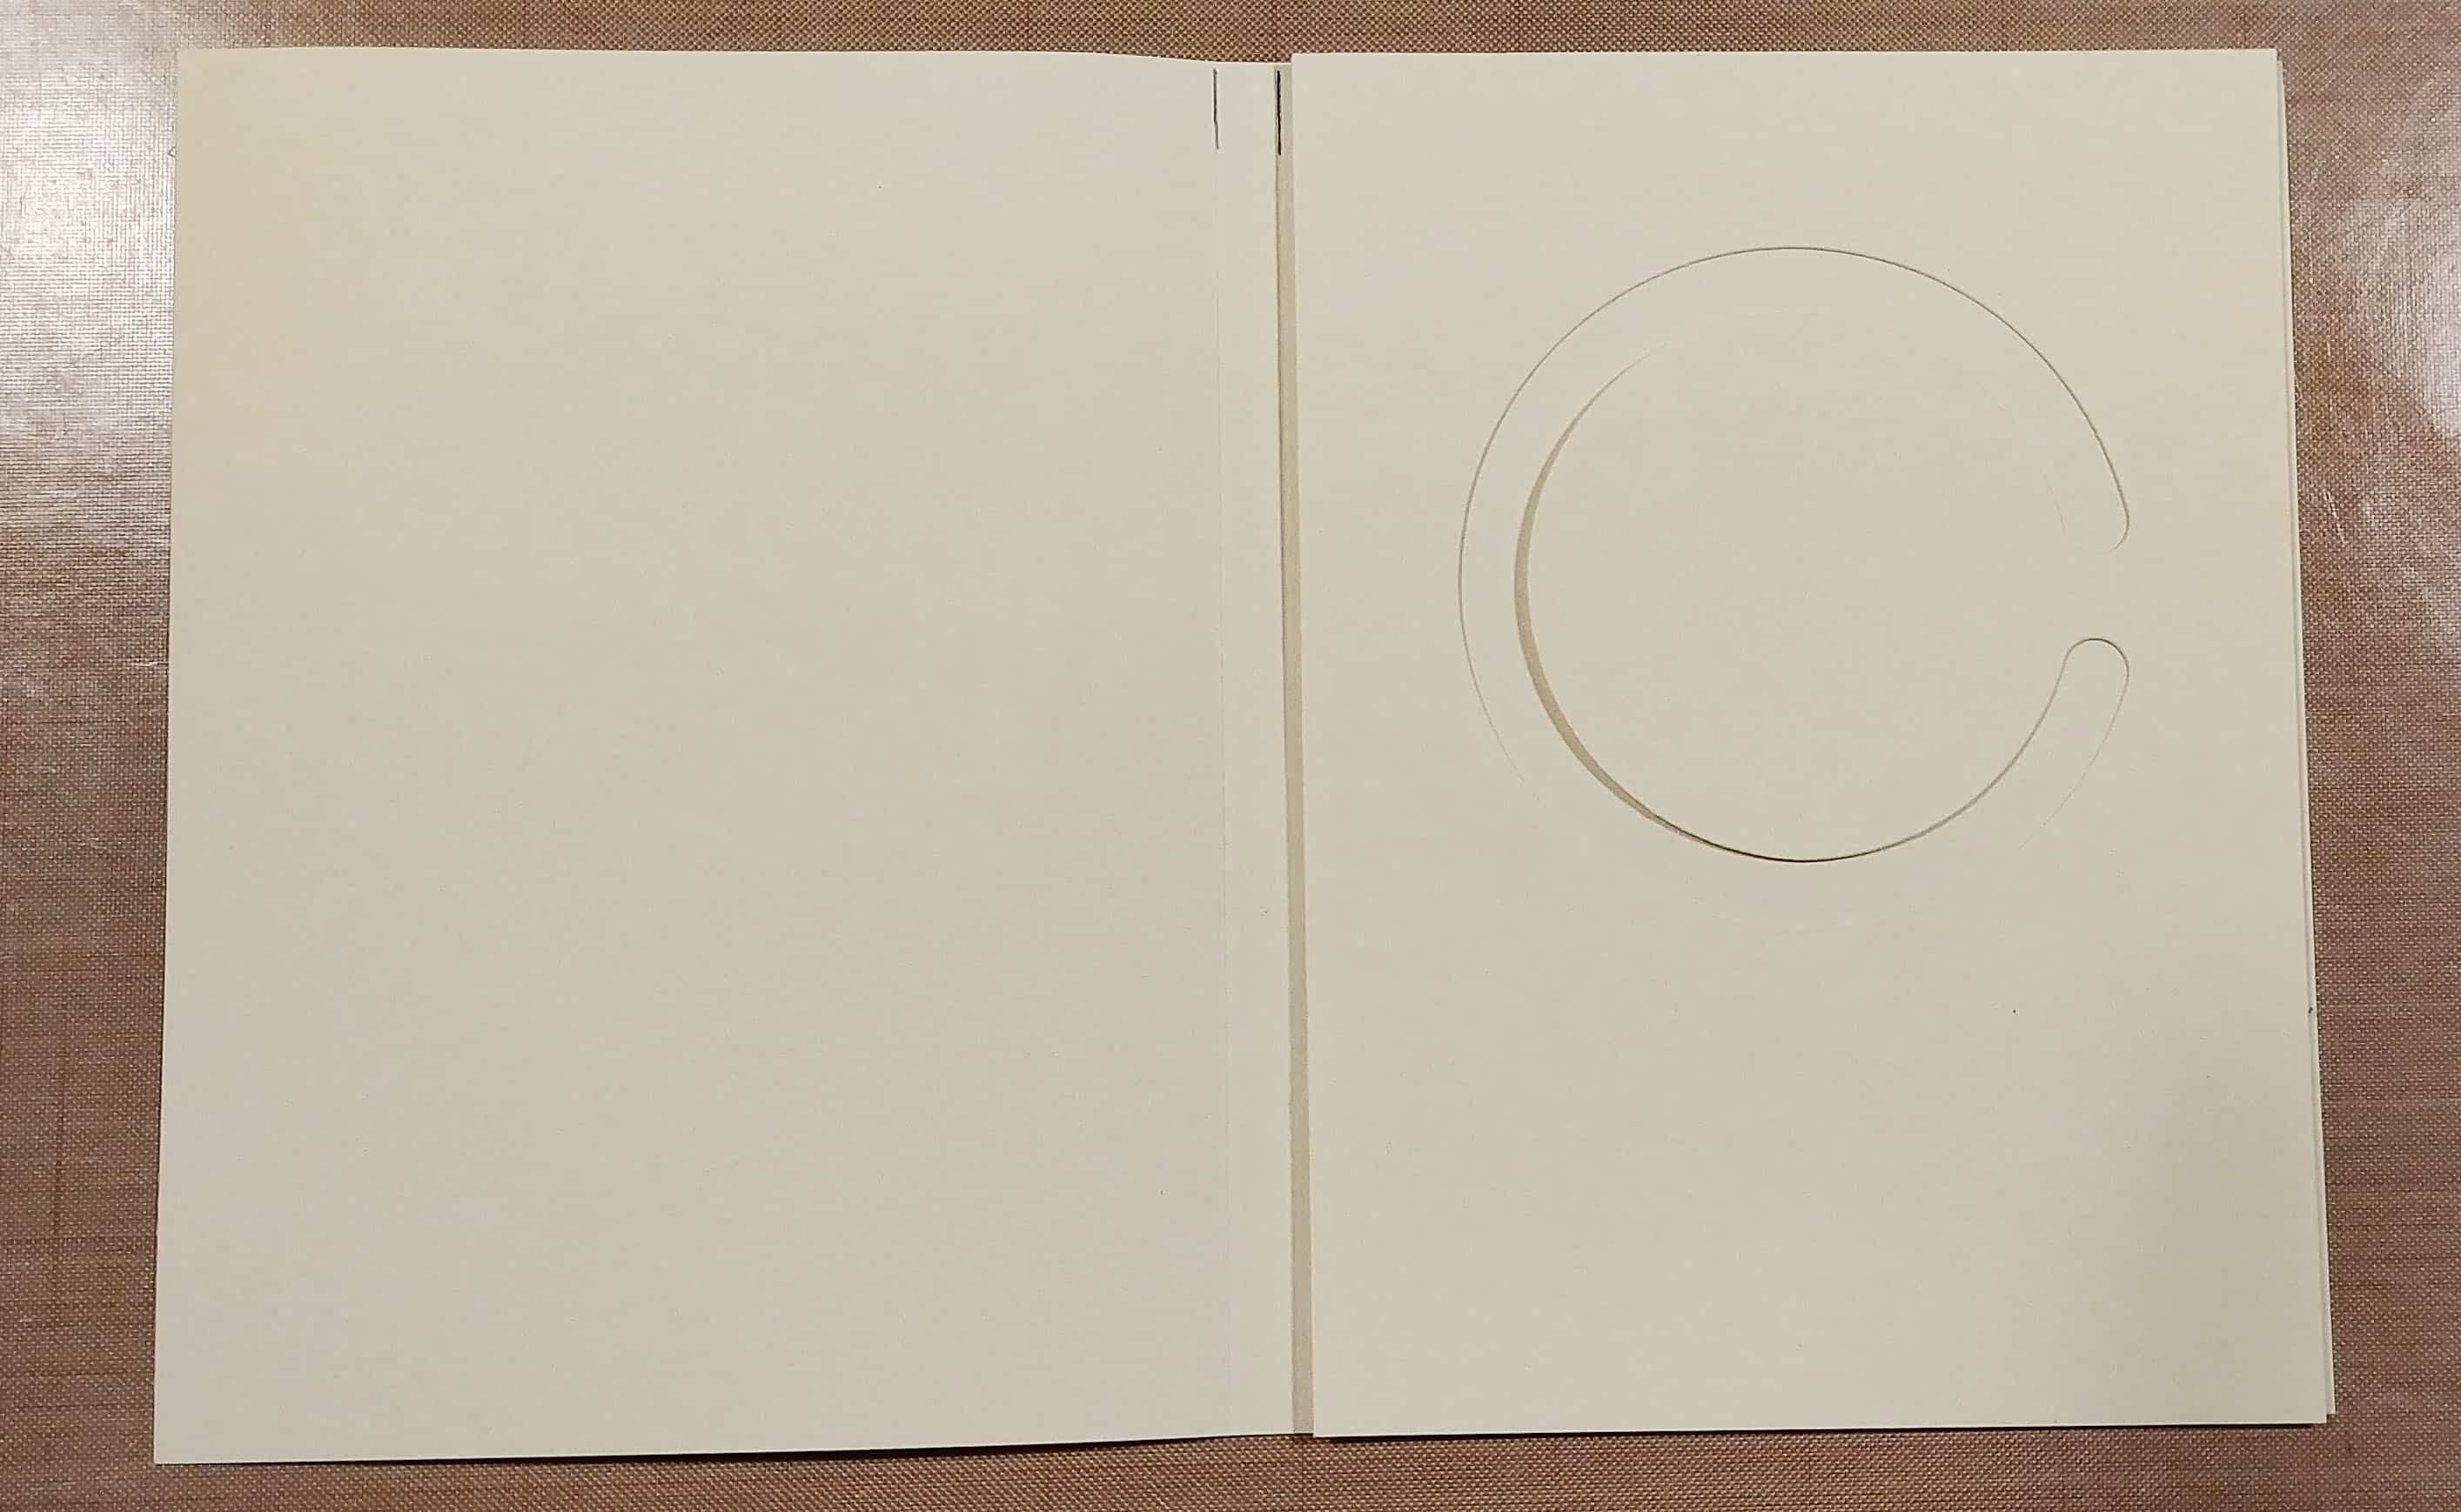
After I made sure all of this would fit together perfectly, I cut it all again out Neenah Solar White 80 lb cardstock for the inside piece and 110lb cardstock for the card base.
Create the Fidget Spinner
To create the fidget spinner, I traced the fidget spinner shape on some colored cardstock. I added some accents using a couple of circle punches and different colored papers. I added a colored brad in the middle to give it more stability for the spinning action.
Putting this card together was simple.
1. Adhere the fun foam on the back of the die cut panel.
2. Center and adhere the panel on the inside of the card.
3. Cut two circles out of Neenah Solar White cardstock using the smallest circle die of the Stampin’ Up! Circle Framelits set.
4. Cut down two pieces of foam tape small enough to fit in the circular die cut channel. These should be the same size as they will be stacked against each other.
5. Place one of the die cut small circles in the circular die cut channel. Add a TINY drop of liquid adhesive in the center of the die cut a small circle. Place the foam tape on the liquid adhesive. Add a TINY drop of liquid adhesive on the top of the foam tape. Put the other piece of foam tape on the top. Add a TINY drop of liquid adhesive. Add the second die cut a small circle on the top.
6. Add liquid adhesive to the back center of the fidget spinner and place on the circle die cut.
LET IT DRY COMPLETELY BEFORE YOU PLAY WITH IT! Or you’ll end up flicking it across the room like I did. 🙂
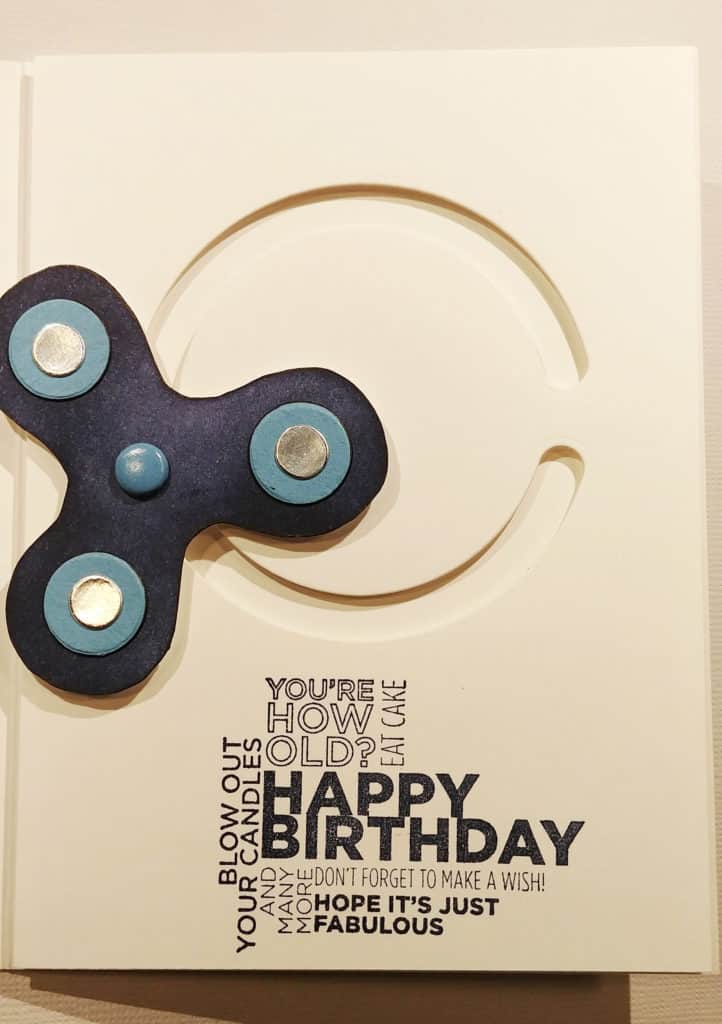
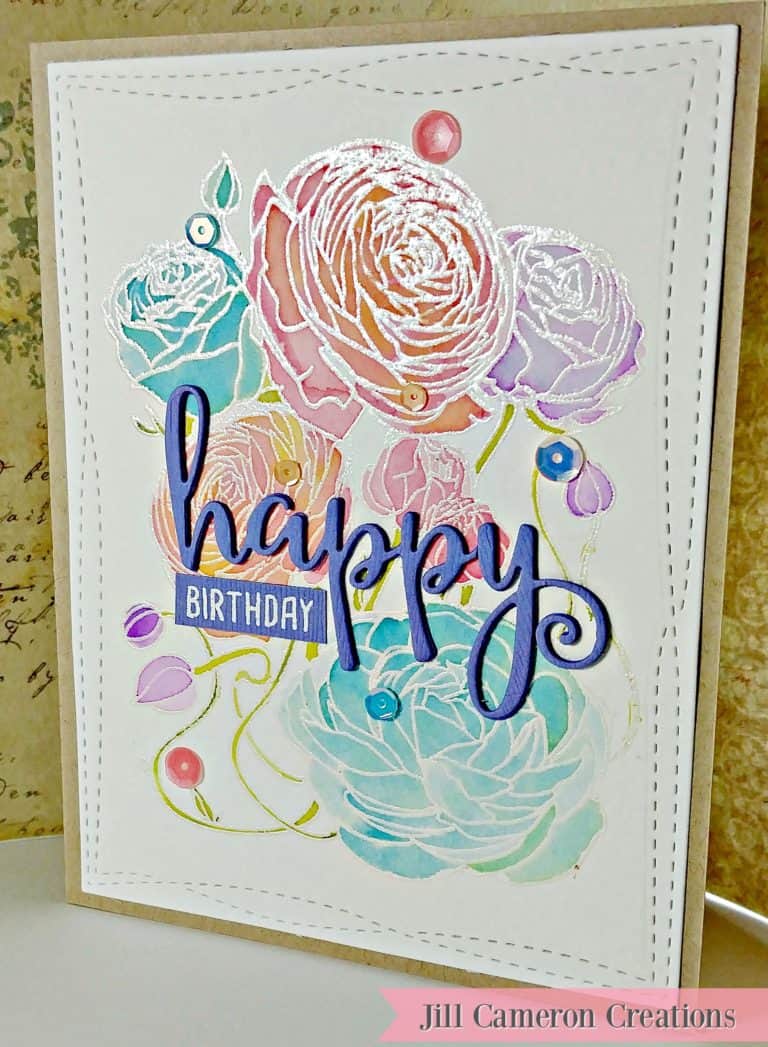
The last item is the front panel of the card. Decorate it however you want. Below is how I decorated mine. I hope you enjoyed this Fidget Spinner Birthday Card!

