Stencils, Stencils, Stencils
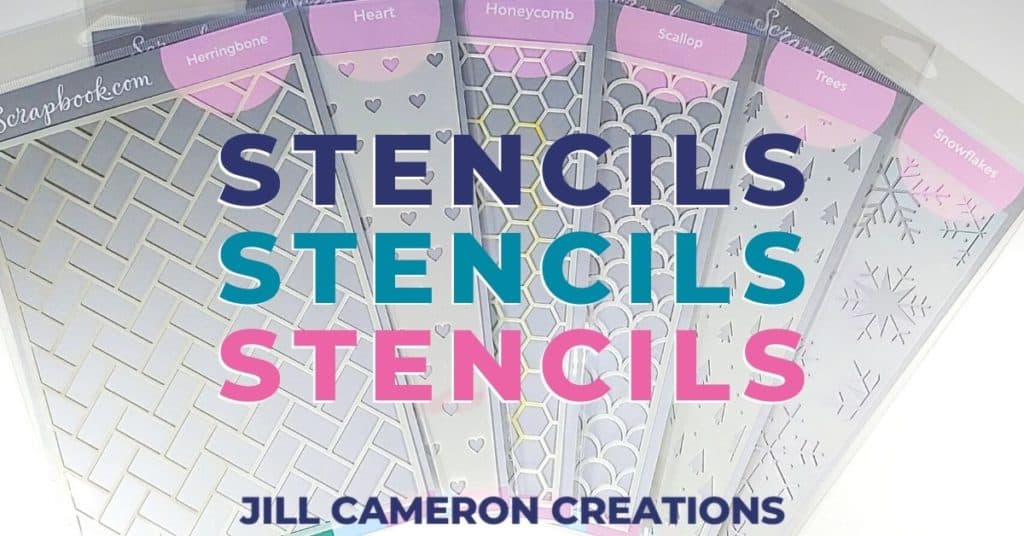
Today we’re talking all about stencils! Scrapbook.com released a bunch of amazing stencils and I’m demonstrating six of them today.
I have six cards and a video. The products I used are listed at the bottom of this post. There are few things that I used that I couldn’t find links for so I did sub in other products that are great quality too!
Scallop Stencil
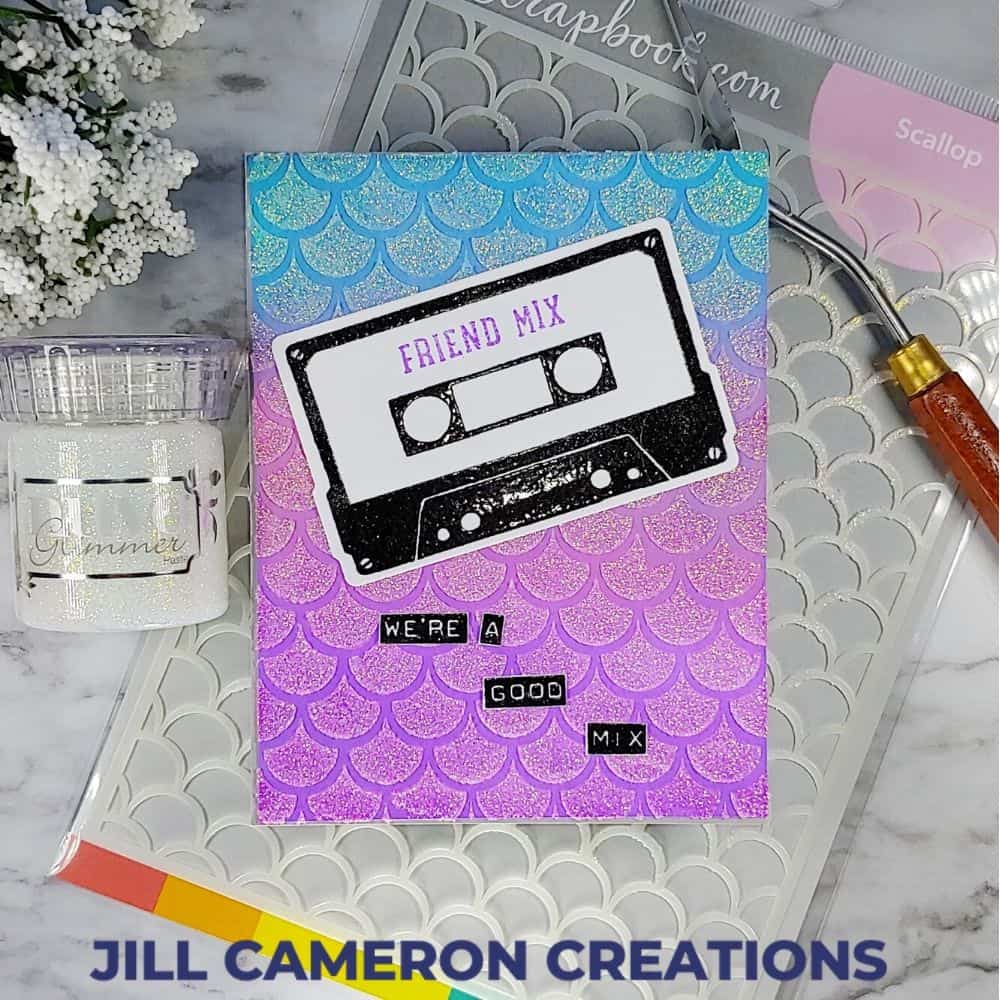
First up we have the Scallop Stencil. When I first saw this I instantly saw a mermaid but I also saw that wonderful era of the 80’s. No idea why but that popped in my head so I decided I’d combine the two ideas and make the background really sparkly with a nice 80’s mix tape!
I ink blended Distress Oxide inks onto Neenah Solar White cardstock using an ink blending tool and sponge. I taped my stencil in place and then I spread Nuvo Glimmer Paste over the top using a pallet knife. Remember to wash your stencil immediately after using any kind of paste so it doesn’t dry and sticks to the stencil. I can ruin it.
Snowflake Stencil
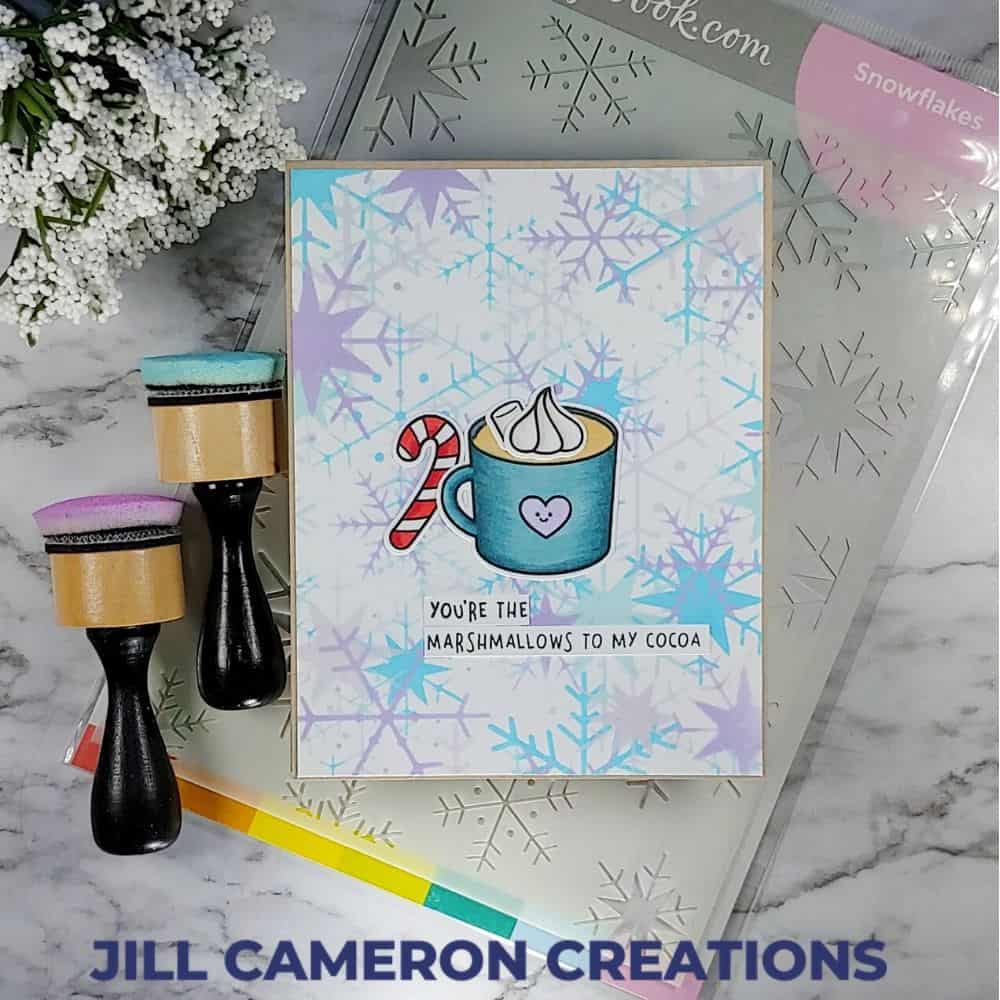
I wanted to layer the Snowflake Stencil using various shades of blues and purples. I was inspired to use this color pallet from the new Doodlebug Designs winter collect I saw online (but sadly don’t have).
The really nice thing about these stencils is the size of them. That allowed me to move the stencil around on my paper and layer the snowflakes in various places in different colors. With this size stencil, you can also turn it sideways and use it.
Tree Stencil
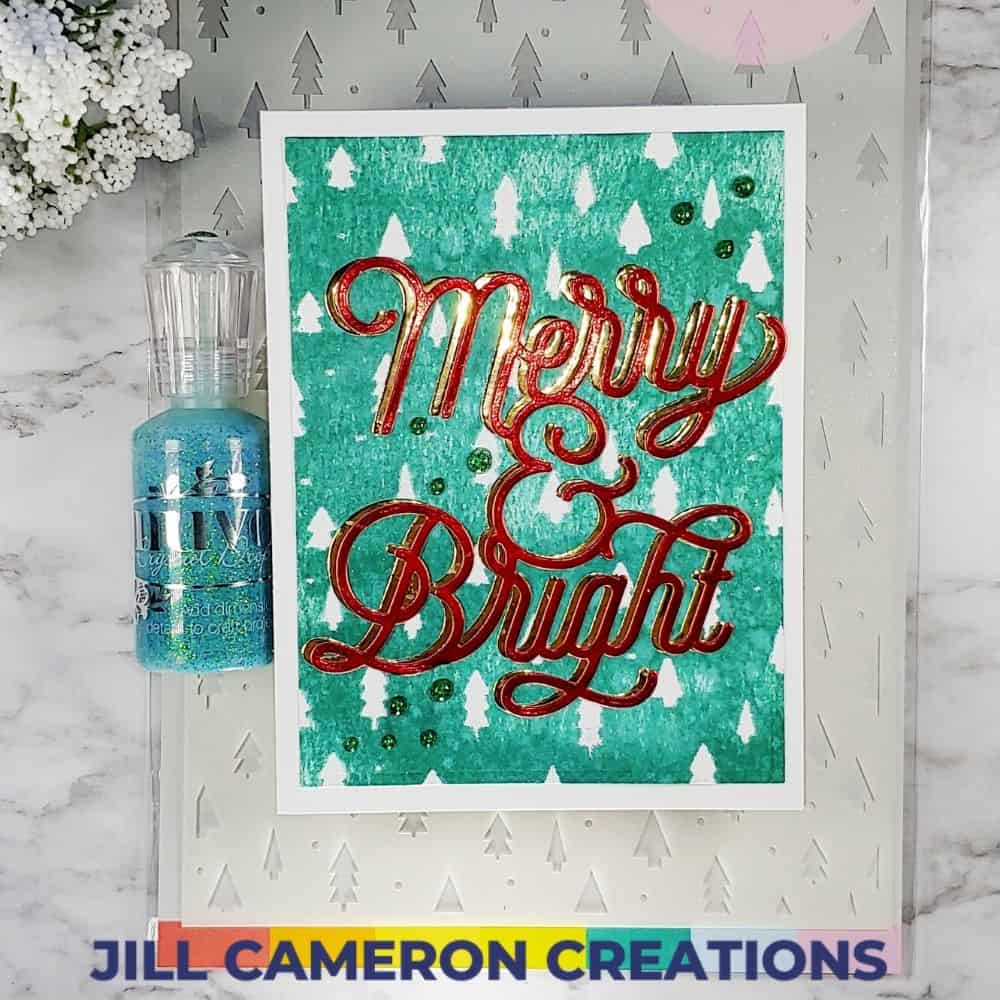
For the Tree Stencil, I wanted a bit of an unfinished look. I used Versamark ink and instead of using a blending tool, I just used the pad itself. I pushed the ink into all of the corners and then sprinkled with white embossing powder. Then, I did the same technique across the paper with a Distress ink pad. Just swiped then I sprayed the paper with water to clean the ink off the white trees and blend the ink a little better.
Hearts Stencil
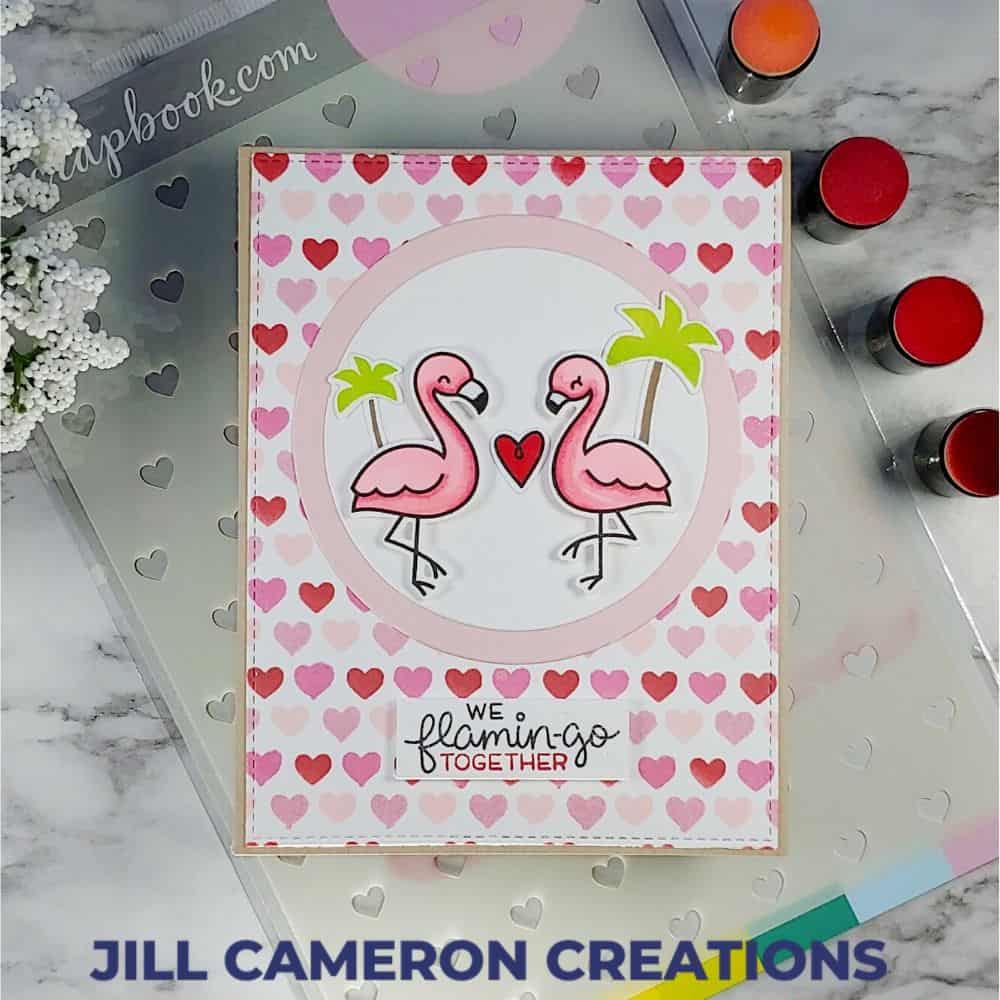
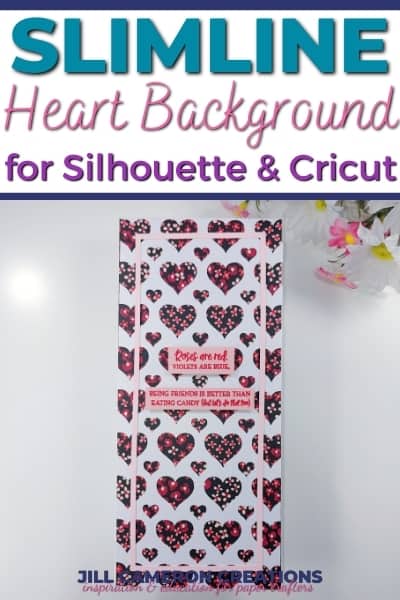
This is my favorite stencil. It’s simple hearts that I made an adorable background with. The hearts are spaced perfectly apart so that you can shift the stencil and get another heart in between. So cute! I used four different pink and red colors. You can see through these stencils so easily and it made creating this background super easy.
I used a Perfect Pearls spray over two of the hearts, one on each row. Spray before you lift off the stencil.
Herringbone Stencil
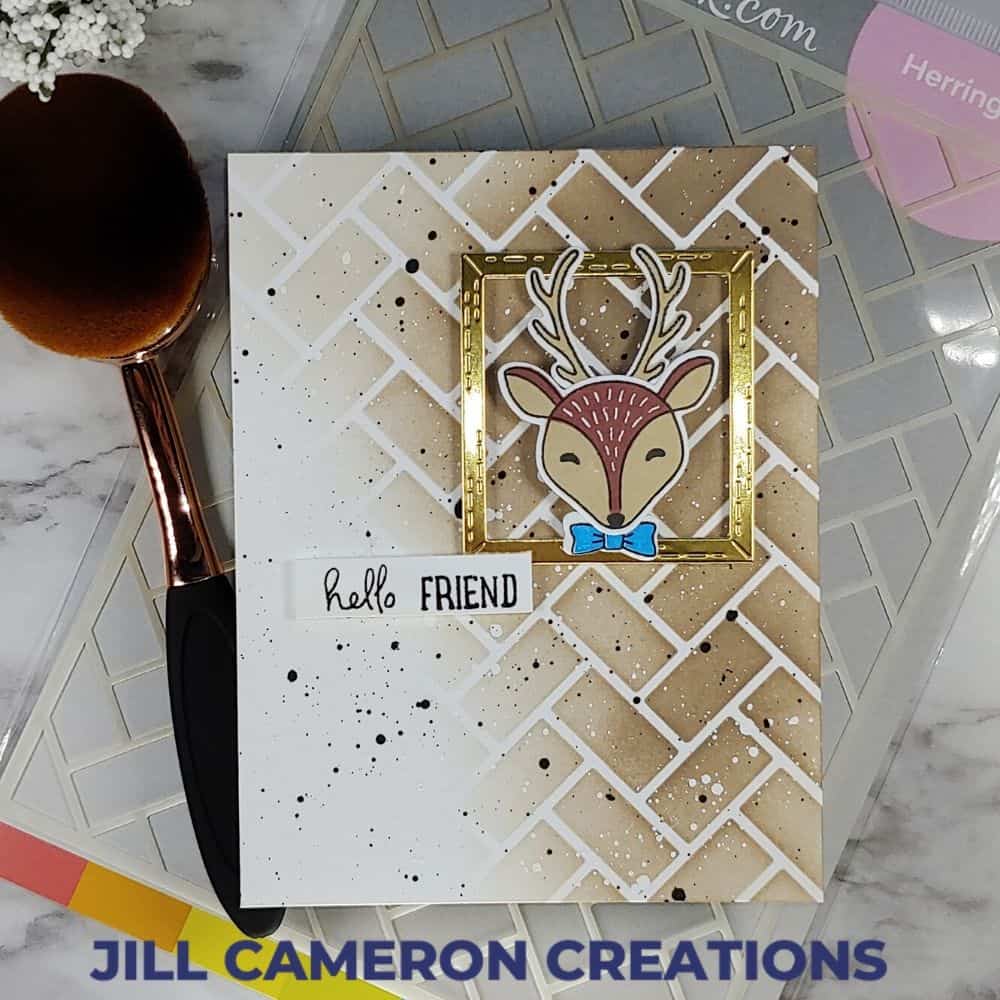
The Herringbone Stencil is a rather masculine pattern in my mind so I created a simple background. I didn’t blend the dark brown color across the entire background. Just mostly in the top right corner. I used a blending brush. These brushes are super easy to use and blend any ink with ease.
Honeycomb Stencil
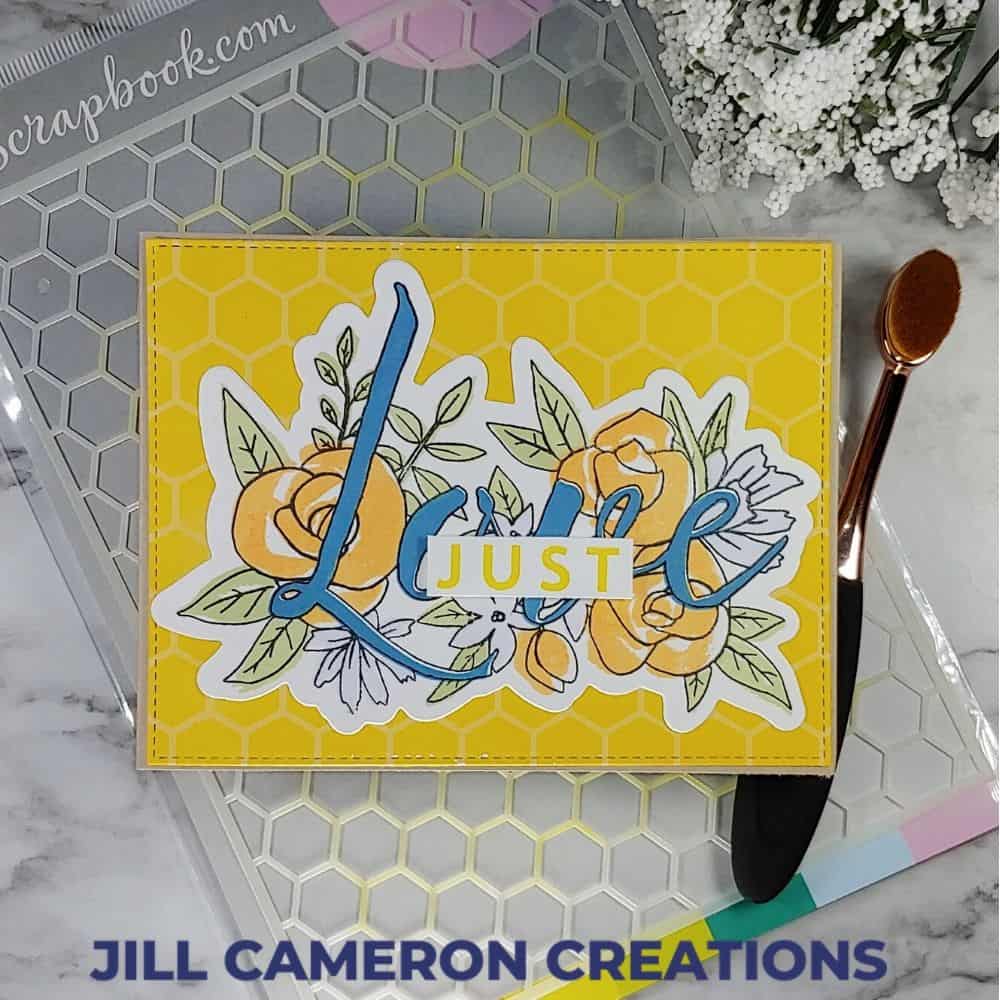
Lastly, we have the Honeycomb Stencil. I think a honeycomb pattern can add interest to any background for any card. I used a small ink blending brush to blend dark yellow ink onto light yellow paper. I used the small brush so that I could get really crisp lines with my ink blending.
Need more tips and tricks for using stencils? Check out my 5 Quick Tips for Using Stencils.
Affiliate Disclosure Policy
This post contains affiliate links for your convenience. This means if you make a purchase after clicking a link, I will get a small commission with no additional cost to you as the consumer. Jill Cameron Creations/Jill Lipscomb participates in the Amazon Services LLC Associates Program, an affiliate advertising program designed to provide a means for sites to earn advertising fees by advertising and linking to Amazon.com. For full disclosure policy click here.

