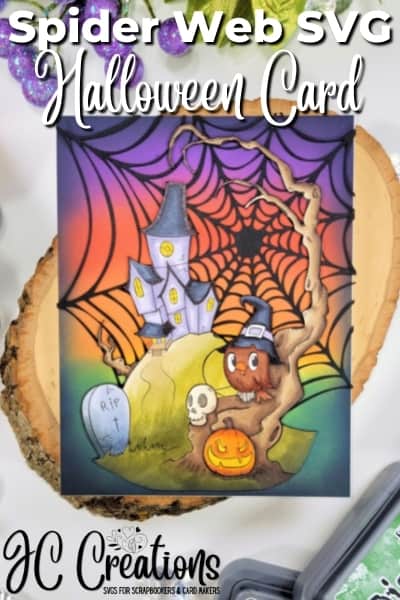
Hello! We’re going to learn how to create a faux die cut inlay today but before we jump into that…
It’s been a while I know. I’ve sent plenty of emails to let my tribe know what has been going on. If you don’t subscribe to my newsletter, there’s a form below.
I’ve been working on several new projects. First, I’m creating a digital stamp line that I hope to have out in about a month. Second, Make the Cards Challenge is my brand new card making challenge blog. I have a design team of talented folks and the first challenge will be published on January 25th. And last, I have another website, Inked by Jill, dedicated to Stampin’ Up! only projects.
And the shop is growing! I have more digital products and handmade cards available there.
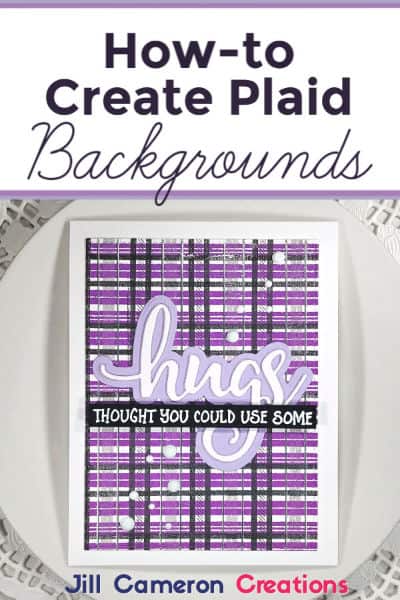
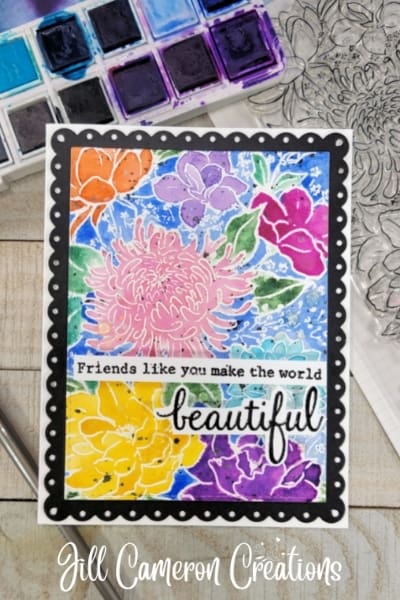
Faux Die Cut Inlay
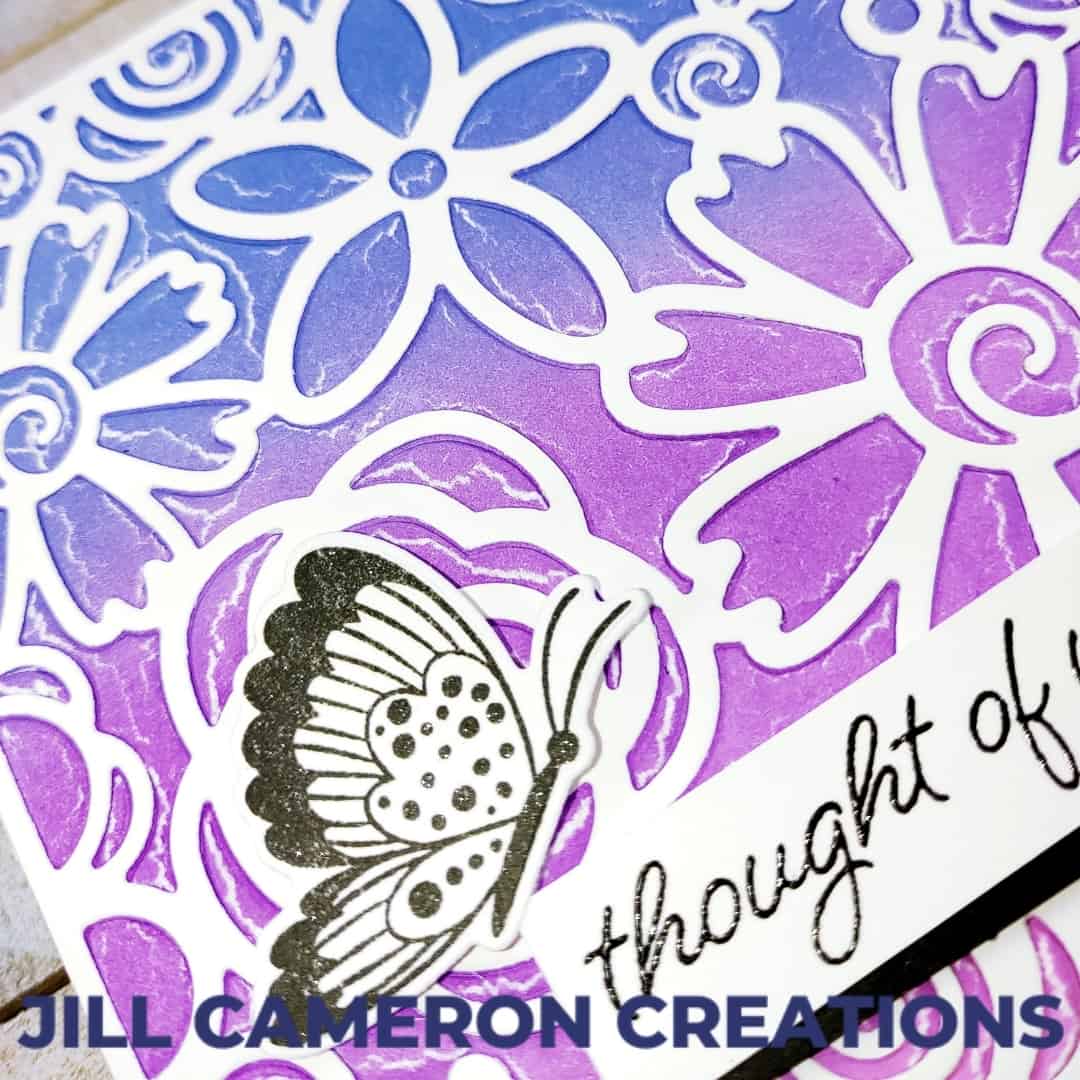
Die cut inlay creates beautiful cards but it is time consuming. So today we’re going to look at how to do faux die cut inlay. Let’s talk about what die cut inlay really quick before we talk about how to fake it.
Die cut inlay uses both the positive and negative pieces of the die cut. These are usually two different colors but not always. It creates smooth surface and amazing results. But the problem is it is time consuming. Don’t get me wrong I love the look of it but man it just takes so long. And we’re all short on time.
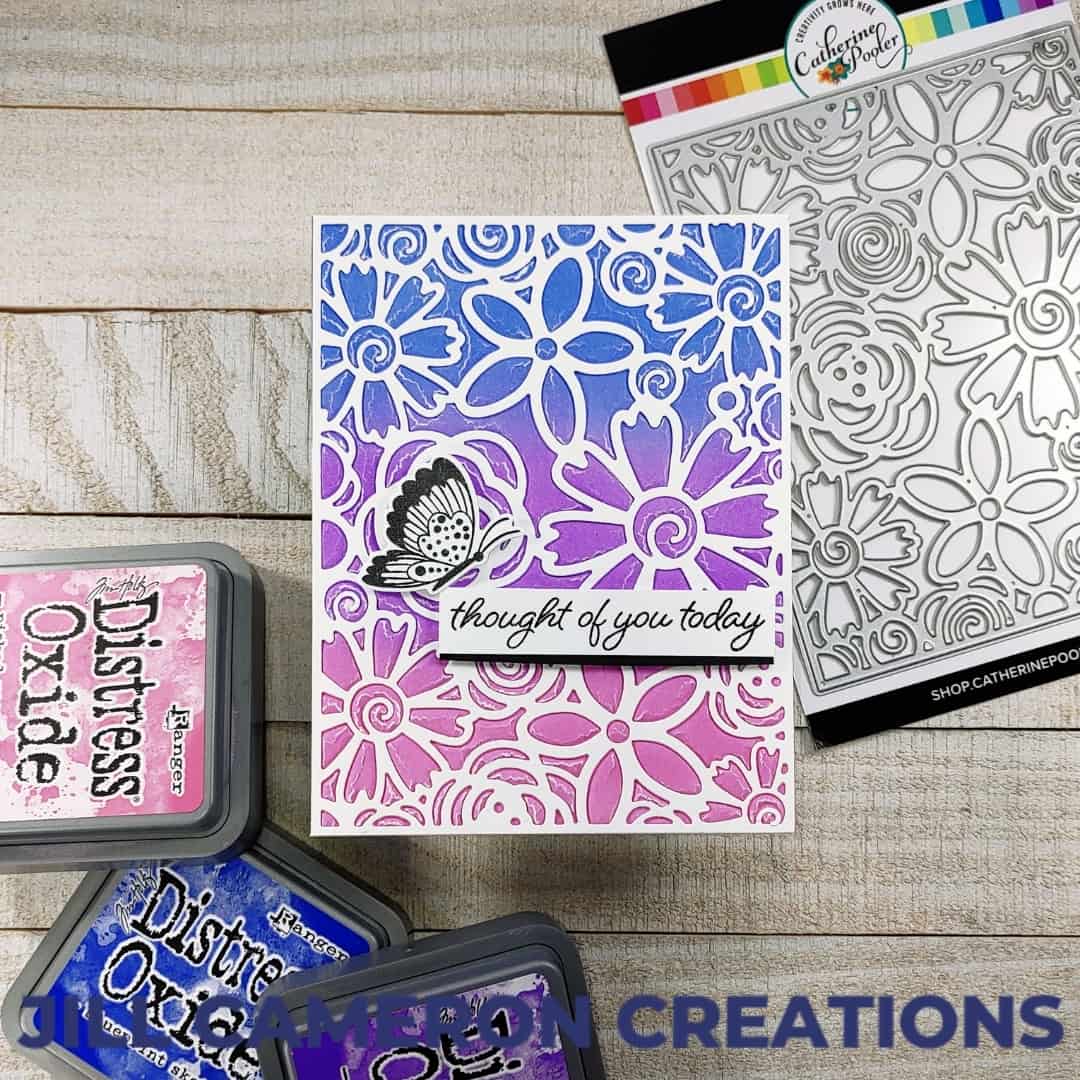
Faux die cut inlay uses the positive die cut and an embossed impression of the same die.
What you’ll need
First, you’ll need two panels of 4 1/4″ x 5 1/2″ cardstock. I used white here with an ink blend on the second panel but you can use whatever combination of cardstock you want. I used about a 65 lb cardstock for this instead of my usual 80lb. It gives better embossing results.
Second, a background die with a bold image works best. But it doesn’t have to be a background die. It can be an element that you layer and add to your card.
The background of this card is ink blended using three different colors. You can use solid cardstock if you want. Lighter colors look better with this technique.
And lastly you’ll need your sentiment and any elements you want to add.
How-to
First, die cut on cardstock panel with your background die.
Next, ink blend the background panel if you’re using that. Using an embossing mat and your die cutting machine, emboss the ink blended panel.
Glue the die cut on top of the embossed background.
Stamp and die cut any elements. And create your sentiment. I used foam tape to pop up the sentiment and butterfly.
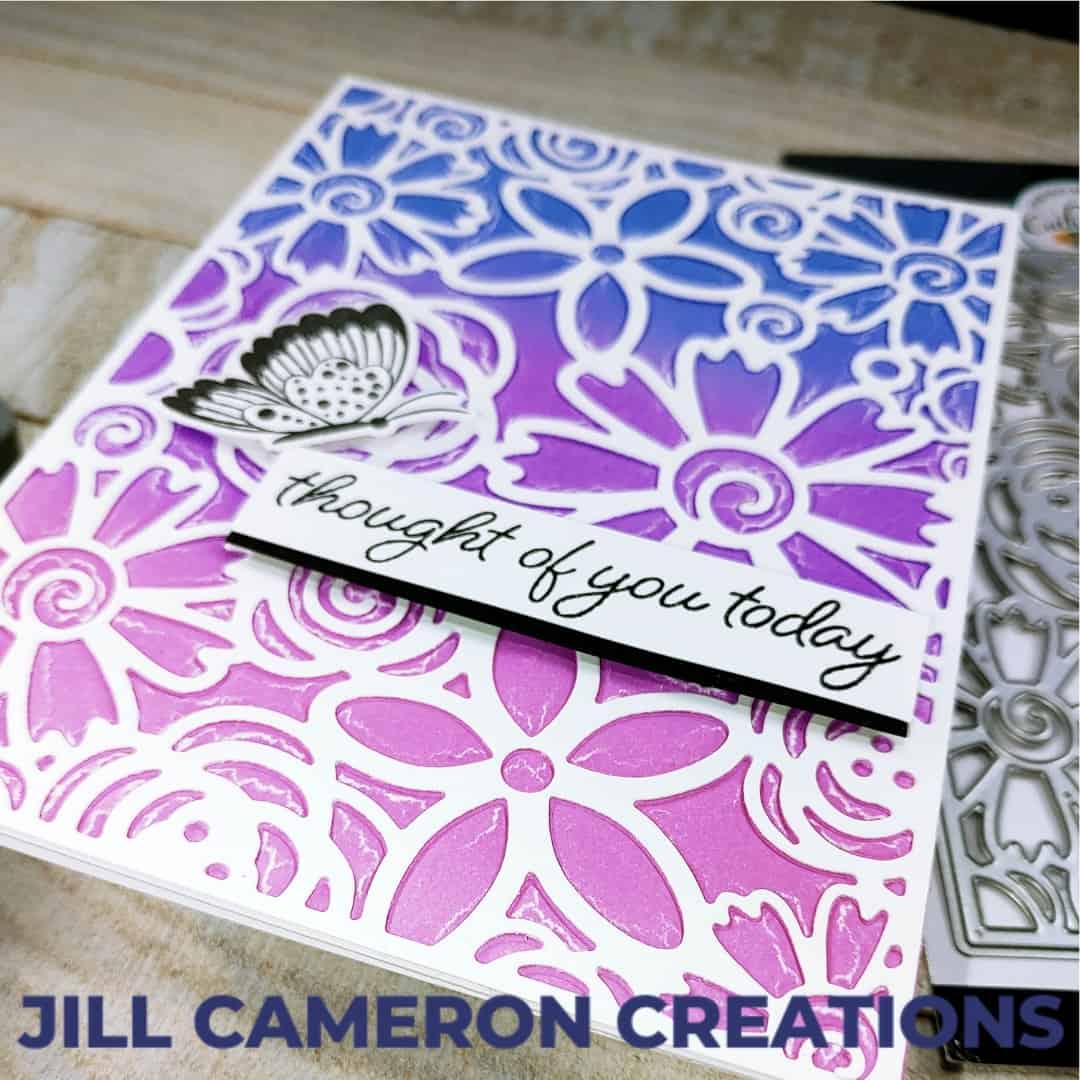
Finally, glue your card panels to the front of your card base. And that’s how easy it is to create a faux die cut inlay card.
Would you like to see how this looks using another die? Check out this over on Inked by Jill.
This post contains affiliate links for your convenience. This means if you make a purchase after clicking a link, I will get a small commission with no additional cost to you as the consumer. I participate in the Amazon Services LLC Associates Program, an affiliate advertising program designed to provide a means for sites to earn advertising fees by advertising and linking to Amazon.com. For full disclosure policy click here.