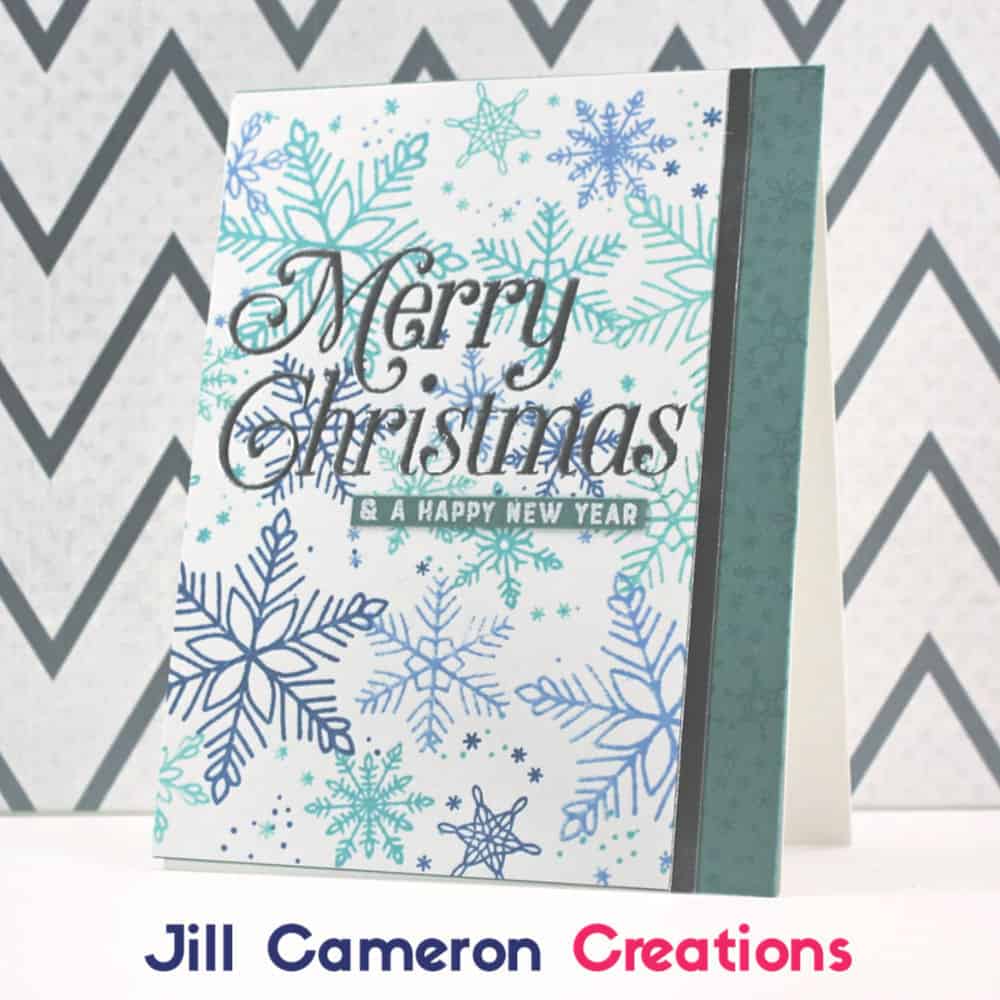
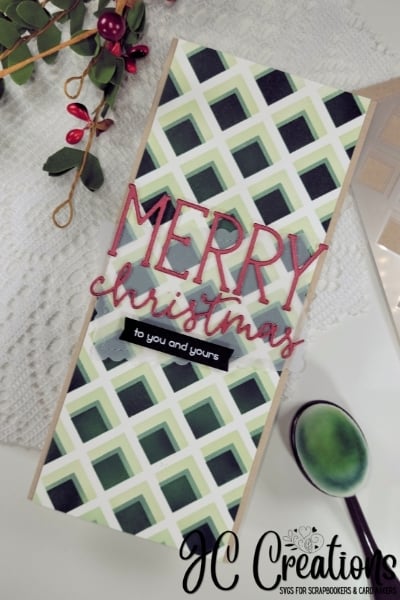
Christmas cards are probably the most created cards ever! I know I’m a sucker for a good Christmas stamp and want to make ALL the things at Christmas. Sometimes, though, we need to make quick Christmas cards that will go through the mail easily and still be beautiful. Today we are going to create an almost one layer card using some Concord & 9th products. Scroll down for the video and some easy tips and tricks to make the most out of a one layer card.
Concord & 9th created ‘Turnabout’ stamps that make creating a beautiful one layer card a snap! For more information about how to set-up your Turnabout stamp, head over to the Concord & 9th website.
This post contains affiliate links for your convenience. This means if you make a purchase after clicking a link, I will get a small commission with no additional cost to you as the consumer. I participate in the Amazon Services LLC Associates Program, an affiliate advertising program designed to provide a means for sites to earn advertising fees by advertising and linking to Amazon.com. For full disclosure policy click here.
How-to: Almost One Layer Christmas Card
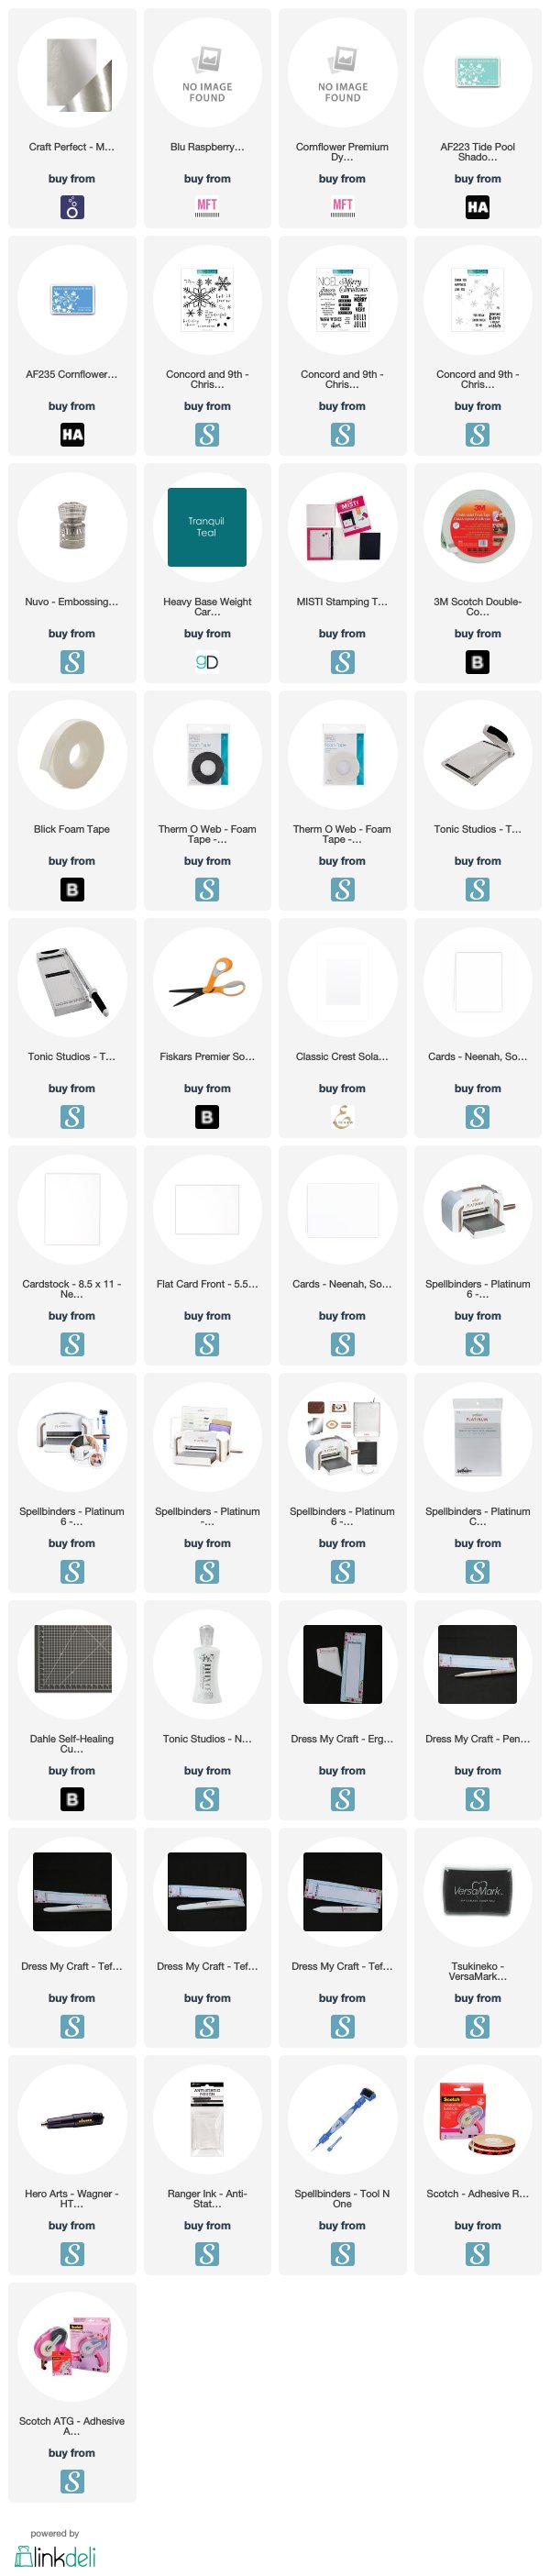
Supplies you’ll need for this card (specific supplies used are linked below):
- A Turnabout stamp from Concord & 9th with turntable, a large sentiment stamp, and a small coordinating sentiment stamp
- Four different Ink colors
- Silver embossing powder, white embossing powder, anti-static powder tool, Versamark Inkpad, Heat Tool
- Silver cardstock, white cardstock, and a colored cardstock to coordinate with ink colors
One layer cards don’t have to be boring! Here are the steps to create this one layer card.
- First, set up your MISTI stamping tool with the Snowflake Turnabout stamp. Be sure to use a 6″ x 6″ turntable so you have something to mount your card panel on.
- Place the 4 1/4″ x 5 1/2″ card panel about in the middle of the turntable.
- Start with one of the four ink colors selected and stamp the first image.
- Rotate the turntable a quarter turn and stamp your second color. Repeat this until the background is full.
- Now, remove the cardstock panel from the turntable.
- Be sure to use an anti-static powder bag over the entire surface of the panel.
- Use Versamark Ink to stamp the large sentiment. You can use a MISTI for this or an acrylic block. If you want to stamp the sentiment more than once, I’d recommend a MISTI. Also, if you want to trim off some of the large stamped panel, be sure to put your sentiment a little to the left or to the right.
- Next, coat the sentiment in silver embossing powder then melt the embossing powder with a heat tool.
- Stamp the smaller sentiment on a strip of coordinating colored cardstock using Versamark ink and coat it with white embossing powder. Be sure to use your anti-static powder bag on the colored cardstock too.
- Then, trim the small sentiment down to the smallest strip possible. Adhere the small strip under the large, embossed sentiment on the card panel.
- Trim down the large stamped panel to be around 3 3/4″ wide.
- Cut a strip of silver cardstock to be about 1/8″ wide and 5 1/2″ long.
- Stamp tiny snowflakes along the long edge of a piece of colored cardstock. Use tone-on-tone so that’s it’s subtle.
- Finally, adhere the stamped panel to the colored cardstock. Adhere the silver strip to the colored cardstock and adhere the entire card front to the card base.
One layer card tips
One layer cards are so easy to mass produce quickly! This one card can have several different looks just by changing up a few things.
- Use a different color pallet. Examples: purples with silver; darker blues with platinum; traditional Christmas colors with gold.
- Instead of a portrait card, make it a landscape card.
- Add some small jewels or Nuvo Drops (that’s my favorite).
- Instead of using the silver strip, heat emboss the tiny snowflakes in the same embossing powder.
- White heat emboss the background and ink blend the various shades of ink for a bolder look.
I hope this helps to jump-start your Christmas card creativity! Below are the supplies used to create this card.
Also, be sure to check out a one layer Christmas card with another turnabout stamp from Concord & 9th.
I’ve never heard of turn about stamps, but after seeing this card I’m gonna have to try them. I love those snowflakes and how you changed the colors. This card looks so good! Thanks for the inspiration!