Hello! Today I’m sharing five backgrounds created using one background die-cut plate. These techniques can be used with pretty much any background die-cut plate. And one technique gives you two backgrounds! Let’s check it out.
Five Backgrounds
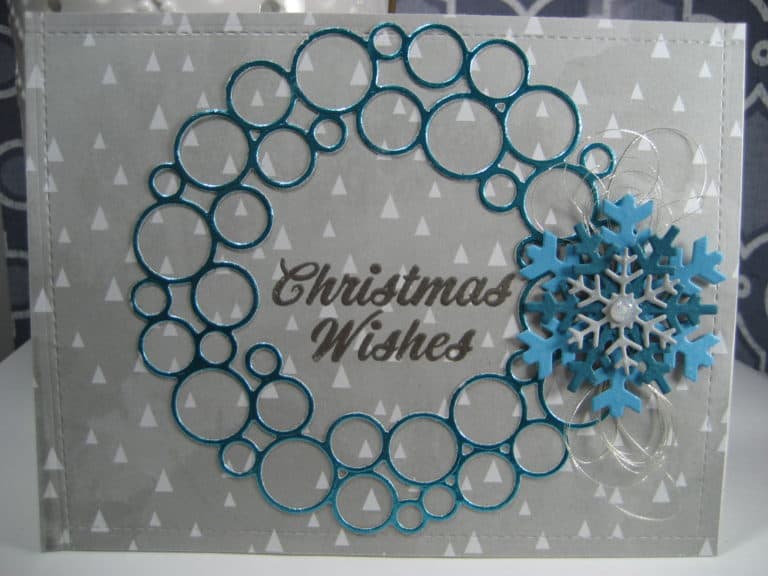
First up is the straight up die-cut and go background. I die-cut the background plate three times from black cardstock and glued the layers together. Then I glued the stacked background directly to the card base. Add a sentiment and some embellishments and you’re card is finished.
With this technique, you can also use the negative space and glue down all the little tiny bits to create the background instead of the big main die-cut. Honestly, I just didn’t have time to do that particular background when I created these. It does create an awesome background though.
Next is the embossing method. Instead of using an embossing folder, use the die! You will need an embossing mat for this method. The embossing mat allows the impression of the die to be pressed into the paper instead of cutting the paper when it goes through the die cutting machine.
I added some ink with an ink blending tool and super light touch. This brings out different details and gives the background a completely different look.
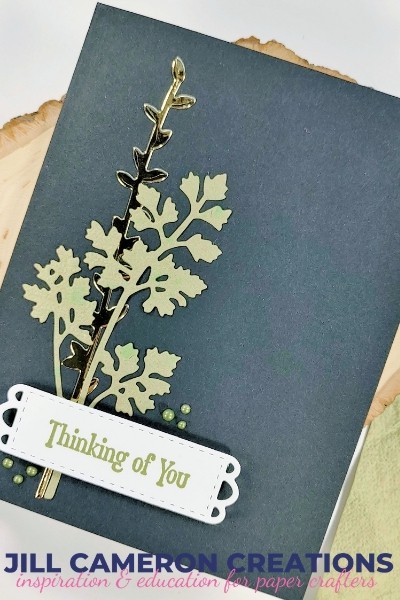
Since the Glimmer Hot Foil System came I out I love that I can use any die in to create a background. It gives this super fine detail with foil and I love it. Just follow the same instructions you would if you were using a Hot Foil Plate.
When the panel is finished, I just trim down the panel and pop it on the card front.
And last but not least is the two for one background. I die-cut the background die two times and glued them together. I used the background die cut as a stencil to add embossing paste to a panel of cardstock.
Then I used the stencil as the background for the card.
So there you have five backgrounds using one die-cut plate. I hope you find this helpful. Now go make something!
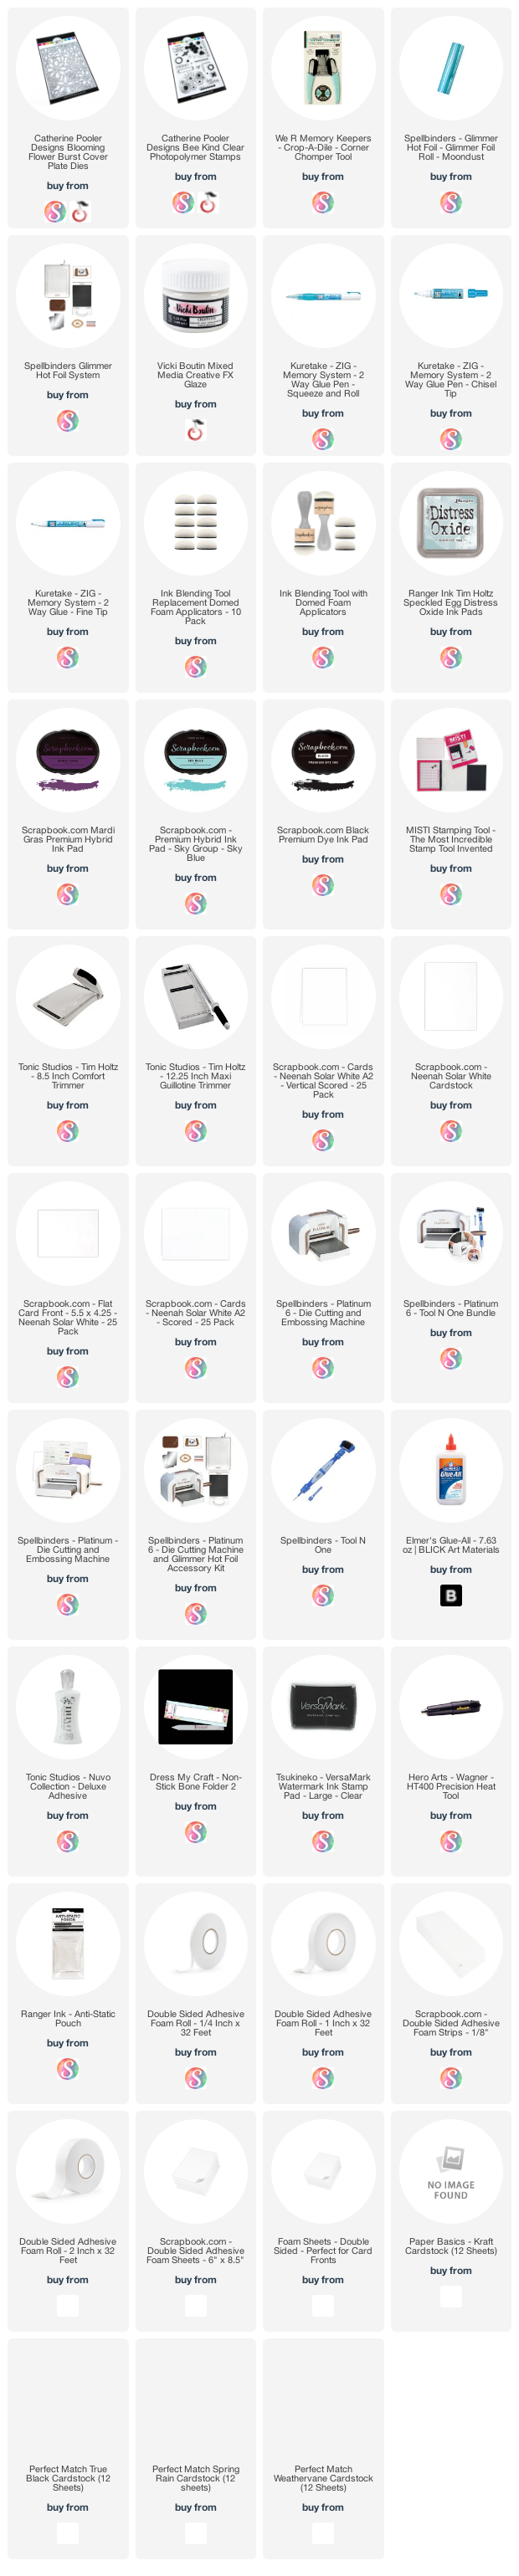
This post contains affiliate links for your convenience. This means if you make a purchase after clicking a link, I will get a small commission with no additional cost to you as the consumer. I participate in the Amazon Services LLC Associates Program, an affiliate advertising program designed to provide a means for sites to earn advertising fees by advertising and linking to Amazon.com. For full disclosure policy click here.