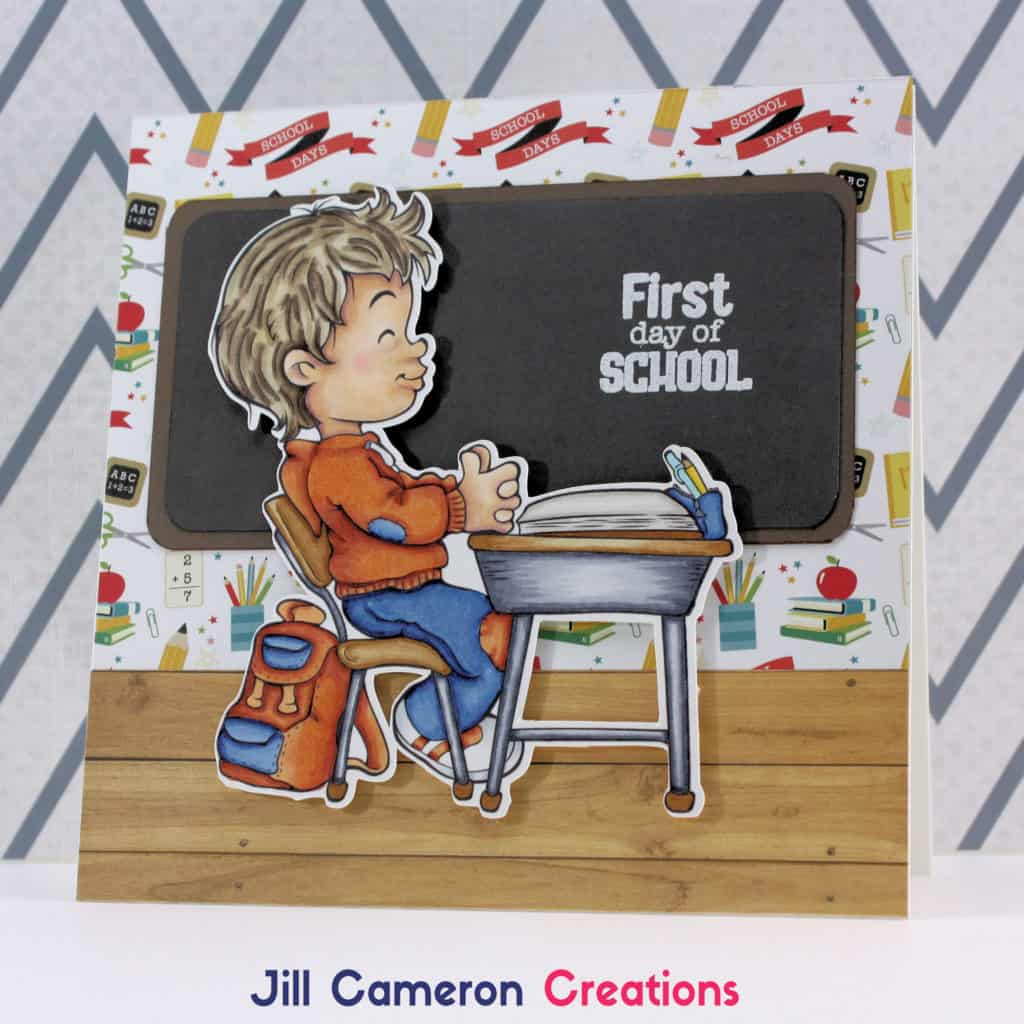
Copic Coloring with Digital Stamps First Day of School
Are you terrified to use digital stamps because you’re not exactly sure what to do with them? Don’t be! They are super duper easy and tons of fun! In this card “First day of School”, I used In the Class Digital Stamp by The Paper Shelter to create a cute little schoolroom scene. I also used patterned papers from the Echo Park Back to School Collection. Check out the awesome pop-up box card I made with the same papers earlier this week.
If you’re unsure how to print out your digital stamps, start by checking out my article to Set-up Google Docs for Digital Stamps the Easy Way. Also, here’s a video all about cutting out digi stamps using the PixScan Mat and a Silhouette Cameo 3.
Now let’s check out how I created this 6×6 card. All of the products used are linked at the bottom of this post.
Links to the products used are below. Some links are affiliate links which means I get a small commission from your purchase at no additional cost to you. This is how I pay for my stamps, inks, and tools for content on my website. Full disclosure here. Thank you for your support.
Copic Coloring with Digital Stamps First Day of School
The Paper, Card Base, and Patterned Paper
I decided I wanted to create a square card this time with a slightly larger image than I normally use. The digital stamp is printed on Neenah Solar White 80lb Cardstock. I do not recommend using 110lb cardstock for Copic coloring. The paper requires more ink to blend the colors within the fibers of the paper.
To create my card base I cut a piece of 110lb Neenah Solar White to 6″ x 6 1/4″ and another sheet to 6″ x 6″. I scored the 6″ x 6 1/4″ piece of cardstock at the 1/4″ mark. Then I added some double sided strong adhesive to the 1/4″ flap. Next, I adhered the 6″ x 6″ piece of cardstock to the 1/4″ flap. Perfect card base.
I knew I wanted a classroom feel for the card so I grabbed the 6″ x 6″ patterned paper pad from the Echo Park Back to School collection. I thought the wood plank paper looked like a floor and the paper with all the icons on it looked like wallpaper. Then I used some of the dark brown paper from the solid cardstock coordinating paper and the chalkboard looking paper from the patterned pack to create a chalkboard for behind the little boy.
The stamp is from the Echo Park Back to School collection too. I heat embossed it using white embossing powder to look like a message on the chalkboard.
The ‘In the Class’ Digital Stamp
Digital stamps can be super intimidating to color. They are typically much larger than a traditional stamped image and have much more detail. Don’t let that stop you from using digital stamps on your cards! Let’s take a close up peek at some various parts of this image.
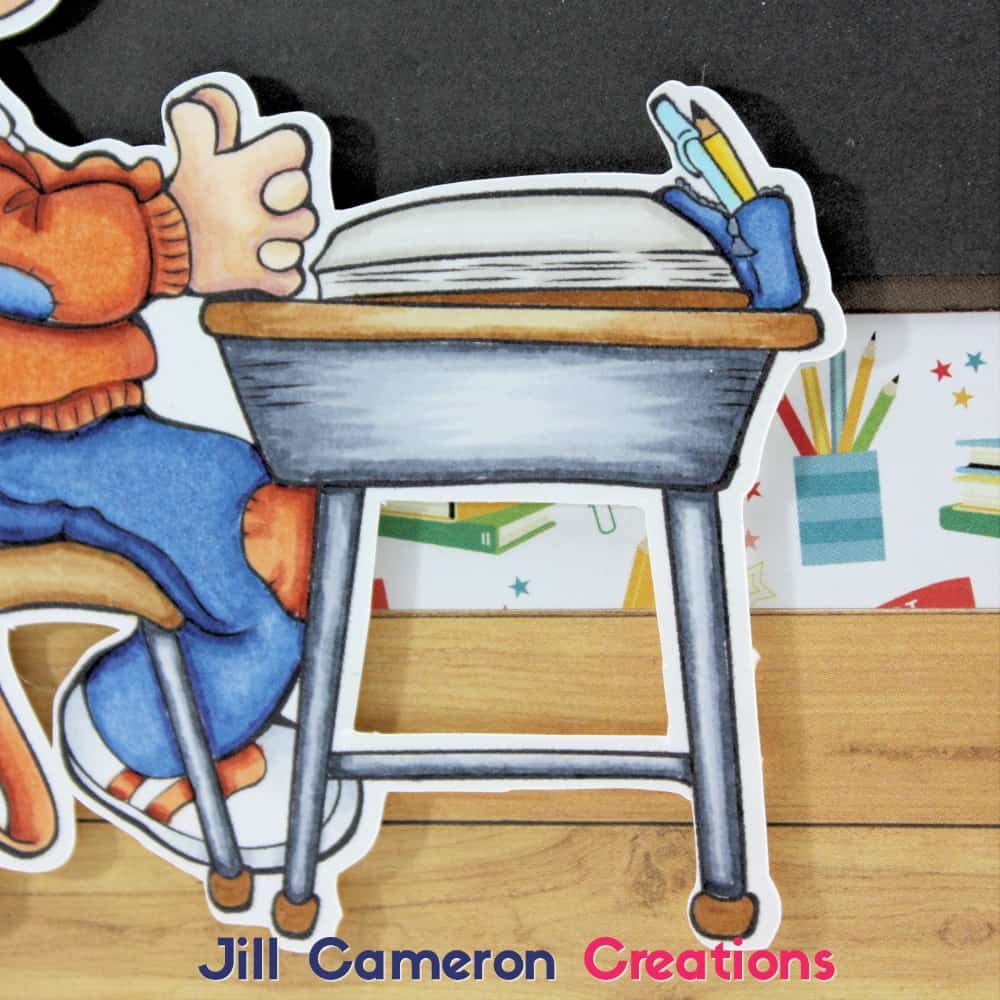
Metal
To create the look of metal, you need to make it “look shiny”. In other words, the image needs a strong highlight area to convey the shiny part. I used C9, C7, C5, and C3 on the metal part of the desk and chair legs. Notice the legs on both sides are shaded very dark with just lines of color. Each layer is not really blended with the next. Then on the crossbar, the shadow is only on the bottom. Also notice, that I used flicking strokes on the body of the desk so the color blended together more. You can still see each color when you get really close up like this but at arm’s length, it looks like shiny metal. (We talked about “at arm’s length” in my previous post.)
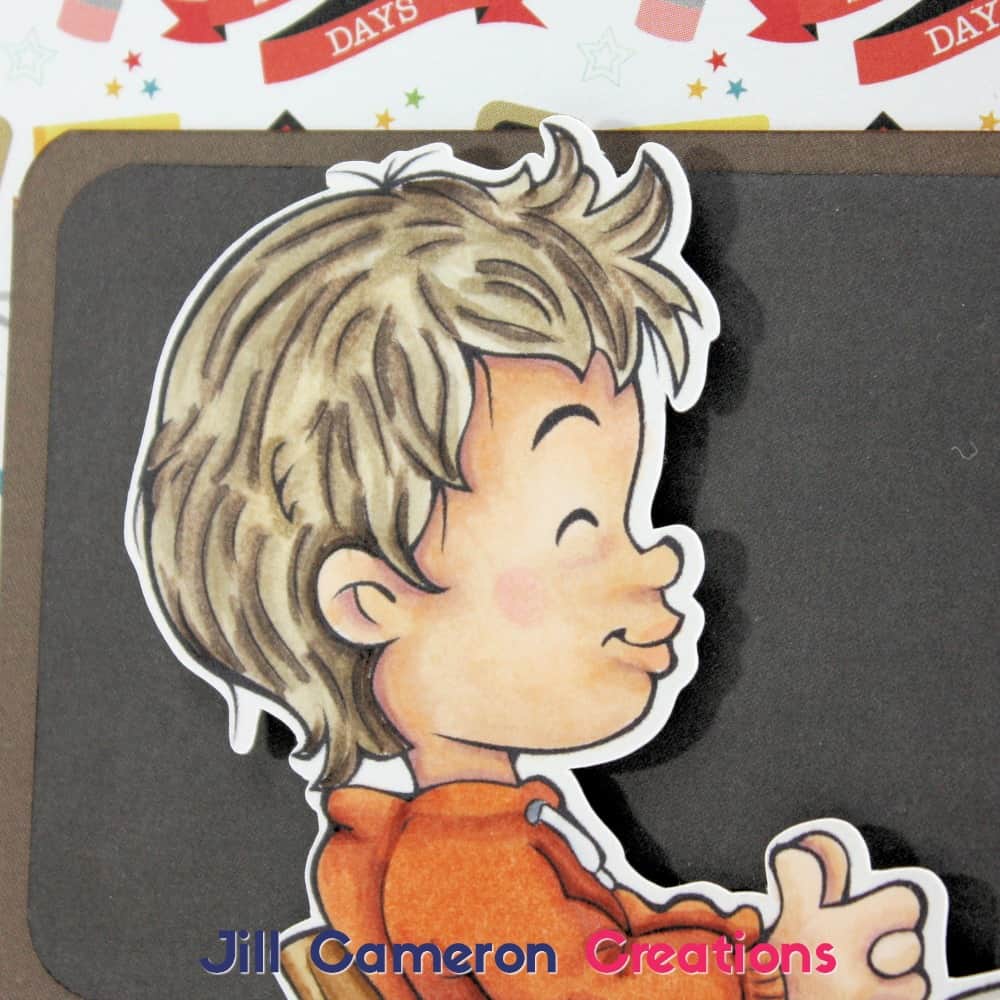
Skin
Skin color is something that every Copic colorist does differently. There’s no right or wrong here as long as you like it. My typical blending group for skin is E04, E11, E21, E00, and E000.
With a side profile like this, you’ll want to add some shadows in places it is necessarily drawn like under the nose and under the mouth. Just a little touch will give more depth to your image. Also, don’t forget the ears! Sometimes the ears are an afterthought but they need love too! 🙂
Rosey cheeks always add character to your colored image. And don’t forget to have fun with coloring! It doesn’t have to be perfect or look like anyone else’s coloring for it to be beautiful!
All of the colors I used are listed below in the product list. If you have questions or need help with digital images, please don’t hesitate to email me at hello@jillcameroncreations.com 🙂
How-to Use Multiple Digi Stamps on a One Layer Card
How-to: Create Digital Stamp Background Paper
In the Class Digital Stamp by The Paper Shelter