Copic Coloring – Fabric, Skin, & Hair
Hello! Today we are going to learn about coloring fabric, skin, and hair with Copic markers. The techniques for all three are very similar so we’re working on all three together.
The video below is a little over 30 minutes. And I must apologize that my camera went out of focus a few times. My next video will also be done at a different two different angles so you can see exactly what I’m doing. The colors used are listed at the bottom in the products list.
A few tips before we started
If you have troubles visualizing shadow on a flat black and white image, grab a piece of typing paper and accordion fold it. Let the paper relax out on a flat surface. All of the areas that are v-shape are shadow areas. The top edge that looks like a tent, is the highlight part.
Another trick is to print what you’re going to Copic color on typing paper and use a pencil to shade the areas that are the darkest. Then, use that as a key while you’re coloring.
Personally, I prefer to color from darkest color to lightest color. It saves on ink and I don’t over darken my image. But if you like to color from lightest to darkest that’s okay too.
Also, color in small sections. Don’t try to color all of the dark areas at once.
And don’t forget, this takes practice. Don’t compare your coloring to my coloring. Compare your coloring to your previous coloring. Here’s the good news: once you get the technique down, it becomes muscle memory and it gets easier.
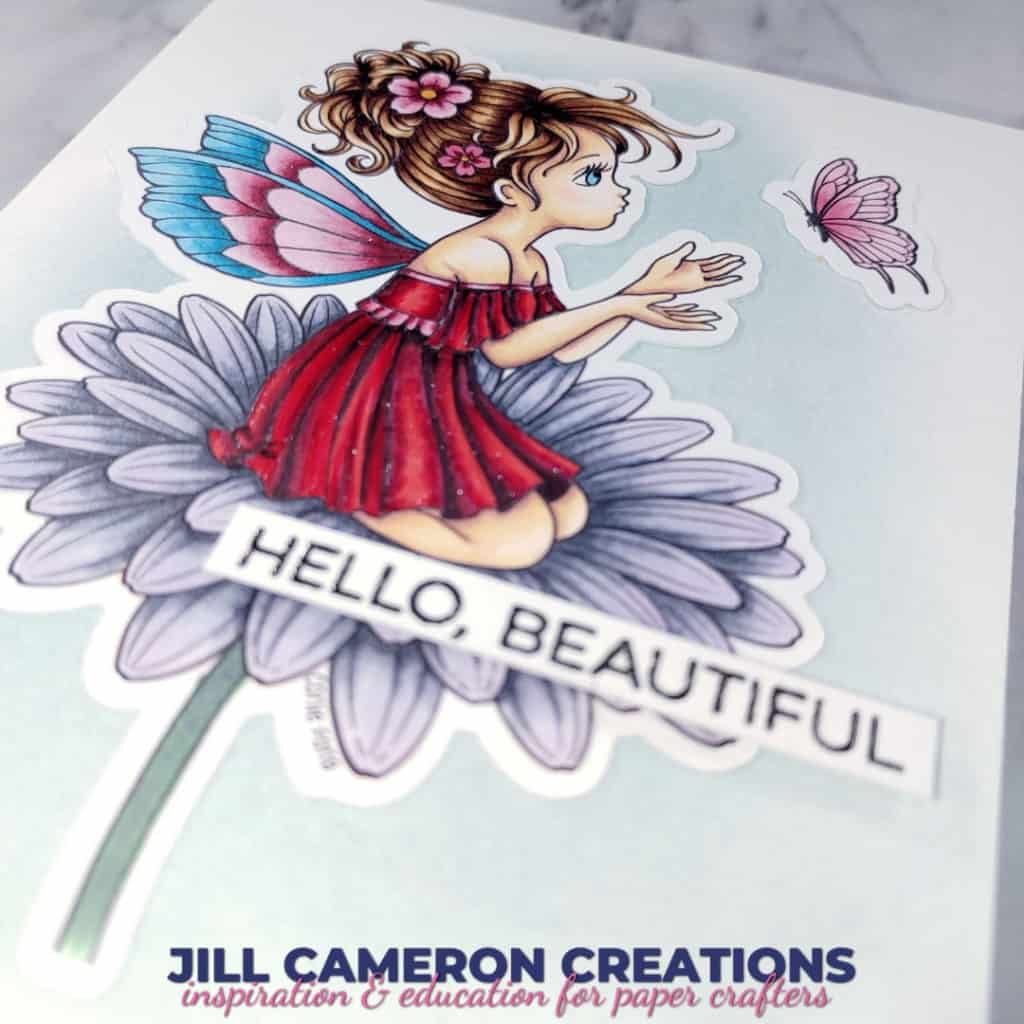
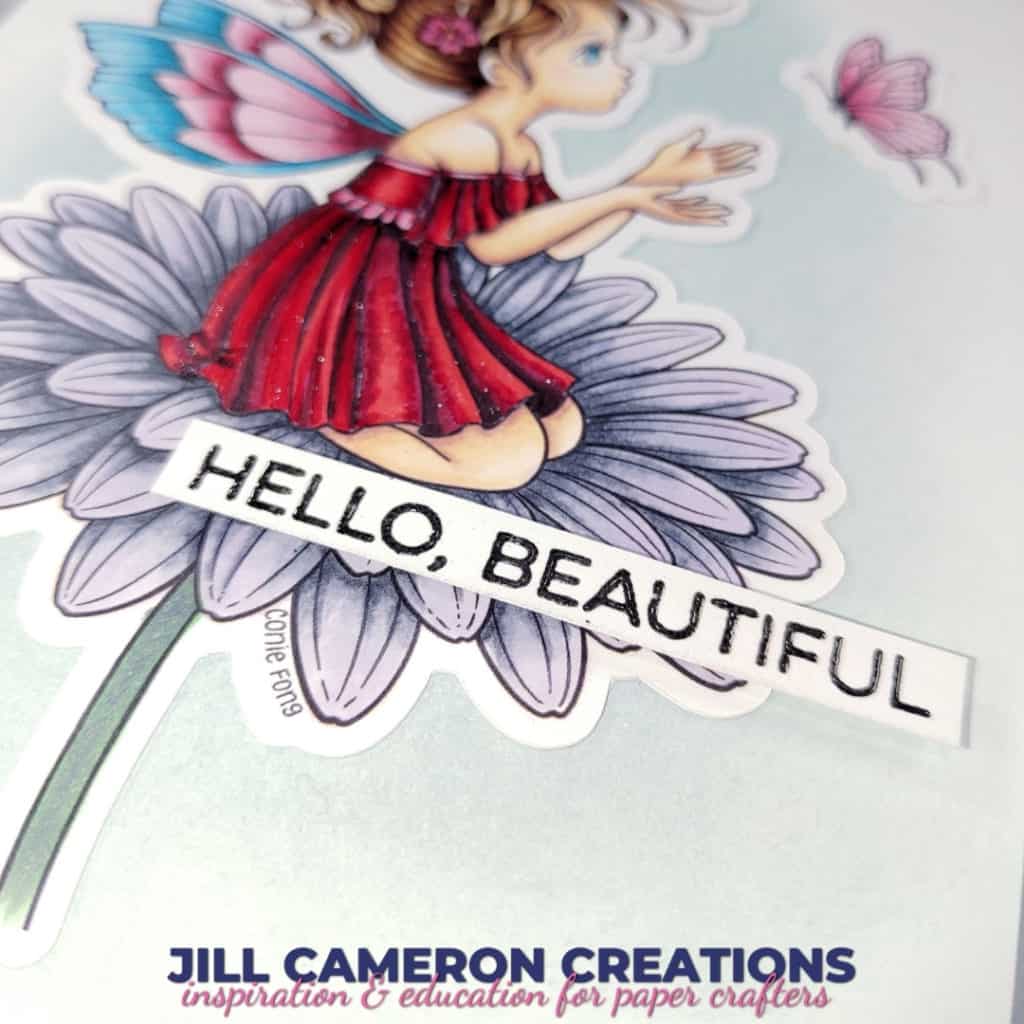
Note: The white dots on the photos are from the Nuvo Glitter Gloss Pen covering her dress.
Copic Coloring – Fabric
First, we’re going to talk about coloring fabrics. Specifically the folds in a dress. I’m using five colors here to get the depth I wanted for this dress.
Start with your darkest color in the deepest part of the fold. This will usually be right up against the line of the image. The trick here is to barely touch the tip of the marker to the paper. You’re not doing anything fancy here. Just make a line.
With your next darkest marker, color over the darkest line and just a line beside it. Add shadow under any lacy areas needed and any other wrinkles in the dress.

Work your way through all of the colors being sure to leave a sliver of white for your lightest color.
Anywhere the fabric dips and turns back up be sure to add a little more dark in those areas.
Copic Coloring – Skin
The method of coloring skin tone is the same no matter what colors you use. I discuss in depth in the video how I determine how where the shadows go.

Start with your darkest color around the hairline, inside the ear, on the shoulder that’s slightly forward, the back of the neck, and the chin. The difference for coloring skin tone is to make sure the colors are blended out evenly. With fabric or even hair you can leave little flicks and streaks in it because it gives it texture. But with skin you’ll want to blend it out by going over the previous colors.
Copic Coloring – Hair
Hair color is just as dynamic as fabrics. It has highlights, low lights, and mid tones. Use the lines drawn in the hair to figure out where to put your colors. The root of the hair is always going to be the darkest while the tips are generally lightest in color.

Use tiny flicks to add color and blend between the colors. This does take practice. Hair is the most difficult for me to color and I have to really practice it. I picked this image from Connie Fong because of the hair.
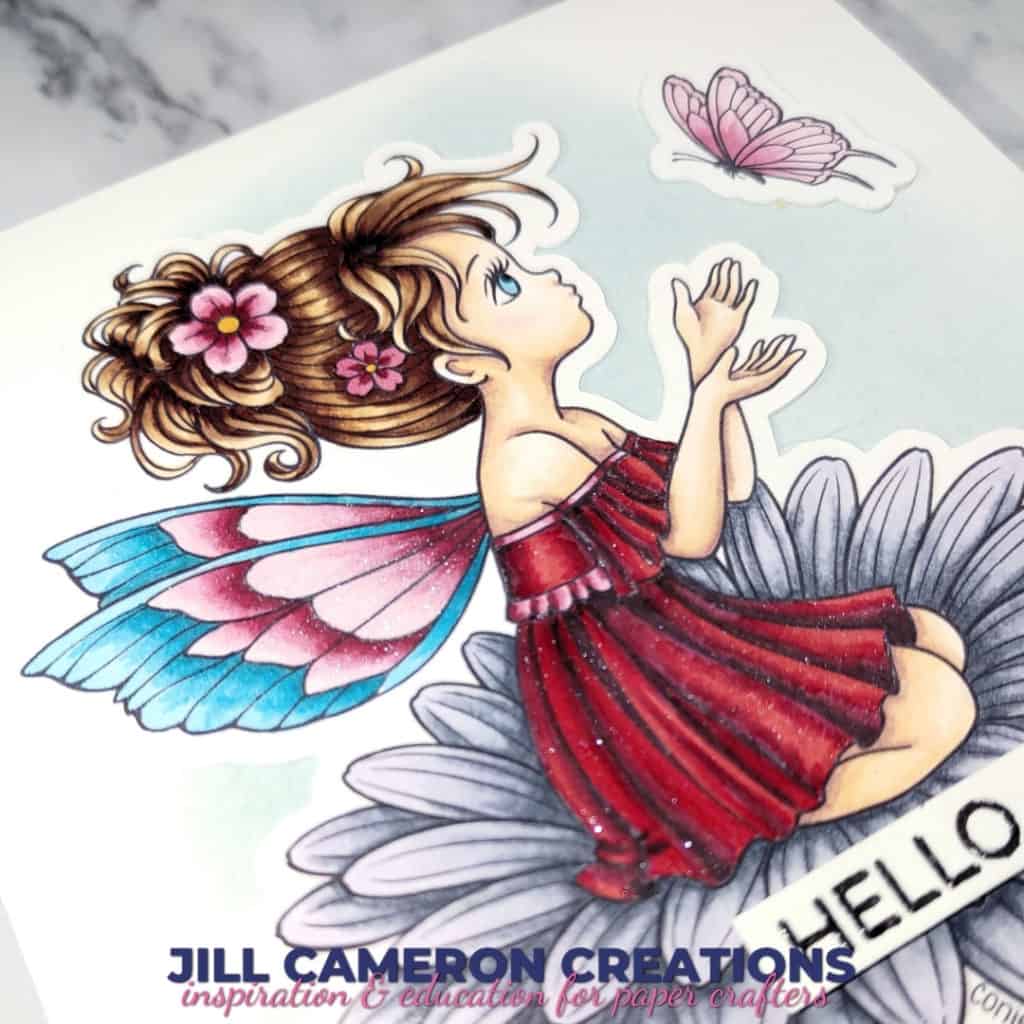
I am really pleased with how the card turned out. I hope you give Copic coloring a try.
Affiliate Disclosure Policy
This post contains affiliate links for your convenience. This means if you make a purchase after clicking a link, I will get a small commission with no additional cost to you as the consumer. Jill Cameron Creations/Jill Lipscomb participates in the Amazon Services LLC Associates Program, an affiliate advertising program designed to provide a means for sites to earn advertising fees by advertising and linking to Amazon.com. For full disclosure policy click here.

