Clean and Simple Embossed Card
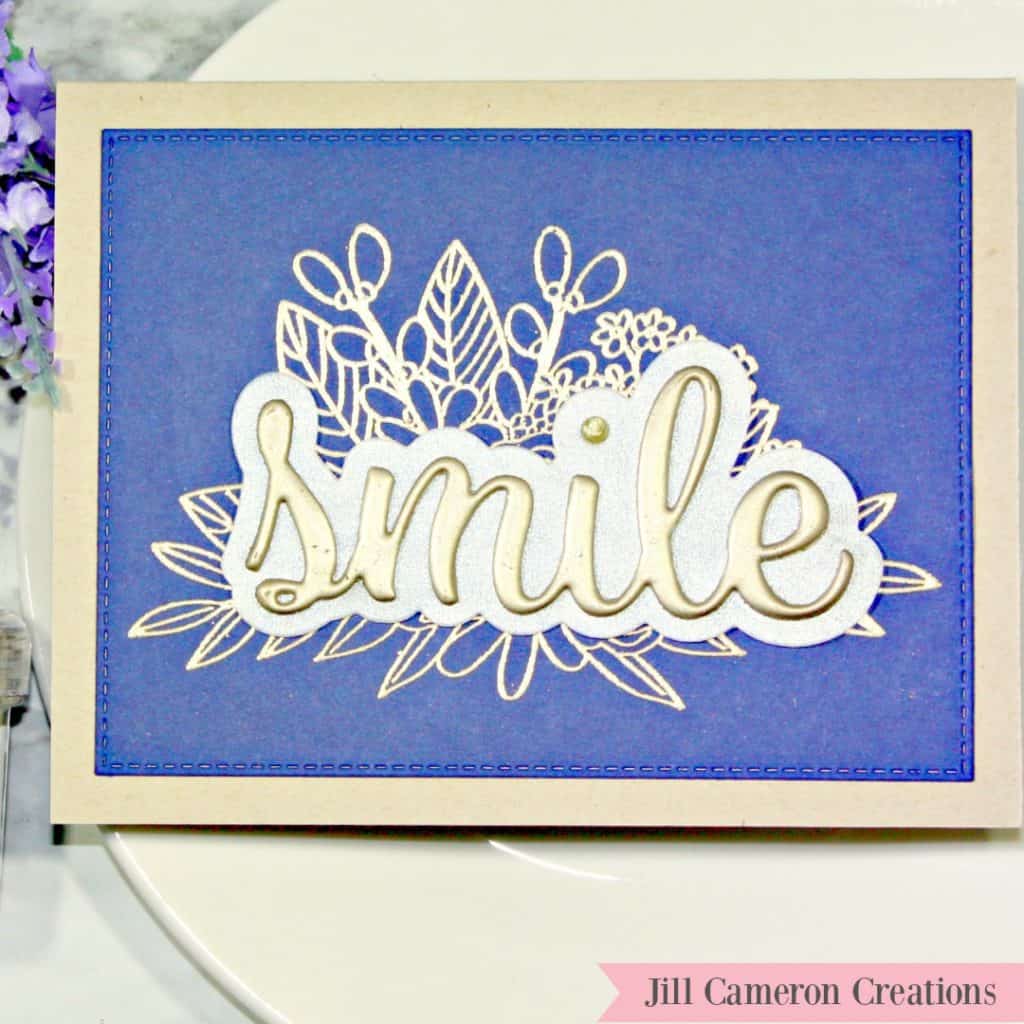
I have two favorite colors: navy and purple. Of course, these colors go together however when I think elegant, I think of navy with either silver or gold. The one color I never think of platinum for some reason. I wanted something clean and simple for this card so I pulled out my “Smile” die from Pink & Main for inspiration. I’ve watched several YouTube videos by Jennifer McGuire demonstrating how to make diecuts look like metal and I really wanted to give it try with “Smile” die. The “Floral Bliss” stamp set by Simon Says Stamp just seemed to automatically flow with diecut sentiment and the look I was going for on this card.
Affiliate Disclosure Policy
This post contains affiliate links for your convenience. This means if you make a purchase after clicking a link, I will get a small commission with no additional cost to you as the consumer. Jill Cameron Creations/Jill Lipscomb participates in the Amazon Services LLC Associates Program, an affiliate advertising program designed to provide a means for sites to earn advertising fees by advertising and linking to Amazon.com. For full disclosure policy click here.
Clean and Simple Embossed Card
- First, I cut down a piece of Neenah Desert Storm cardstock to 5 1/2″ x 8 1/2″ and scored it at 4 1/4″ and a piece of navy blue cardstock into quarters so each panel measures 4 1/4″ x 5 1/2″.
- I used an anti-static powder tool to prepare my navy blue cardstock panel. Always do this to keep embossing powder from sticking in places it shouldn’t. Next, to stamp your image you can use a stamp positioning tool like a MISTI or an acrylic block. I used my MISTI so I could make sure my image was straight. I inked up my stamp with Versamark Ink. Versamark Ink is a clear sticky ink. (Find more information about Versamark ink here.) Then, I sprinkled my stamped image with Liquid Platinum Embossing Powder and melted the embossing powder with a heat tool until smooth.
- The Pink & Main “Smile” die has word die and the shadow die. I cut the shadow out of some pearl vellum.
- In order to create a thicker die cut word, I cut the word out three times using Neenah Solar White 80lb cardstock. I used liquid glue to adhere and stack the dies.
- Coat the entire front of the die cut word with Versamark Ink then covered with Liquid Platinum Embossing Powder. I melted the embossing powder with my heat tool. Repeat this process three times to obtain that metal diecut look. Be sure as you are working with the diecut to press the die cut into the Versamark pad to get the sides of the embellishment coated.
- I used some liquid glue to attach the word die to the vellum shadow.
- I die cut the background panel using My Favorite Things Dienamics A2 Matting Stitched Frame.
- Lastly, I adhered the background panel with Fast Fuse Adhesive onto the card base. I wanted the sentiment to stand out so I popped it up with some foam tape.
Want more clean and simple cards? Song Inspired Card Home Sweet Home and Use Border Dies to Create a Background.
I hope you enjoy this card and will try to create something simply elegant out of your favorite colors! The products used are listed below.

