AECP Beyond Basic Backgrounds
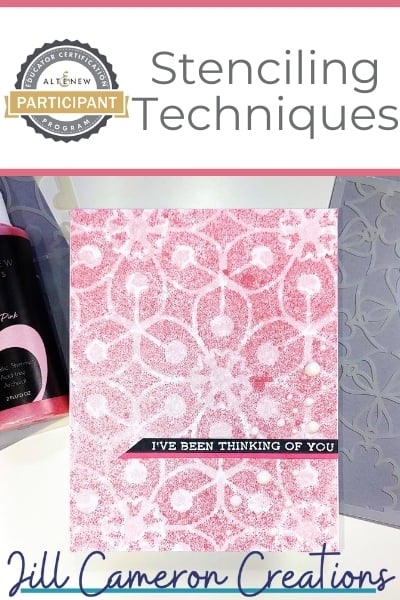
Hey y’all! I am working on Level Two of the Altenew Educator Certification Program. Today I’m sharing a card for the class Beyond Basic Backgrounds. One of my most favorite techniques is in this class so I had to use it for my card. Stamping with water!
Watch this video to see how simple this amazing card is to create. All of the products used for this card are listed at the bottom of this post.
The most important part of stamping with water is to make sure you’re using a water reactive ink. Altenew inks work really well for this technique but I really wanted a red card and I didn’t have any red Altenew inks so I used Distress Oxide Inks. I used Worn Lipstick, Festive Berries, and Candied Apple.
There are two great methods for “inking” your stamp with water. You can spray the stamp with water or you can wet a mostly solid sponge. I use the sprayer method. If you use the sprayer method be sure not to spray water over your inked panel.
First, I ink blended my three colors on the panel with domed ink blending tools. You can use your favorite ink blender if you don’t have the domed applicators.
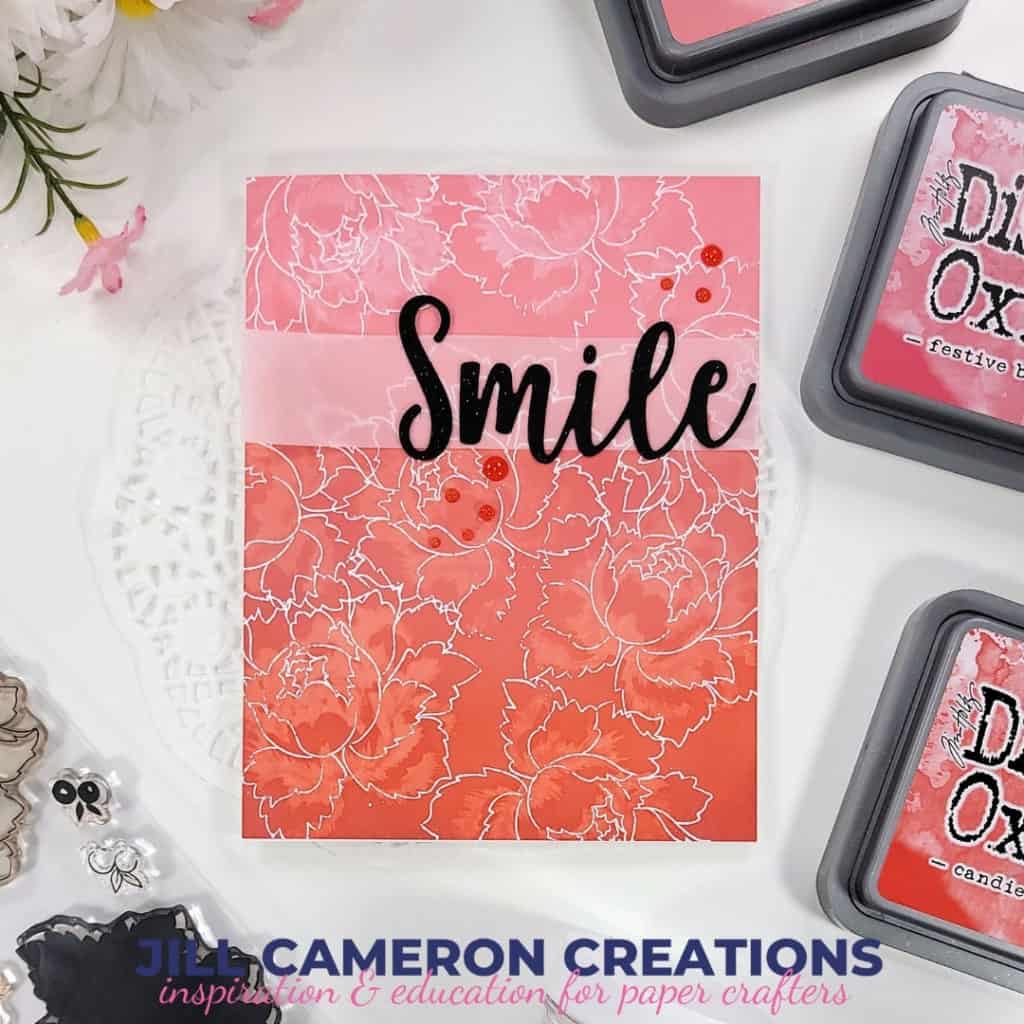
Next, I stamped one of the more detailed layers from the Peony Bouquet stamp set in water. I sprayed the water on the stamp then pressed it on to the paper. Don’t lift up right away. Let it set there for a second or two. I stamped randomly all over the background panel.
Then, I dried the entire panel with my heat tool. Make sure the panel is completely dry before moving onto the next step because we’re going to heat emboss.
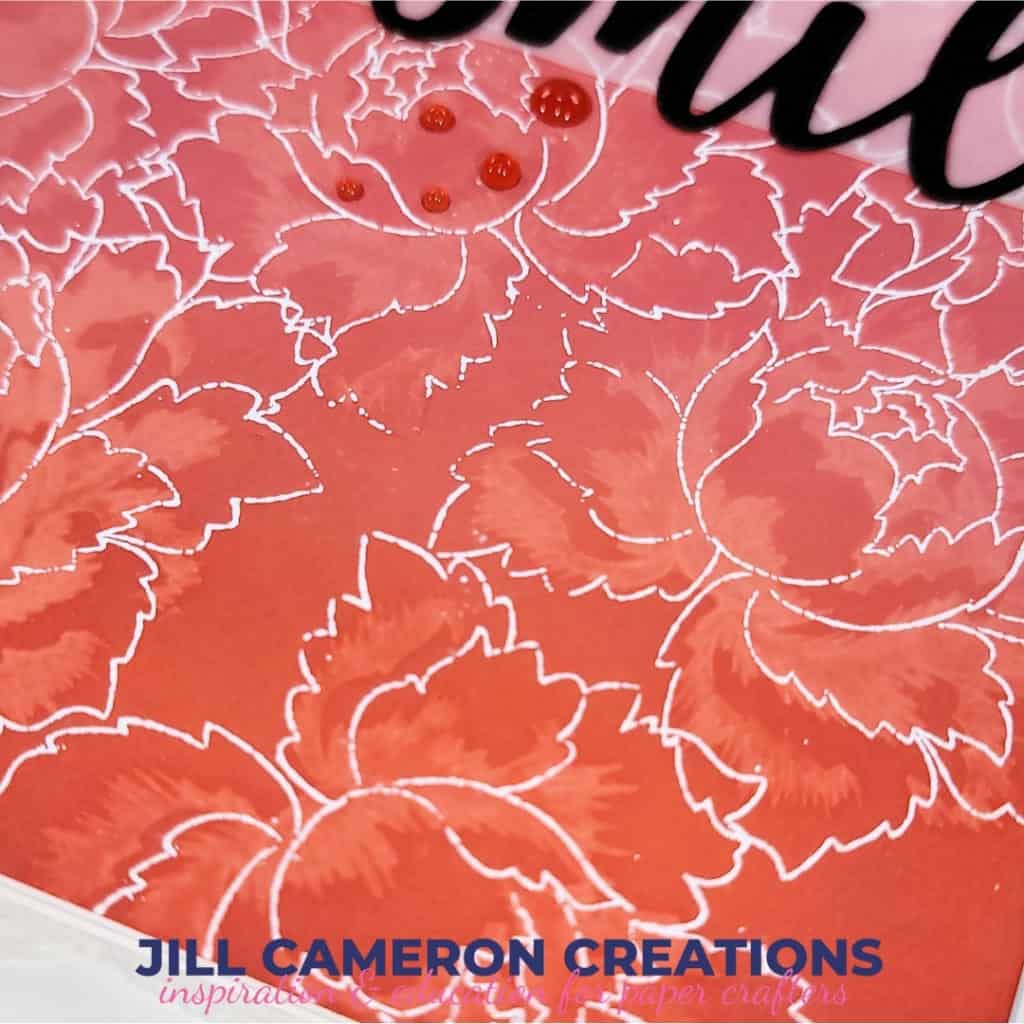
We’re not worrying about our outline overlapping. Use antistatic powder tool over the entire background. Stamp the outline in embossing ink. I stamped everything and then coated the entire panel in white embossing powder. Heat and melt the embossing powder until it’s all smooth and shiny.
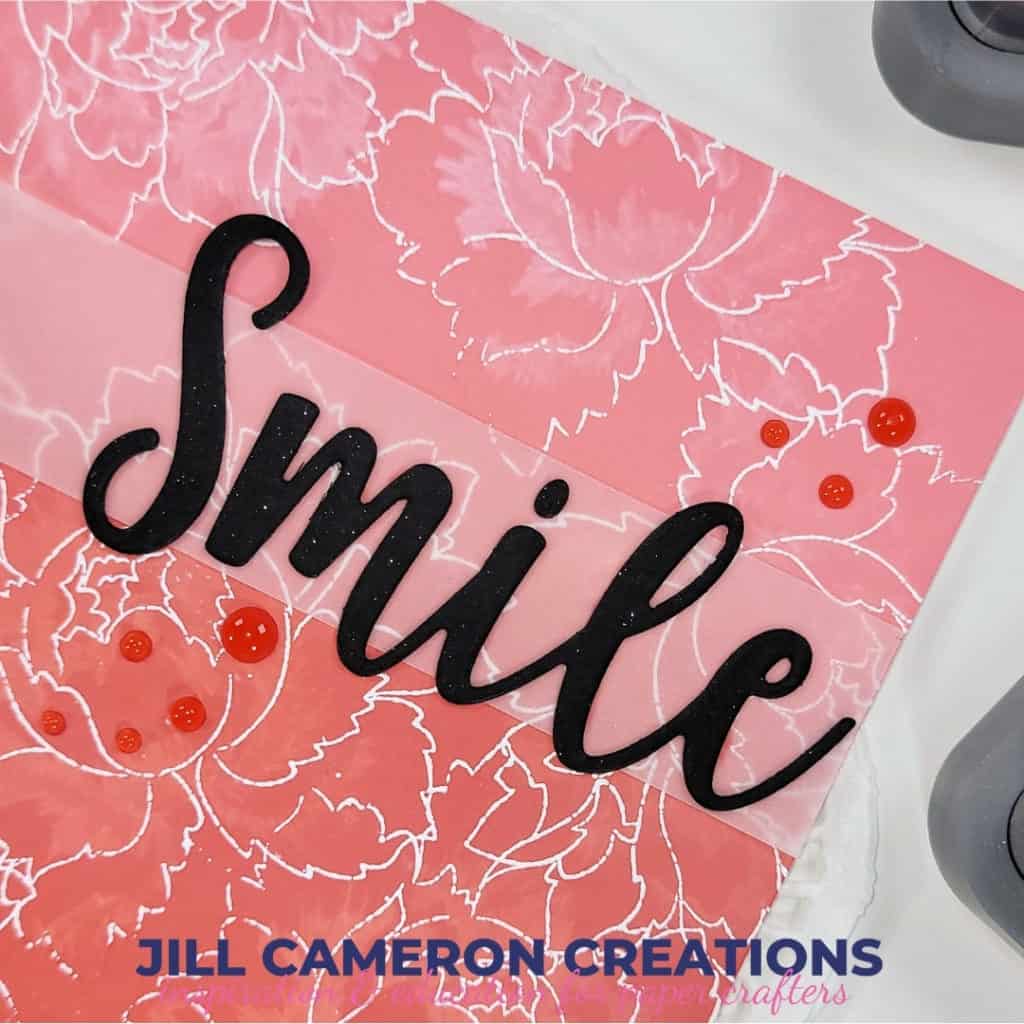
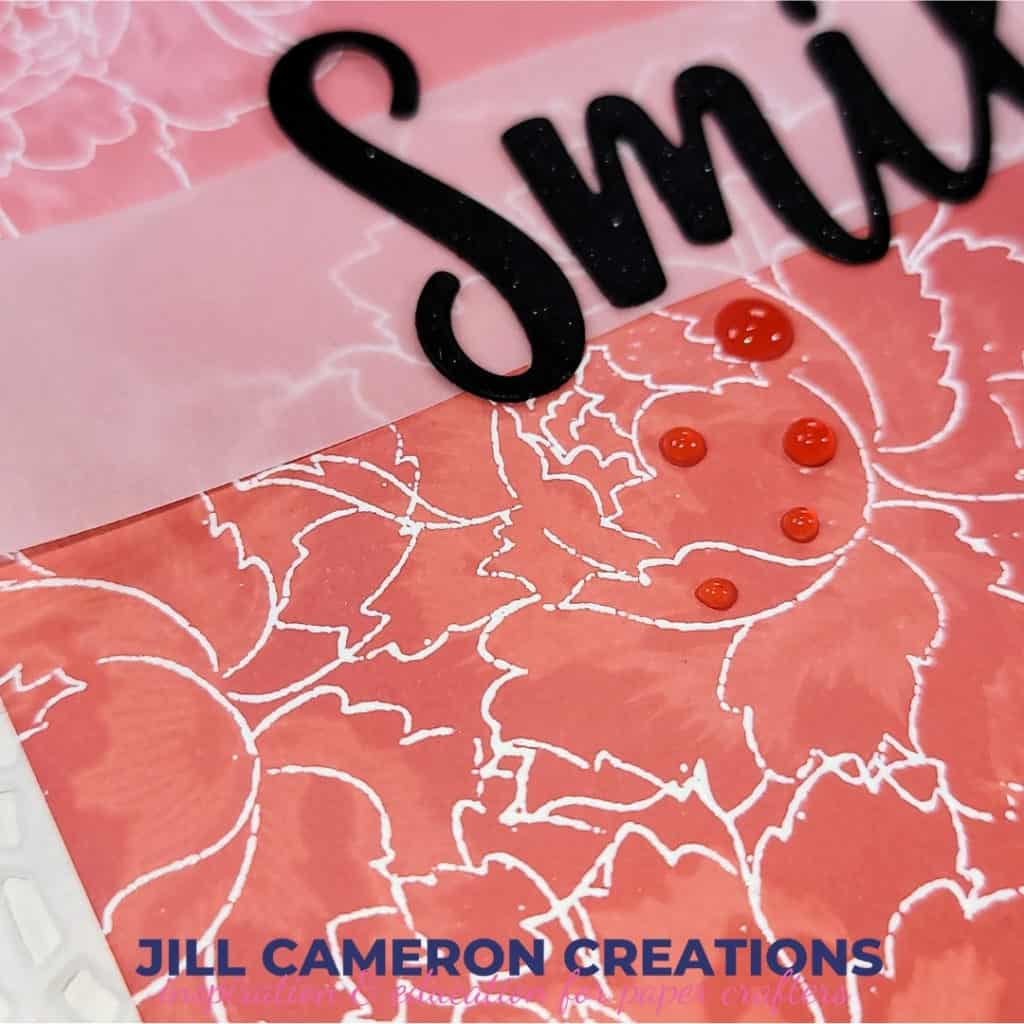
Finally, I trimmed a piece of vellum and die cut a sentiment in black cardstock. Add glue behind the sentiment to attach the vellum to the front of the card. For finishing touches I added some glitter pen to the letters and Nuvo drops.
I hope you enjoyed this card and give it try!
This post contains affiliate links for your convenience. This means if you make a purchase after clicking a link, I will get a small commission with no additional cost to you as the consumer. I participate in the Amazon Services LLC Associates Program, an affiliate advertising program designed to provide a means for sites to earn advertising fees by advertising and linking to Amazon.com. For full disclosure policy click here.

Looks amazing! Love the colours. Thank you for the video too and for linking your gorgeous work to the AECP assignment gallery.