AECP All About Layers Session Two
Hello! Today I’m sharing with you my second lesson on layered stamps from the All About Layers Two from Altenew. This is part my by Altenew Educator Certification Program.

Altenew has a bunch of FREE courses all about their laying stamps. I really encourage you to go check them out. There’s a ton of helpful tips on aligning various layering stamps in the Altenew collection.
AECP – All About Layers Session Two
I used two of my favorite stamp sets for the second All About Layers course; the Coral Charm and Beautiful Days. These two stamps coordinate amazingly well. And the layers on the large bloom are so detailed. There’s a third stamp set that too that I didn’t know about: Remember This.
In the last card, I used grey and solid images in the background to create depth on the card front. This time I created a patterned paper using the largest bloom outline stamp. I stamped it in Ruby Red ink on coral colored cardstock.
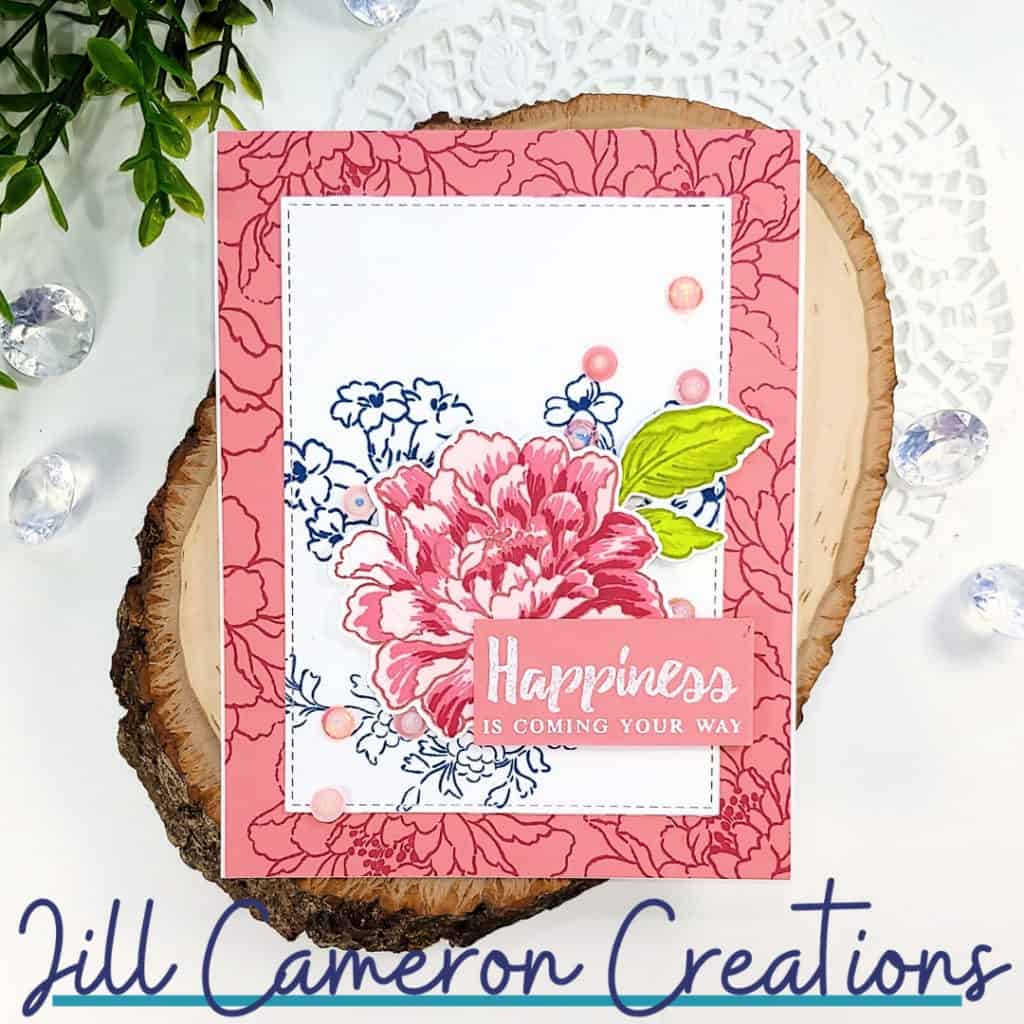
Next, I stamped the outline images in Desert Night ink on white cardstock. I trimmed the white panel down using a stitched rectangle frame. This adds a touch of detail to the card without being distracting.
I stamped the largest bloom of Coral Charm in the coral/pink inks and the leaf in the bright greens. Using the coordinating dies, I cut out both images. Then, I glued the leaf to the side of the flower image and popped both up using foam tape.
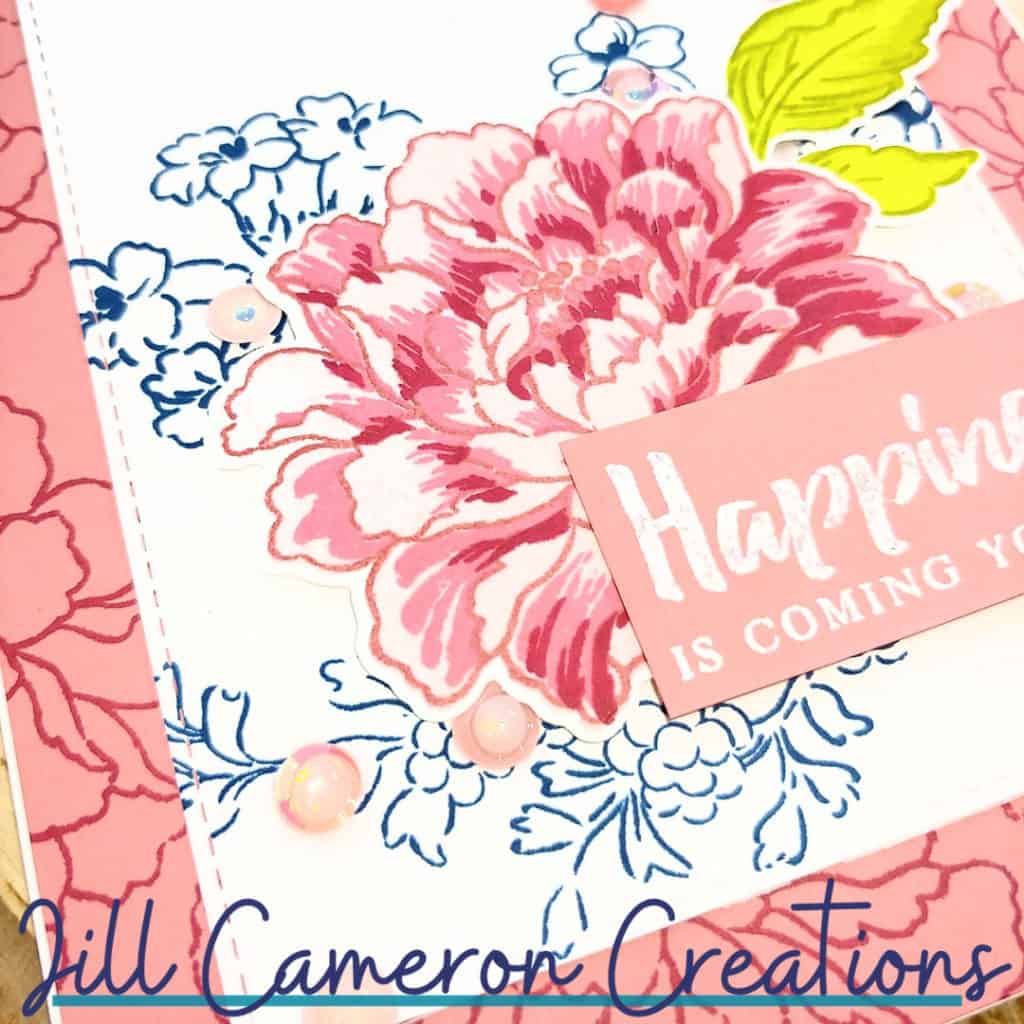
To add some extra interest to the card, I made sure the sentiment and the leaf were hanging over to the background panel. This connects each layer of the card from the front all the way to the back.
As a final touch I add sequins to the card including some tucked around the edges of the flower. I added Glossy Accents to the center of each sequin for extra shine.
I hope you have enjoyed this card and I’ll see you next time.
Affiliate Disclosure Policy
This post contains affiliate links for your convenience. This means if you make a purchase after clicking a link, I will get a small commission with no additional cost to you as the consumer. Jill Cameron Creations/Jill Lipscomb participates in the Amazon Services LLC Associates Program, an affiliate advertising program designed to provide a means for sites to earn advertising fees by advertising and linking to Amazon.com. For full disclosure policy click here.

BeaUtiful card, Jill! I really love just everything about it. The colors are amazing together, and before I read your post I was checking out those sequins and thinking they were pretty special…. love that you used glossy accents to make them extra ooh-la-la!
Thank you!
This is such a happy card! I love it! Look at all that is going on there and still, your eye is directed to the focal image! Good job!
Thank you for entering your work to the AECP assignment gallery.
Thank you!