Stitching on a Card Front
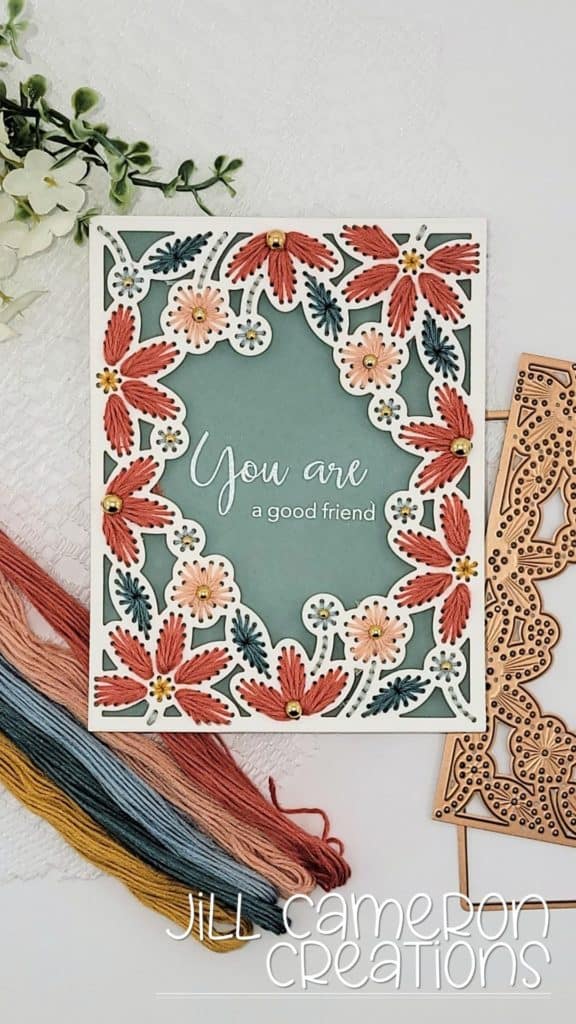
Hello, and welcome to Jill Cameron creations. Thanks for joining me today. Today, we’re making this beautiful card and we’re going to be stitching. We’re going to use the Spellbinders card, front die. This was from May of 2021, and I’ve never used it.
It sat over here in my pile of dies and I decided, I’m going to make a card with this today. I picked up the thread at Hobby Lobby but I’ve linked to an online source with tons of options below.
I cut the panel out of 110 pound card stock. I did run it through a couple of times to make sure that all the little holes got cut. I used my Spellbinders Tool-in-One to push through all the tiny pieces.
This is probably the most fretful thing for me is to sit here and make sure that all of those little pieces are punched out and then clean them up. The end of that process is totally worth it because I absolutely loved this card and how it turned out and all the colors in it.
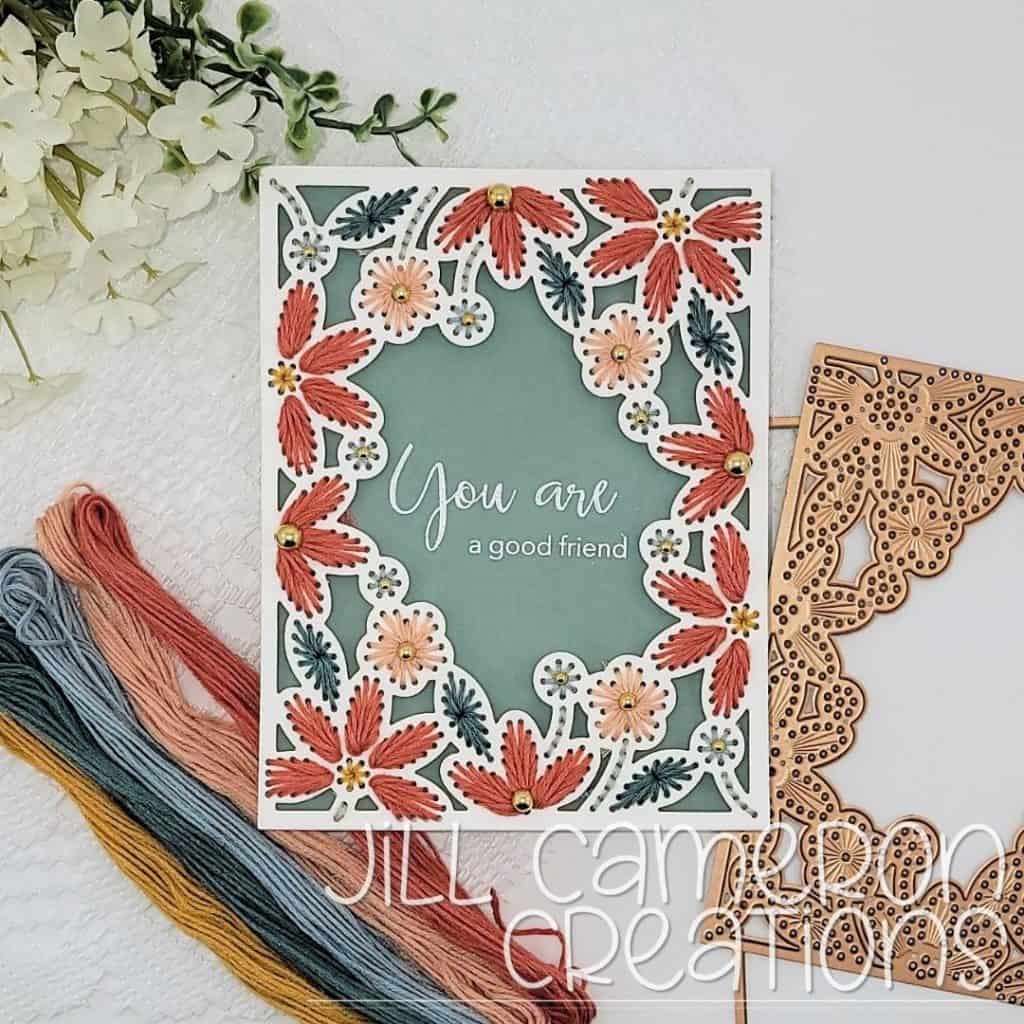
I’m using all six strands of my thread. You can of course pull it apart. If you want to and have more white on your card front, that’s entirely up to you, but I’m using all six strands. I cut my threads probably about 20 inches. I’m doing big stitches here. So I needed a lot of thread. Usually like if you’re doing just cross stitch, you might not necessarily cut great, big, huge chunks of thread like this.
To secure the end of the thread on the back of the panel, I just put a knot in the very end of my thread. Also, you don’t want to start where all of the thread comes together. You want to start out in the leaf part of it and not where all of the threads come together. Come up through the leaf and down at the base of the leaf. This is going to help prevent knots and it’s so much easier.
Also you could add bead work to this. You could add sequence to this. You could add anything you wanted to, to this. Jennifer McGuire has some really great posts on adding beading to your stitching on a card front. Just make sure that your needle with go through the holes in the beads or sequins. I tend to use a large barrel needle because they are a lot easier to hold for me.
The stamp set I’m using as an older stamp set from Simon says stamp, and it is a Thoughtful Messages. I’m going to use my Mini Misti to align the sentiment in the center of the stitched panel.
We’re going to do white heat embossing with detailed white embossing powder.
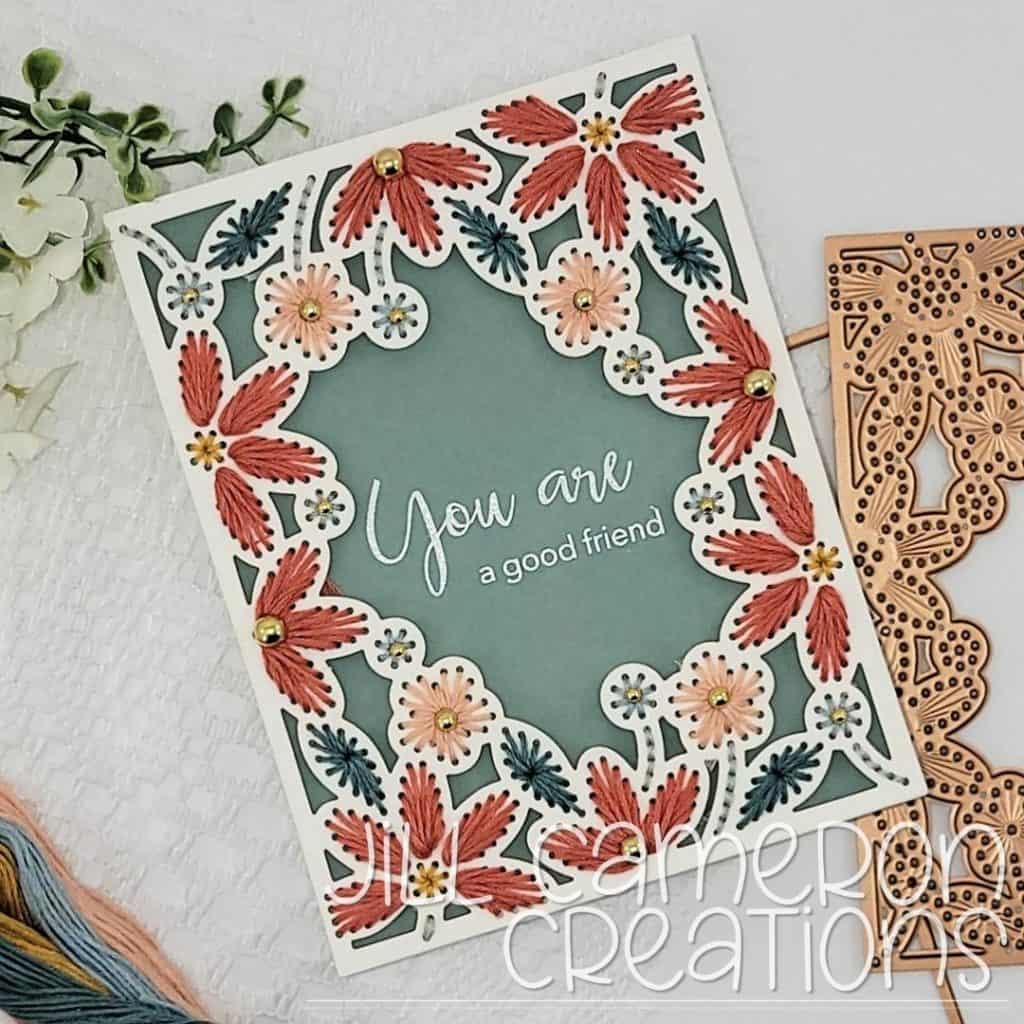
I haven’t used a stamp set in forever and I forgot I even had it until I was going through my inventory (in Evernote: see this blog post for how to create an inventory of your stamps and dies).
Finally, I added gold pearls to the centers of some of the flowers. I hope you enjoyed this fun and beautiful card! Click the links below to shop the products suggested to make this card.
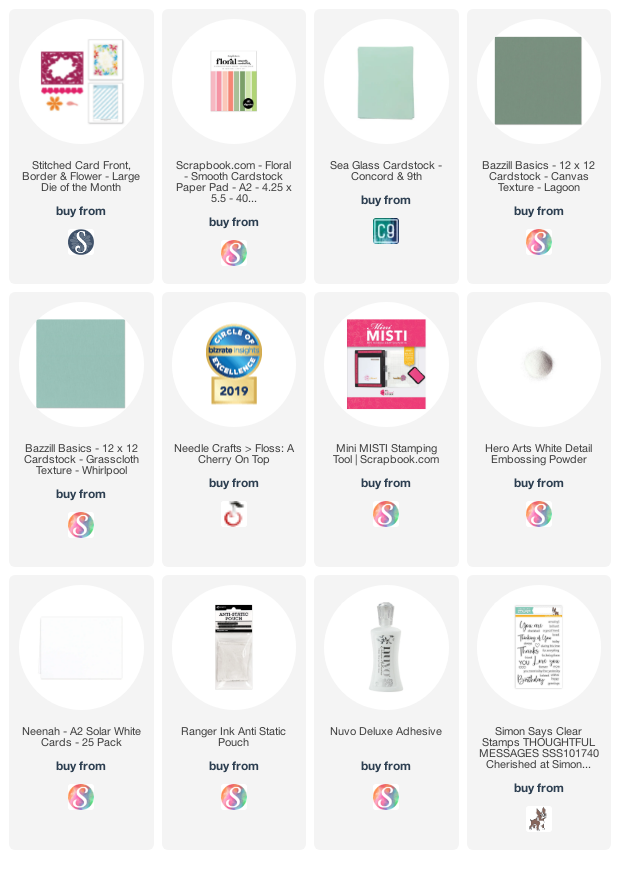
This post contains affiliate links for your convenience. This means if you make a purchase after clicking a link, I will get a small commission with no additional cost to you as the consumer. I participate in the Amazon Services LLC Associates Program, an affiliate advertising program designed to provide a means for sites to earn advertising fees by advertising and linking to Amazon.com. For full disclosure policy click here.


Is anyone having trouble die cutting the May 2021 set from Spellbinder? Every time I die cut it, it does not cut all the way through leaving a big mess trying to get all the tiny pieces out. I’m new to die cutting/card making and figure I must be doing something wrong.
Margaret you may need a shim to cut the ones with tiny pieces in the die. Add an additional piece of cardstock between two of your plates. Or try a new cutting plate set. I’ve never had an issue with Spellbinders dies but that doesn’t mean there can’t be a bad one in a batch. I hope this helps.