Song Inspired Card – Bloody Valentine
Hello! Today I’m doing something a little bit different. I am creating a song inspired card. The song that inspired this card is Bloody Valentine by Machine Gun Kelly. Well, it wasn’t JUST the song that inspired the card; the marketing, the video, the entire package inspired the card.
I also wanted to demonstrate that inspiration can come from anywhere! I get inspired by paintings, photographs, nature, and of course other’s cards. Now, I’m sure you’re thinking that you’re not that creative. Guess what! You certainly are that creative. Inspired creativity is like a muscle, the more you use it the stronger it gets.
As always all of the products for this project are linked at the bottom of this post.
Song Inspired Card – Bloody Valentine
I think the first thing that caught my eye for the marketing of this song was the bold color: super bright pink! It was the bold pink background with the old style label maker words across the screen. And I thought to myself “Man I’ve got stamps like that. And I love the colors. And oh yeah this song is amazing!” So I started sketching.
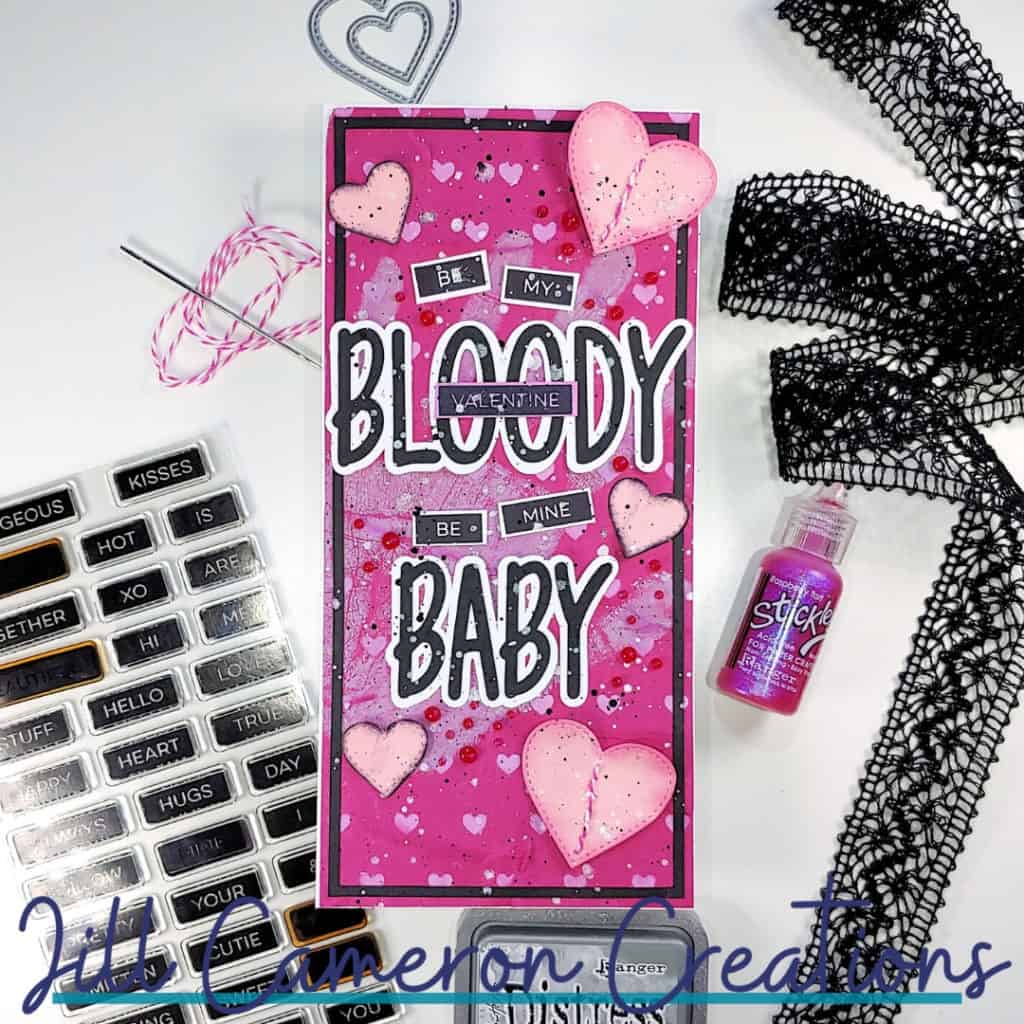
I really had to get creative for this card. I didn’t have a stamp set to use that matched the theme perfectly. I didn’t have any die-cut sentiments that were just right. So here’s what I did.
The background
For the background of the card, I used that bright pink color and stenciled hearts all over the background in white pigment ink. Then, inspired by a lyric from the song, I stamped my hand print in Distress Oxide Hickory Smoke ink.
I really wanted the card front to have that battered look to it so I crumpled the cardstock and added a few rips and tears around the edge. Be sure the ink is dry completely before you ball up the paper.
Then I took a dark pink ink on a finger dauber and added it in the creases and along the tears so those places would really stand out.
When I added this panel to the card base, I used a bit more glue than I normally would because the cardstock was crinkled in places. I also, didn’t worry too much about it totally flat. I wanted it to have that rumbled feel.
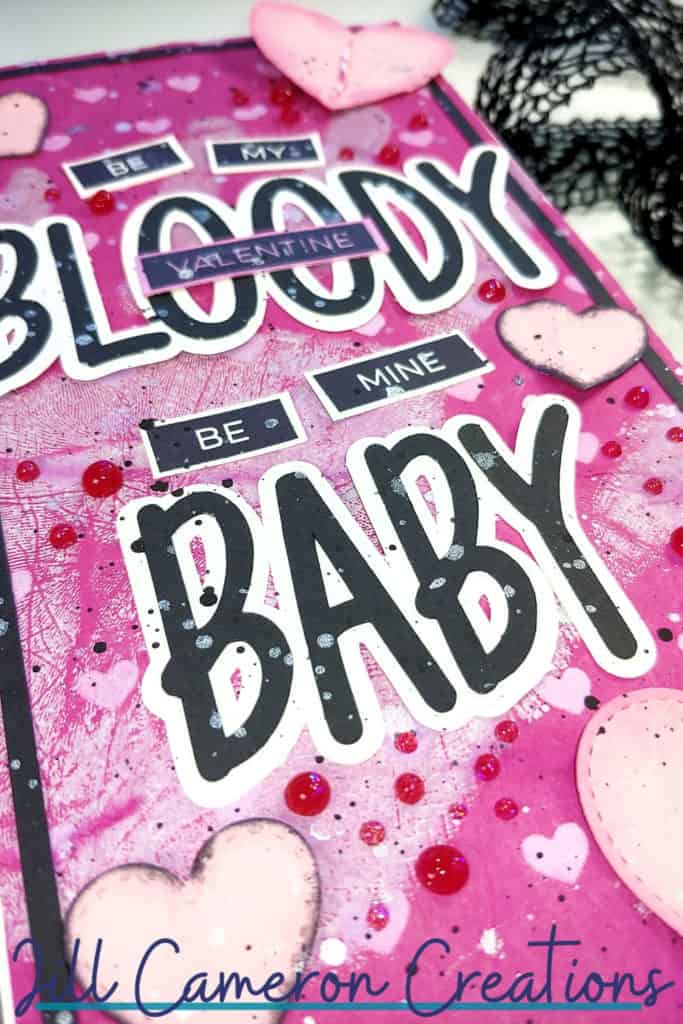
The elements of the card
I added a skinny black frame around the edge of the card front. This really adds a finished look to the final product.
I found an old stamp set by MFT Stamps that looked like labels and happened to be love sentiments. I remembered I had this in the for sale pile in my closet.
But what if I didn’t have these stamps? Then I would have made them using black cardstock, white embossing powder, and white cardstock. This method would have a very different but not less effective look.
Next, I die cut hearts from lighter pink cardstock. I added a stitched line of baker’s twine down the center of the larger hearts. I also added dark pink ink around the edges of the larger hearts and black ink around the smaller hearts. Then, I crumbled those hearts too.
I created the words and the shadow for BLOODY and BABY using my Silhouette Cameo.
The assembly
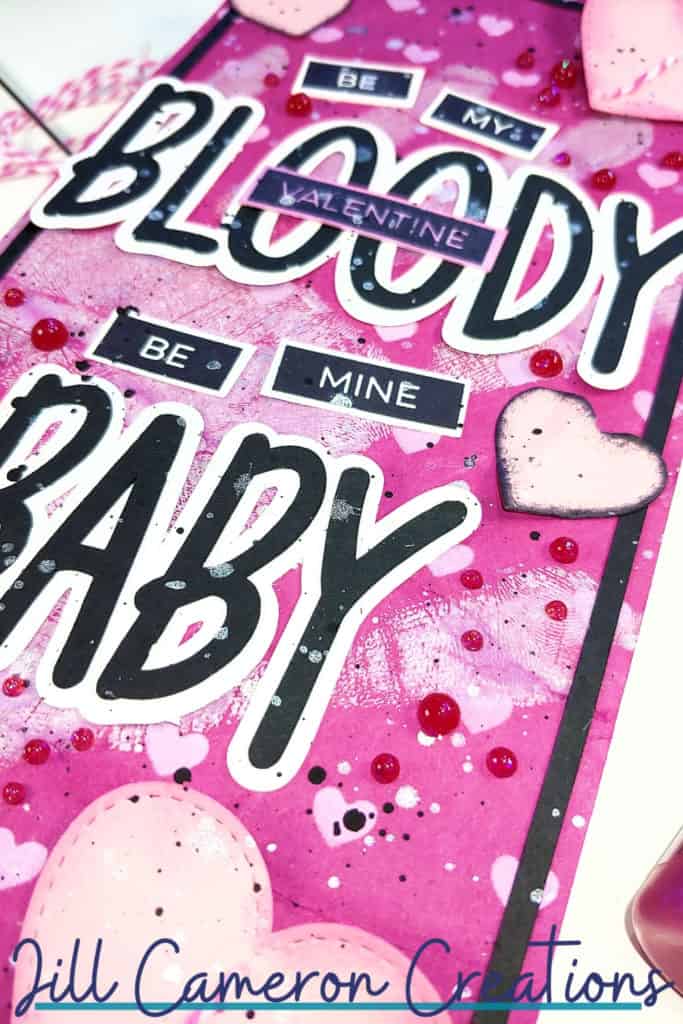
I dry fit all of the elements of the card first. I wanted to make sure the hand print still looked like a hand print and the hearts weren’t too big. This also enabled me to see that I needed to add some contrast between the stamped word valentine and the die cut sentiment bloody.
Once I was happy with the placement of all of the elements I glued everything down but I didn’t glue it down flat. I made sure the hearts all had shape from being crumpled. I made sure the edges of the label words were sticking up a little bit.
Finishing touches
After I got everything together, the card just looked to clean. So I pulled out my black acrylic paint and Perfect Pearls. And don’t forget the box to protect your work area. I splattered both all over the entire front of the card.
Finally, I used Stickles in a bright pink to add dots all over the front too.
Affiliate Disclosure Policy
This post contains affiliate links for your convenience. This means if you make a purchase after clicking a link, I will get a small commission with no additional cost to you as the consumer. Jill Cameron Creations/Jill Lipscomb participates in the Amazon Services LLC Associates Program, an affiliate advertising program designed to provide a means for sites to earn advertising fees by advertising and linking to Amazon.com. For full disclosure policy click here.


Is this available for purchase?
Any way I could buy this pre-made from you for Valentine’s Day?