Slimline Card Using Pinkfresh’s Eucalyptus Fantasy
Hello! It’s day four of my 30 days of cards series. Today, we’re creating a slimline card using Pinkfresh Studio stamps and dies. Slimline cards are super popular right now and make an amazing impact for the card recipient.
What is a slimline card? It’s a card that’s a little longer than a more traditional A2 size card. I use a common size of 9″ x 4 1/4″. This means the card fits in a legal size envelope.
All of the products used in making this card are listed at the bottom of this post.
Slimline Card
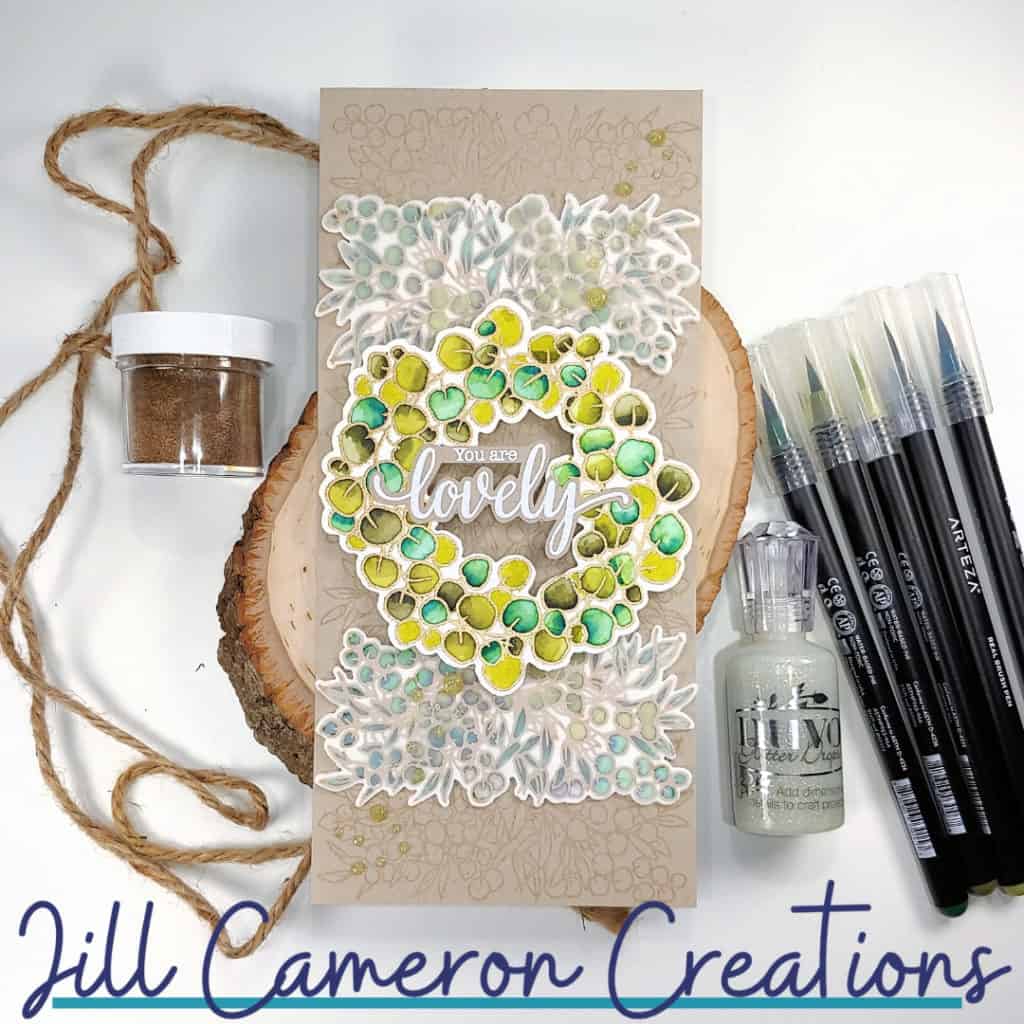
To get this card started, I cut down the main panel to 9″ x 4 1/4″. If you get little fuzzies on the edge of the paper rub a slightly rough paper towel along the edge to remove them. Then, I stamped the more rectangular image four times using Versamark ink. This gives a great background without it overpowering the images.
Next, I stamped each of the eucalyptus images on watercolor paper using Versamark ink. I used gold embossing powder and heat set each image.
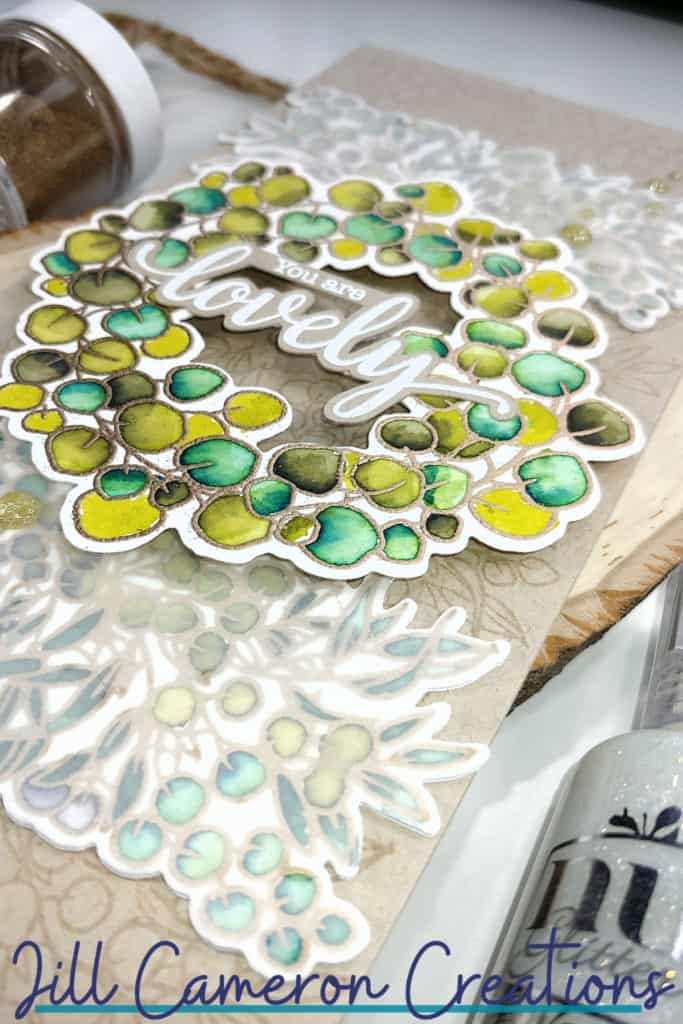
Instead of using traditional watercolor, I used Arteza watercolor Real Brush Markers and a water brush. It was pretty quick work.
When I dry fit the card I wasn’t very fond of how the three watercolored images looked together. So, I added vellum over the images in the background to tone down images and provide more contrast.
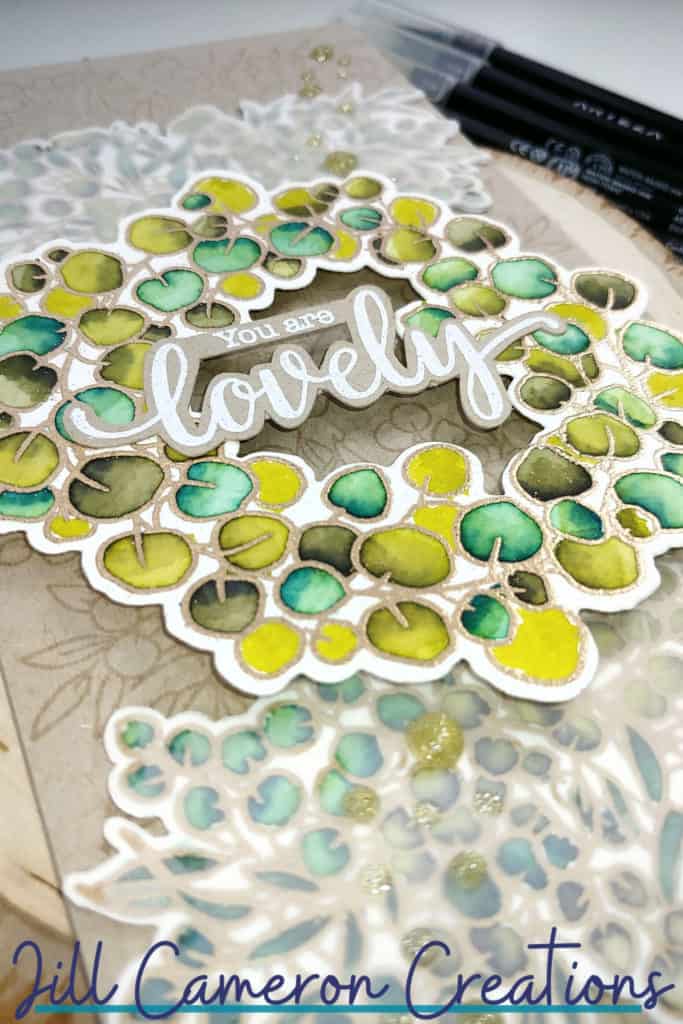
Lastly, I popped up the wreath in the center and added the sentiment in the middle. For that final added pop, I used Nuvo Drops in Gold Coast.
I hope you enjoyed this slimline card today!
Affiliate Disclosure Policy
This post contains affiliate links for your convenience. This means if you make a purchase after clicking a link, I will get a small commission with no additional cost to you as the consumer. Jill Cameron Creations/Jill Lipscomb participates in the Amazon Services LLC Associates Program, an affiliate advertising program designed to provide a means for sites to earn advertising fees by advertising and linking to Amazon.com. For full disclosure policy click here.


