It’s the start of a brand new year. You have an entire year of birthdays, holiday, and special occasions in front of you. Why not take a little bit of time and create an entire year of cards with batch card making? I have a simple way to make cards fast! It doesn’t matter the design or how detailed the card; this method will decrease the time it takes to make all of your cards for the entire year!
A few things to keep in mind when you are working through batch card making:
- Keep the design of the card pretty simple. The more complex the card, the longer the creation process is going to take. And there’s nothing that will change that particular aspect.
- Do NOT stress over perfection. It’s a handmade card and will be loved no matter what! And if anyone mentions an imperfection, you don’t need to take the time to send that person a card anyway. 🙂
- Be sure to set aside enough time to make all of the cards you want to make in a specific batch. It takes me about 2 hours to create 15 cards.
Batch Card Making
- The very first thing you need to do is to decide on a card design. Scan through Pinterest and blogs to get ideas. I usually like to start with a card sketch.
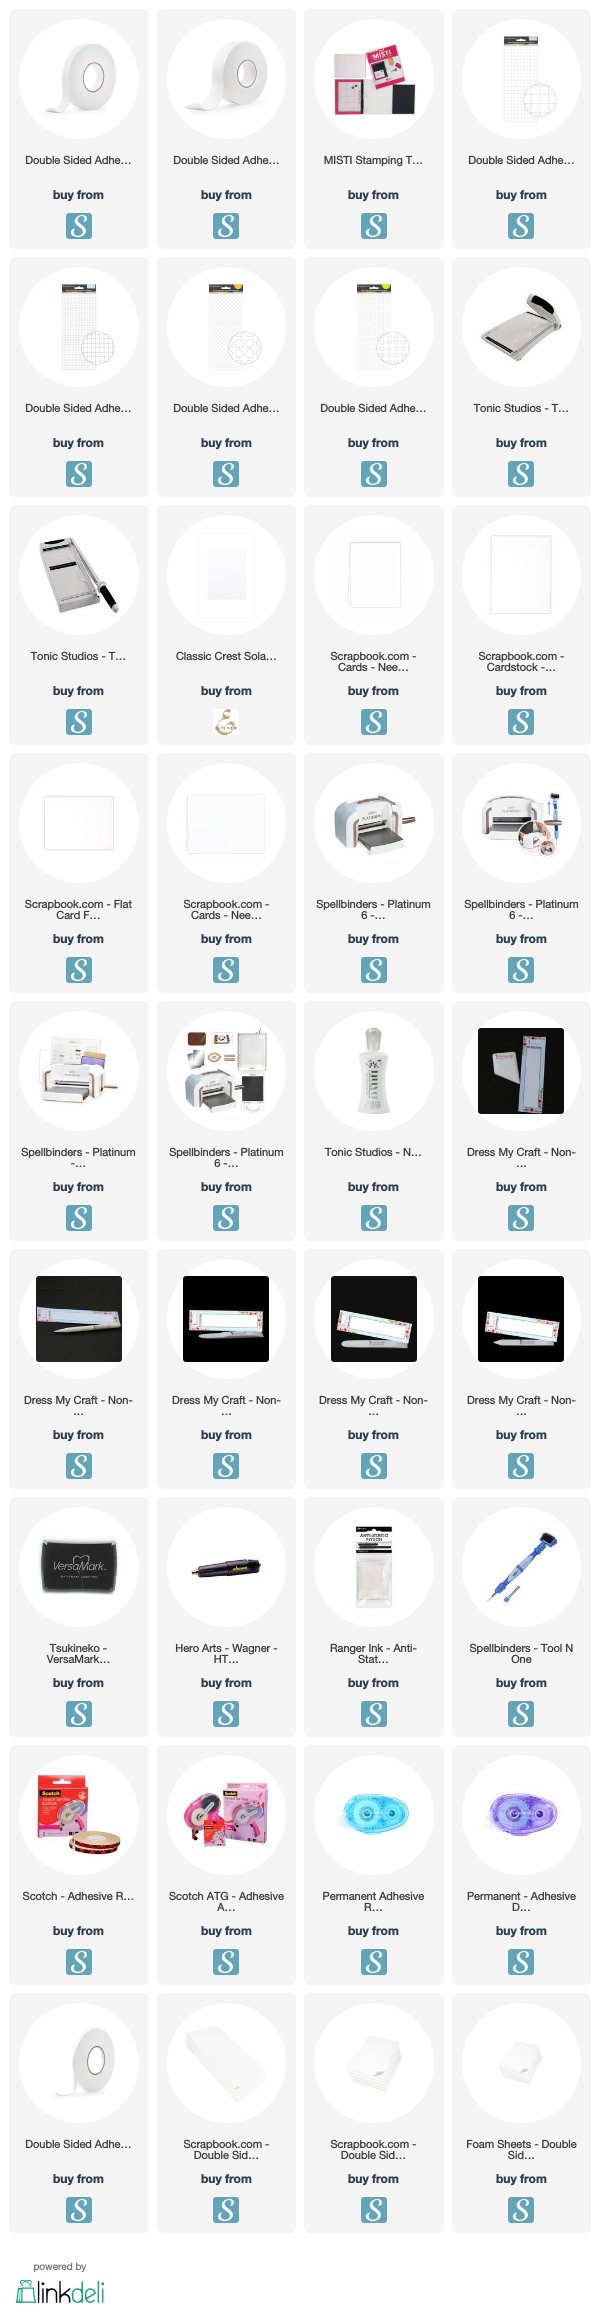
- Make a list of the supplies you need. I always make a list of the supplies so I can go back and make the card again if I want to.
- I do recommend making one of the cards in your sketch and with the supplies listed. This is to make sure you like the card and you can make any adjustments that might be needed or grab any additional supplies you might need.
- How many cards do you want to make? How many card bases? How many card panels? Figure out all the numbers and jot it down with your supply list.
- Cut all of the card bases, panels, and strips. Cut down any paper that needs to be cut using a paper trimmer.
- Stamp all of your images. A MISTI really does help this process.
- If you are die-cutting your stamped images, be sure to leave enough room between each image.
- If you are heat embossing use your anti-static powder tool, stamp, sprinkle with embossing powder and set the paper aside. Heat everything at one time.
- If any images need to be colored, go for it. Keep your marker or pencil colors to two or three.
- Next, die-cut everything that needs to be die-cut.
- Are you planning on adding ribbon, twine, or bows? Cut your ribbon, twine, and such all at once.
- Put all of your various elements into like piles. You know, put the card bases in a stack and put the die-cut things in a stack.
- Now, all you have to do is assemble the cards.
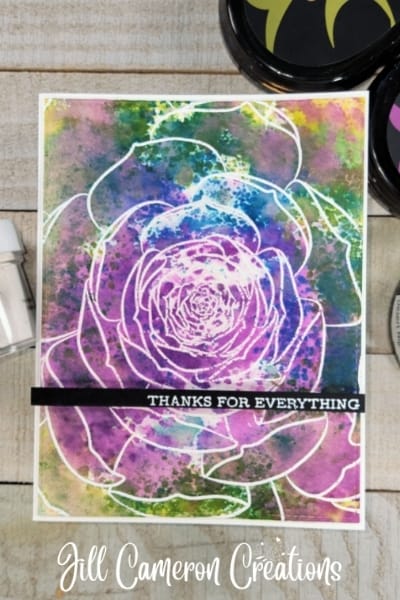
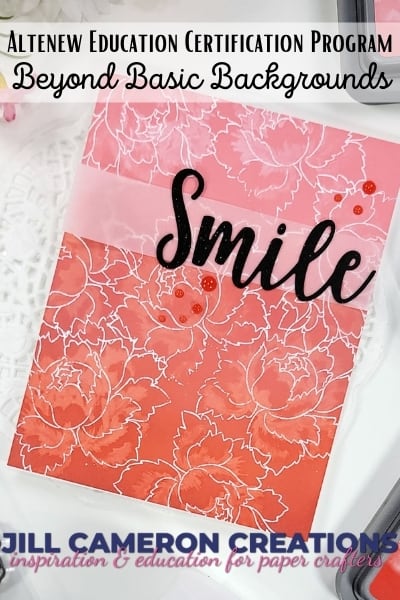
That’s it! Seriously, it’s that easy. Layered stamps make really amazing cards for batch card making. A few of my favorite layering stamp sets are at the bottom of this post.
What do you do if you don’t have a MISTI?
If you don’t have a MISTI (or another stamping tool similar to a MISTI) use acrylic blocks. Place all of the images you plan to stamp on acrylic blocks and stamp one image at a time. Don’t have enough blocks for all of the images? Go with the blocks you have. Try to stamp each image in roughly the same place on each cardstock panel. This will save you a ton of time figuring out where to stamp your next image.
Check out these other articles to help you use all of those card making supplies:
How to use Patterned Paper on Any Card
Twisted Stencil Background
This post contains affiliate links for your convenience. This means if you make a purchase after clicking a link, I will get a small commission with no additional cost to you as the consumer. I participate in the Amazon Services LLC Associates Program, an affiliate advertising program designed to provide a means for sites to earn advertising fees by advertising and linking to Amazon.com. For full disclosure policy click here.