Masculine Valentine’s Day Card
Let’s face it when it comes to creating a Valentine’s Day card for the guys, it just ain’t easy. I’m from the south so ain’t is a word. I struggle every year to come up with masculine Valentine’s Day cards. Heck, I struggle coming up with masculine cards period. So I gave it some thought. Who says that a masculine card can’t be pretty too? I know I sure didn’t!
I asked myself what makes a card masculine and the first thing that came to mind was it wasn’t pink or glittery. Instead I thought a masculine card was more subtle in earthy tones. So, that’s what I went with. Hey…gold is an earth tone and you won’t change my mind about it. 🙂
Affiliate Disclosure Policy
This post contains affiliate links for your convenience. This means if you make a purchase after clicking a link, I will get a small commission with no additional cost to you as the consumer. Jill Cameron Creations/Jill Lipscomb participates in the Amazon Services LLC Associates Program, an affiliate advertising program designed to provide a means for sites to earn advertising fees by advertising and linking to Amazon.com. For full disclosure policy click here.
Masculine Valentine’s Day Card
Now this card is for Valentine’s Day but it can be used for anything. You can use an oval, circle, square, or any other shape of
A quick note before we get started in the how-to for our post. I used a retired stamp and die set from Concord & 9th. I’ve included links below for some other similar stamp and die sets. Or use what you have at home.
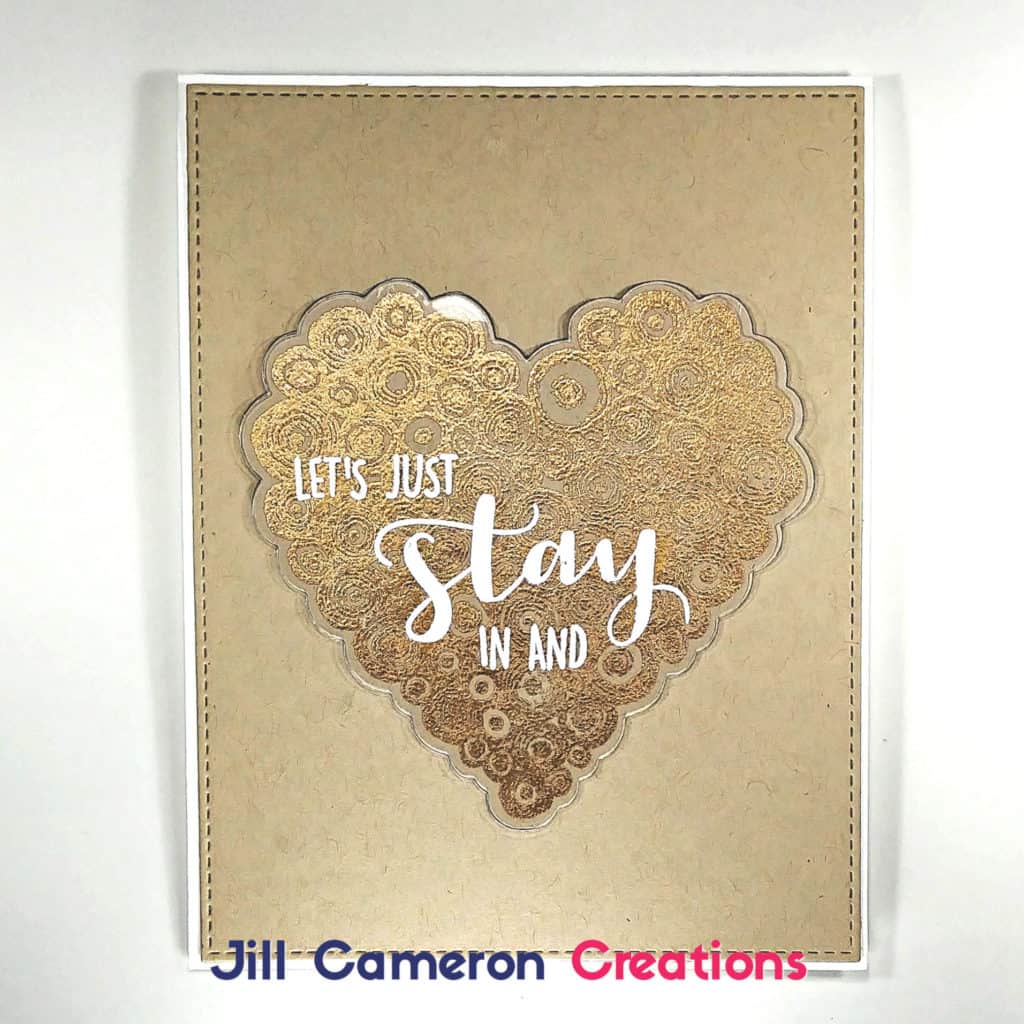
First I stamped the heart wood image in the middle of a panel of Neenah Dessert Storm cardstock. I used Simon Says Stamp Embossing ink but by the end I wasn’t that impressed with it. I’ll be sticking with Versamark. (I talk more about this in the video.) Don’t forget your anti-static embossing bag here!
I used Simon Says Stamp Gold Embossing powder which I really loved the color of on this paper. And of course melted the embossing powder with my heat tool.
Next, I used the coordinating die to die cut the heart. I also die cut three more of the hearts from black cardstock. You wouldn’t believe how it makes the image pop off the panel. It’s so cool!
I wanted the sentiment to be on top of the heart so I got out my heat resistant acetate and white heat embossed the sentiment. Then, I die cut it from the same heart.
For the last steps, I die cut the negative piece of the heart with a stitched rectangle die and adhered it to a white top folding card base. Then I adhered the heart into the hole. To add the acetate, I added drops of liquid adhesive behind the letters. Done!
More clean and simple cards Subtle Embossed Background for Any Card and Quick Coffee Invite with Concord & 9th.