How-to: Twisted Stencil Background
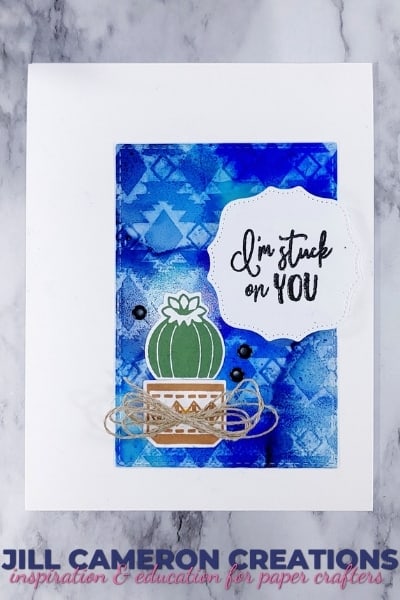
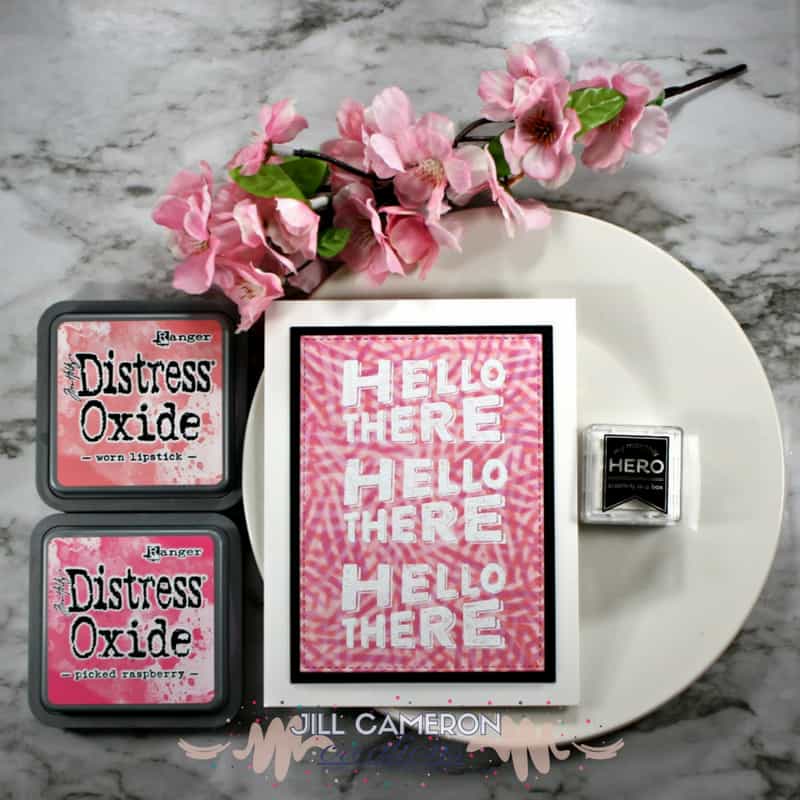
I love the look of an inked stencil background. There’s just something about it that appeals to my visual senses. I also love finding new ways to use the products I have to get more from them. This stencil background was created by rotating the stencil and inking in different colors. I finished it off with a bold graphic sentiment stamp in white heat embossing.
Affiliate Disclosure Policy
This post contains affiliate links for your convenience. This means if you make a purchase after clicking a link, I will get a small commission with no additional cost to you as the consumer. Jill Cameron Creations/Jill Lipscomb participates in the Amazon Services LLC Associates Program, an affiliate advertising program designed to provide a means for sites to earn advertising fees by advertising and linking to Amazon.com. For full disclosure policy click here.
Products Used
Distress Oxide Inks Picked Raspberry and Worn Lipstick
Ink Blending Tool
Versamark Ink Pad
White Embossing Powder
Anti-Static Tool
White Pigment Ink
Black Cardstock
Neenah White Cardstock 80 lb
Hero Arts March 2018 Kit – Stamp and Stencil
Check out my most used products here
How-to: Twisted Stencil Background
- First, I started with a 4 1/4″ x 5 1/2″ white cardstock panel. I taped my stencil over it using some painters tape. Using an ink blending tool, I blended on the first color. This should be your darkest color
- Next, I picked up the stencil and turned it 1/4 of a turn. The paper stays in the exact same place. Blend on your second color.
- Now, pick up the stencil once more and give it a 1/4 turn. Ink blend white pigment ink. Be sure to set this aside to dry or dry it with your heat tool so the pigment ink doesn’t smear.
- I used my MISTI to center up the sentiment stamp. Don’t forget the anti-static powder tool! You don’t want white embossing powder sticking to things it shouldn’t. Stamp the sentiment in Versamark ink then coat in white embossing powder. Melt the powder with your heat tool.
- Move the paper in the MISTI instead of moving the stamp. Space it out evenly and repeat the embossing process.
- I decided the card needed a pop so I used a die from the A2 Stitched Rectangles for my main panel and the black panel.
- The ink blended panel adheres directly to the black panel. The black panel is mounted on a piece of fun foam.
- And that’s it. A super simple and fun card to create with lots of texture.
I hope you give this card a try with the stamps and stencils you have at home. Just turn that stencil and see what happens. Share your cards on social media with the hashtag #jccreations. Thanks for stopping by and have a great day!
