How to Stamp a One Layer Card
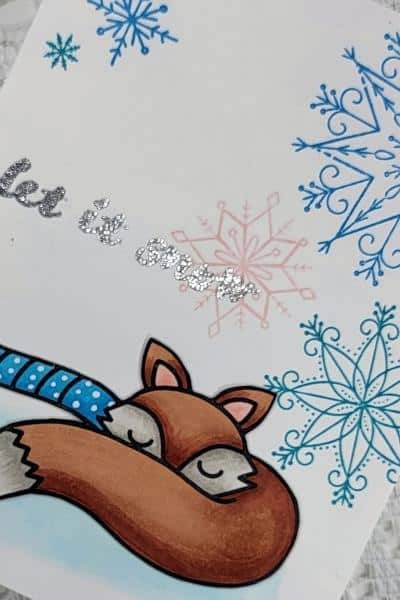
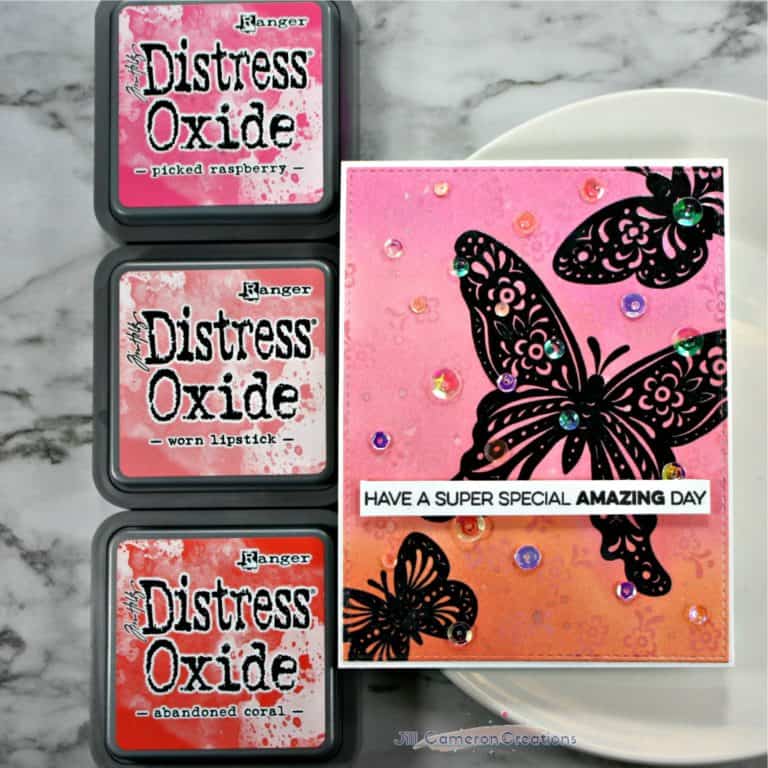
Hey hey! Let’s take a look at how to stamp a one layer card today. This isn’t a scary process and just needs a little bit of planning.
I have a video going over the entire process of making this card with the main focus on stamping a single layer card. The supplies I used for this card are linked at the bottom of this post.
Stamping a one layer card can be a bit intimating if you’re not sure where to start. You’ll need a scrap cardstock panel the size of finished card to practice on and masking paper. I use Avery Temporary Full Sheet Labels (linked at bottom of post). It’s a pile of labels in the package and a pretty good price.
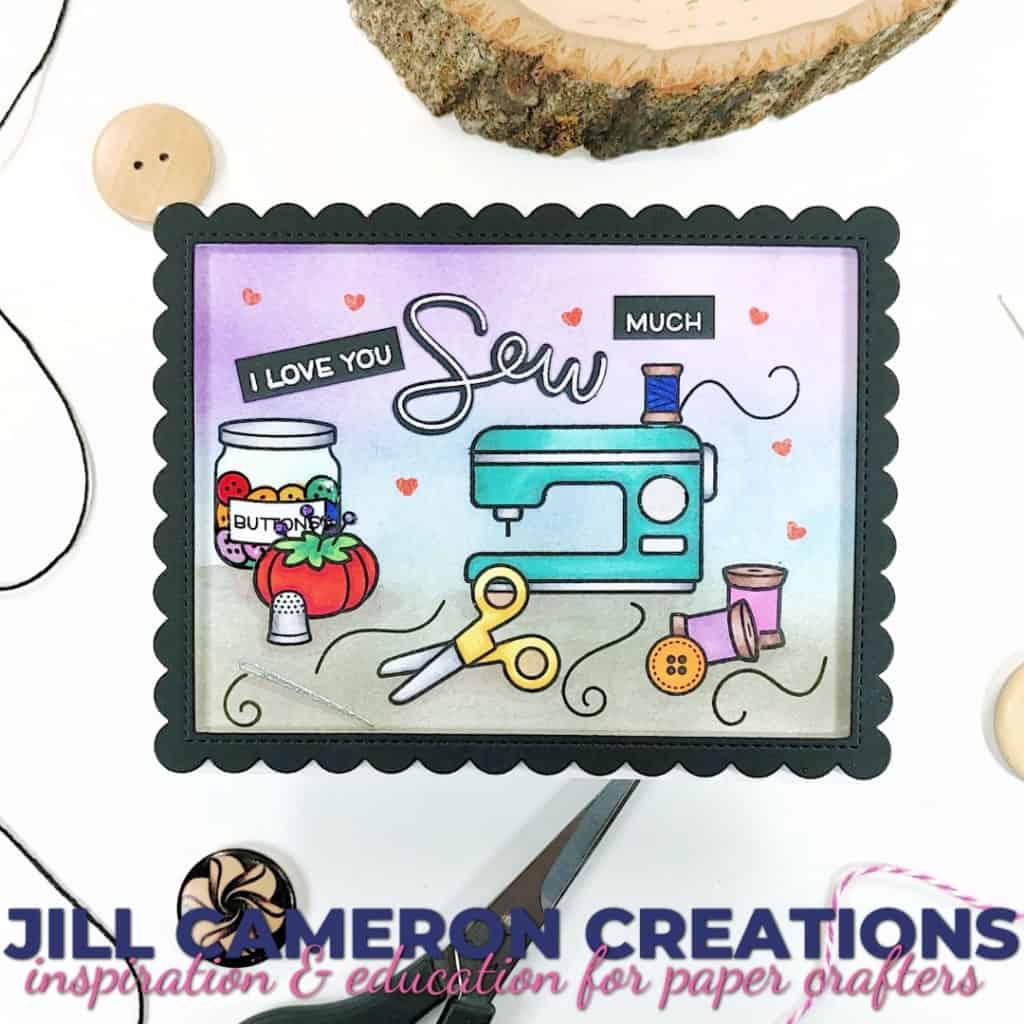
The first thing I like to do is go ahead and stamp all of the images from the stamp set on my masking paper and trim them out. Remember to cut more to the inside of the line instead of the outside of the line. The closer to inside of the image the less likely there will be a white line around your masking.
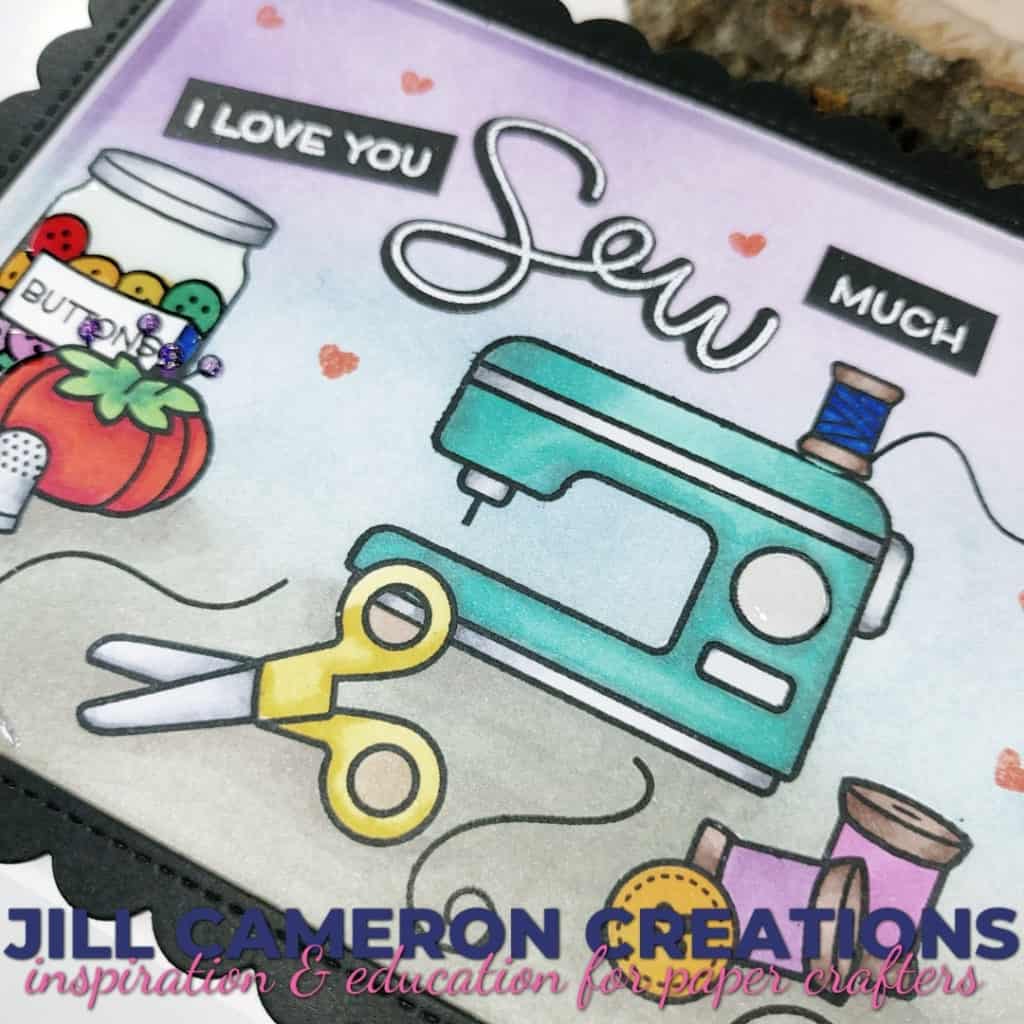
Next, stamp your scene out without masks on your scrap cardstock panel. Just stamp out where you want your images to be. This will allow you see if something needs to be added and what needs to be stamped first. Now, you have a guide for the placement of your stamps for your final panel. Also, if you don’t like the first try, flip over the panel and start over on the other side.
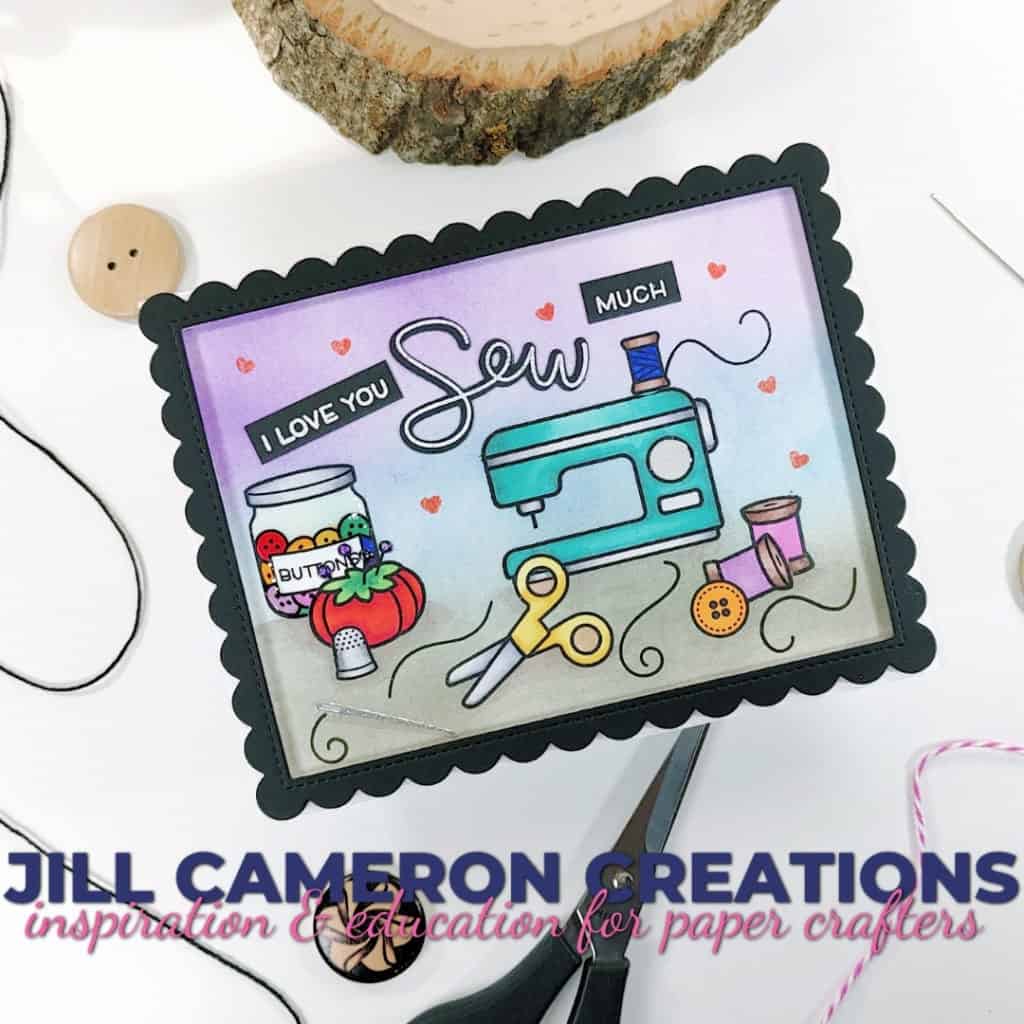
Now we’re ready to stamp on our real panel that will be our finished card. Place your cardstock panel in a stamping tool. A stamping tool such as a Misti or Stamparatus helps with your stamp placement. Pop your practice panel in the stamping tool on top of your real panel, align your stamps, close the lid to pick up the stamps, then remove the practice panel, and stamp on your finished panel.
But how exactly do you stamp the scene so it’s in the correct order? Start with the images in the front first. Then add the masks. Stamp the next row of images and add the masks. Proceed in this manner until all of your images are stamped.
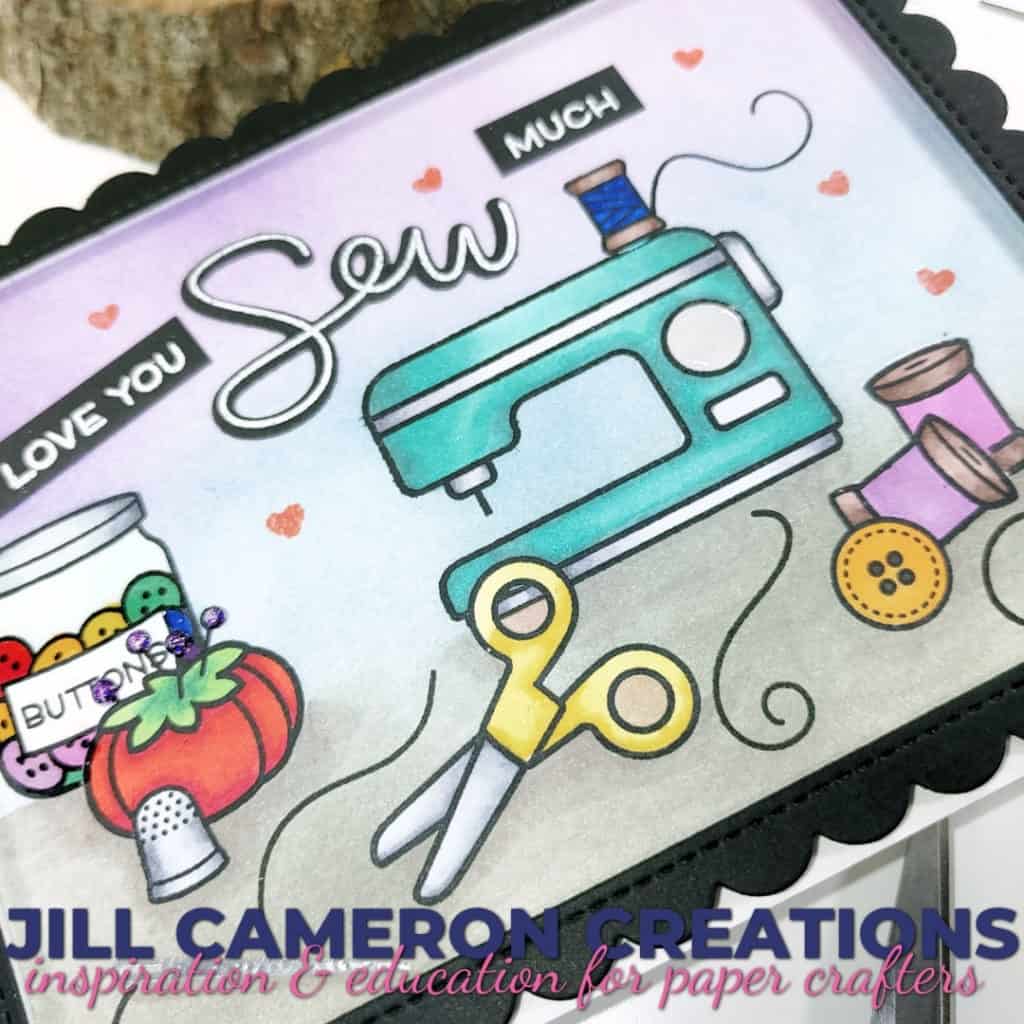
That’s it! It’s that simple. It just takes a little bit of planning. The more you create one layer cards, the easier it gets. I can’t wait to see what you create! Be sure to share it with me.
This post contains affiliate links for your convenience. This means if you make a purchase after clicking a link, I will get a small commission with no additional cost to you as the consumer. I participate in the Amazon Services LLC Associates Program, an affiliate advertising program designed to provide a means for sites to earn advertising fees by advertising and linking to Amazon.com. For full disclosure policy click here.


Really great card … I’m impressed by all your masking!
Thank you!
This is sew pretty! Haha! Sorry, I had to!😉 Thank you so much for playing with us at Lawn Fawnatics!
Thank you!