How to: Hot Foil
Hello All! We’re learning about hot foiling today! It’s a great and easy way to add sparkle and even elegance to any card. Let’s jump in and get started.
Watch this video! I go over everything in the video and demonstrate in real time how to use Spellbinders’ Glimmer Hot Foil System. Check out the tips at the end of this post too!
This post contains affiliate links for your convenience. This means if you make a purchase after clicking a link, I will get a small commission with no additional cost to you as the consumer. I participate in the Amazon Services LLC Associates Program, an affiliate advertising program designed to provide a means for sites to earn advertising fees by advertising and linking to Amazon.com. For full disclosure policy click here.
Supplies Used & Suggested Products
Spellbinders Glimmer Hot Foil System
Spellbinders Glimmer Hot Foils
Spellbinders Glimmer Hot Foil Plates
Pinkfresh Studio Hot Foil Plates
Crafters Companion Gemini Foil Press Machine
There’s a few things you need to know before you start with foiling. There is a difference between Deco Foil and Hot Foil. Deco Foils require some kind of medium between the paper and the foil in order for the foil to stick to the paper. In this case mediums such has Deco Transfer Gel, toner from a laser printer, or sticky embossing powder work well. In most cases you’ll need a laminator for all of these mediums to work with Deco Foil.
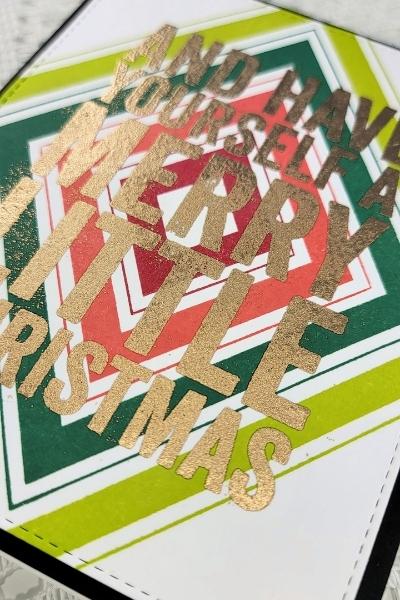
Hot Foil on the other hand is a little bit thinner and requires heat and pressure to transfer the foil to the paper. Nothing is needed between the paper and the foil sheet. Hot foil reacts to the heat from the medal plate to release and create a little bit of a letter press look in the process.
One thing to keep in mind when using any hot foil system is that it is HOT! It’s not so hot you can’t touch it but if you craft with the kiddos, they shouldn’t handle the plates or platform.
Using a hot foiling system does take a little bit of extra time. But are we really going to complain about more crafting time? I’m not! It takes about 3 minutes for the platform to heat up to a ready state.
Once the platform is ready then you can put your plate on the platform, place the foil on the plate (pretty side down), place the paper on top of the foil, and lastly the shims. Then, press the timer button so the plate gets hot all the way through.
After the timer light is solid and stops blinking, pull the platform out and run it through your die cutting machine.
I like to allow my paper to cool for a few moments before I pull off the foil sheet.
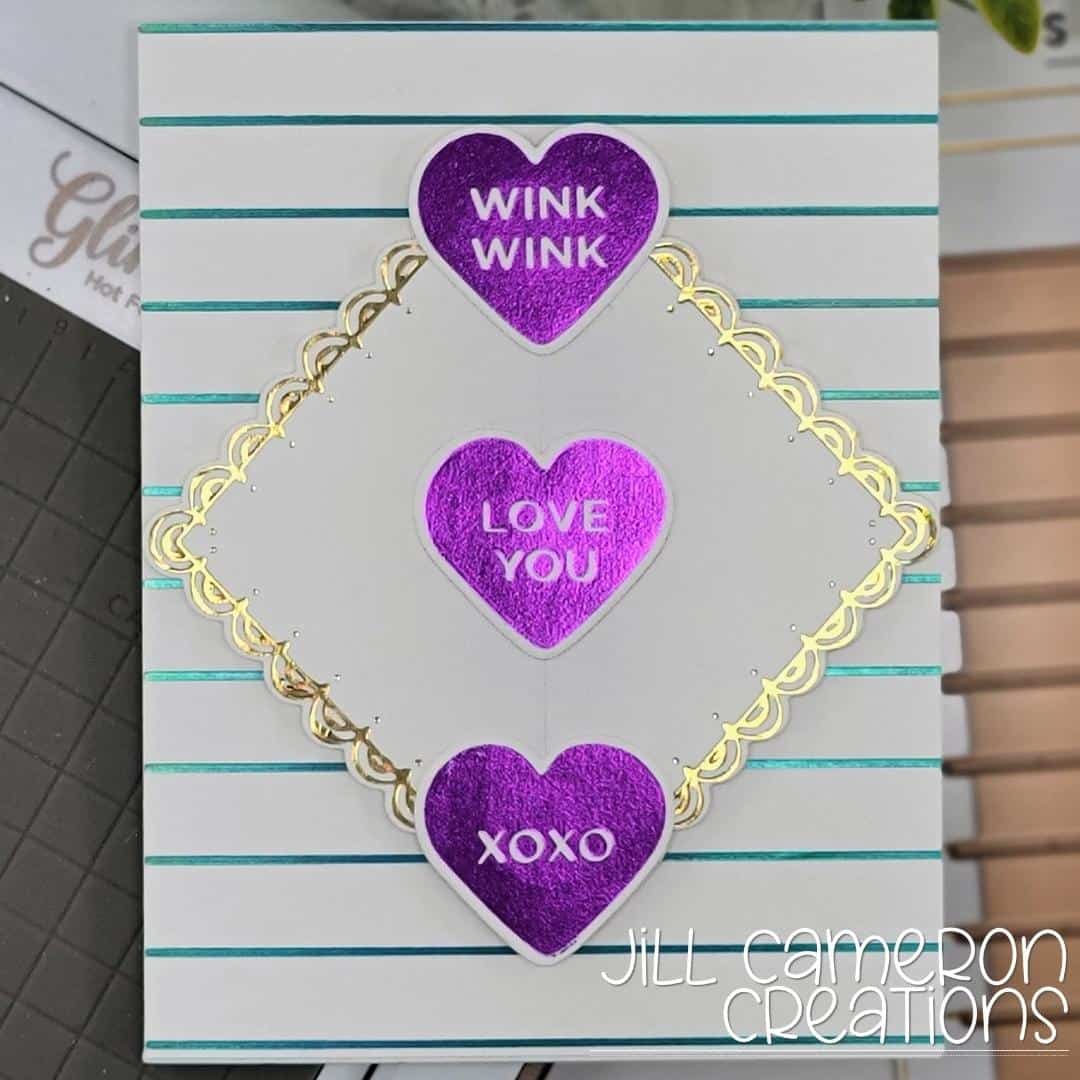
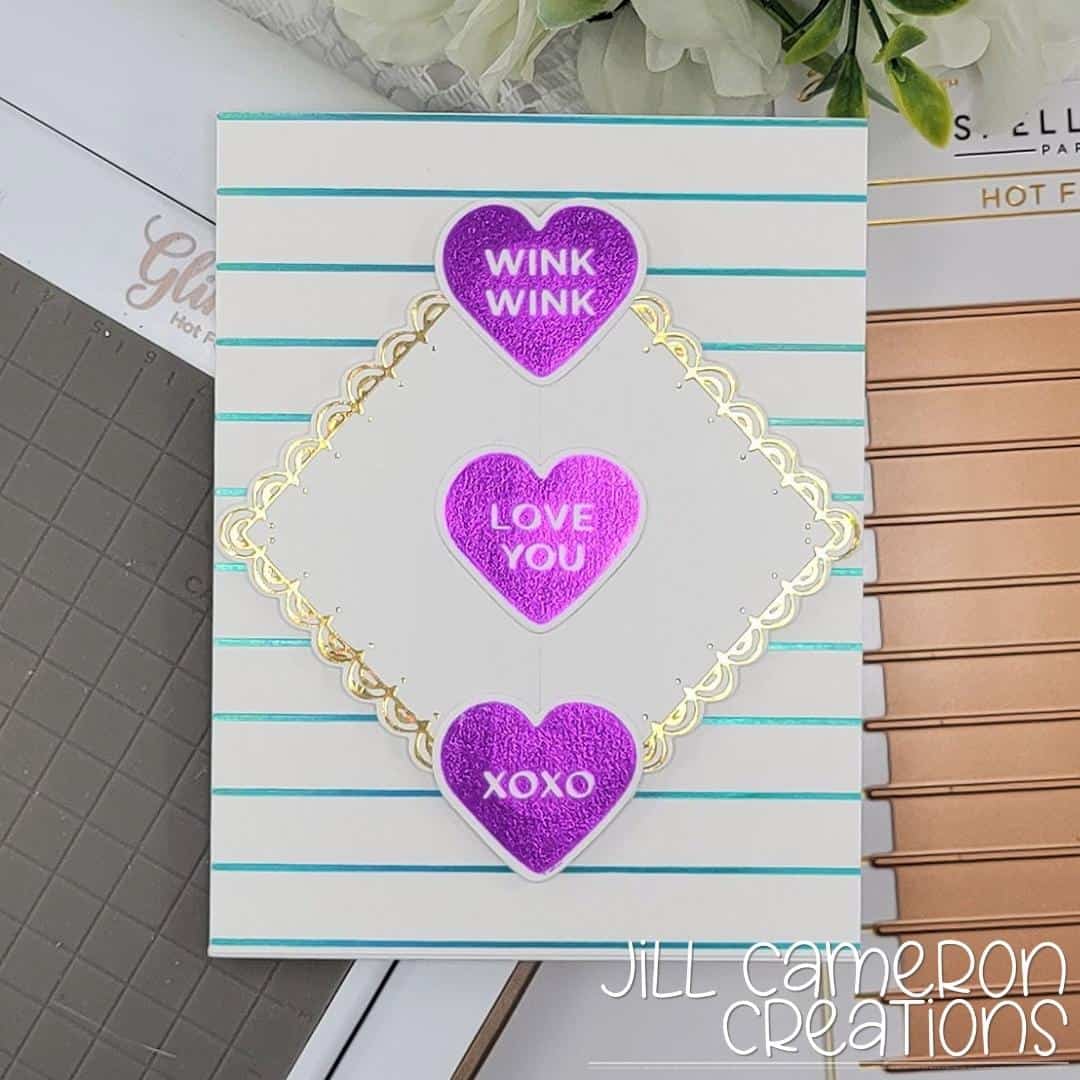
I have a few tips for you of course!
- When foiling a background, cut your background cardstock larger than what you need, foil the background, then cut it down to size.
- If you get foil on your project somewhere you don’t want it, use a sand eraser to gently remove it.
- Cut your foil so it just covers the plate. This will help with over foiling in places your don’t want foil.
- You can use regular dies to foil as well. Place the cutting side up and foil as normal. Just know you won’t be able to cut it out, you’d just be cutting through the foiled lines.