Faux Marble Watercolor Backgrounds
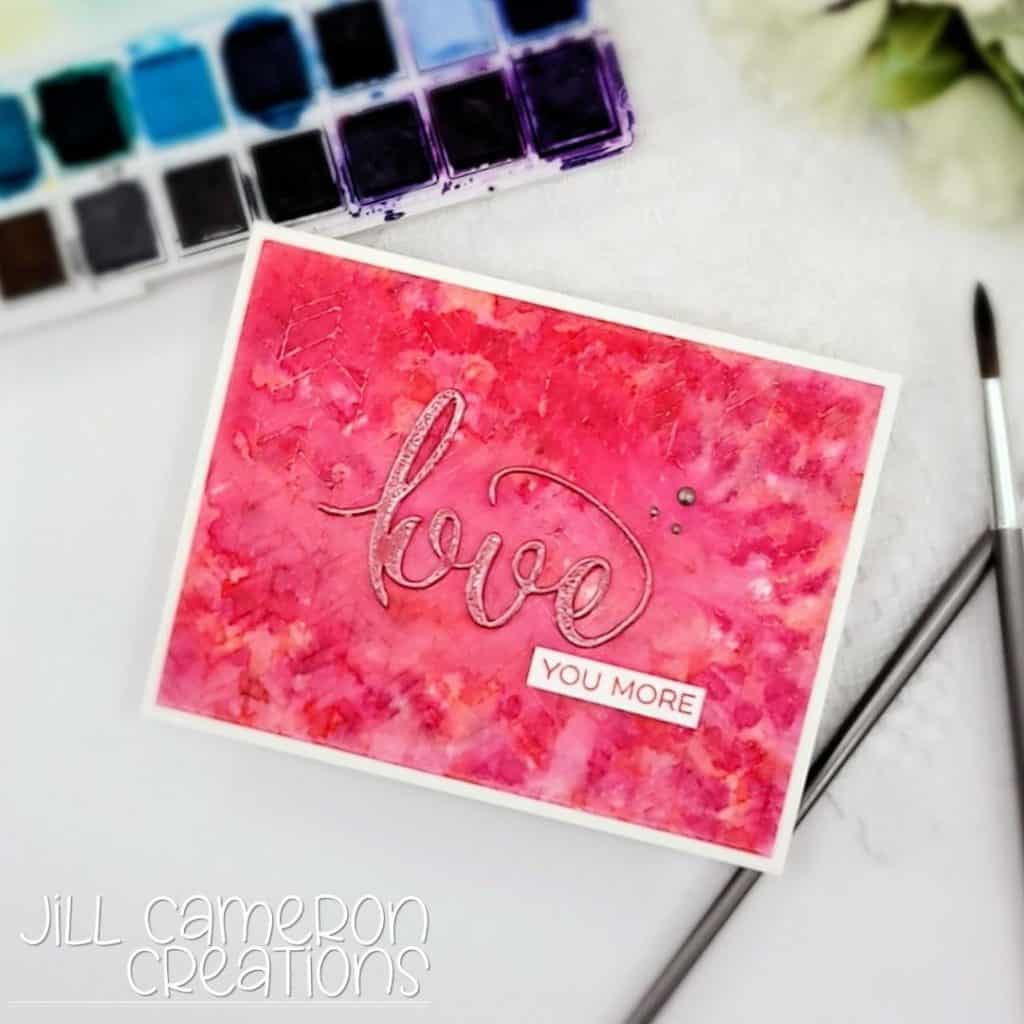
Hello, today I’m creating a bunch of watercolor backgrounds that look like faux marble. This technique is super fun and really simple, but it does take a little bit of time. This started out as an experiment and turned out amazing.
This post contains affiliate links for your convenience. This means if you make a purchase after clicking a link, I will get a small commission with no additional cost to you as the consumer. I participate in the Amazon Services LLC Associates Program, an affiliate advertising program designed to provide a means for sites to earn advertising fees by advertising and linking to Amazon.com. For full disclosure policy click here.
Product Supplies
Strathmore Watercolor Paper
Altenew Pan Watercolors 36 Colors
Nuvo Paintbrush Set
Products mentioned in the video:
Reinkers for Distress Oxide Inks
Reinkers for Distress Inks
Reinkers for Altenew Inks
Ranger/Tim Holtz Watercolor Paper
Here are a few tips before you get started. Once the panels are finished, each one does need to dry on their own, on a flat surface, and do not use a heat tool to dry them. I don’t recommend taping these panels down, instead wet both sides of the paper so it doesn’t bow. Allowing them to dry on a flat surface and on their own will help to reduce warping and bowing too.

I’m using my Altenew watercolor palette with 36 colors. You can use whatever you have on hand for this technique. I do recommend using a small or medium round brush and having several different ones, if you have them so that you don’t have to clean them as often. And at least one wide brush to put water on your watercolor panel.
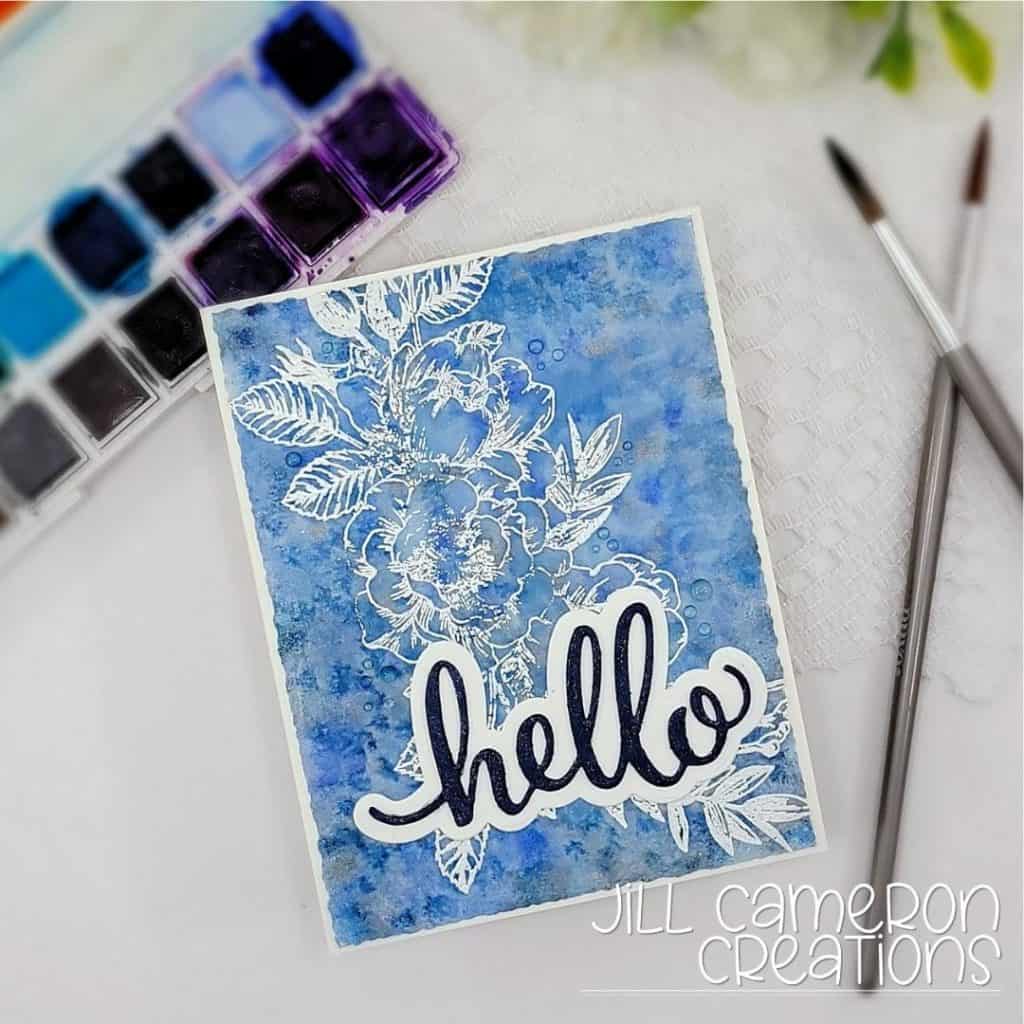
I started with clean, clear water. And brushed it with a wide brush over the entire surface of my panel. I was learning as I was doing this, and found I needed to have more water in some places as I was working.

When working with watercolors in pans, you’ll want to have a pallet to work from so you can mix the paint or colors to the consistency and intensity that you prefer. I have an acrylic panel but you can use a sheet of acetate or even packaging. I mixed my colors on the creamier side so the colors were more pigmented.
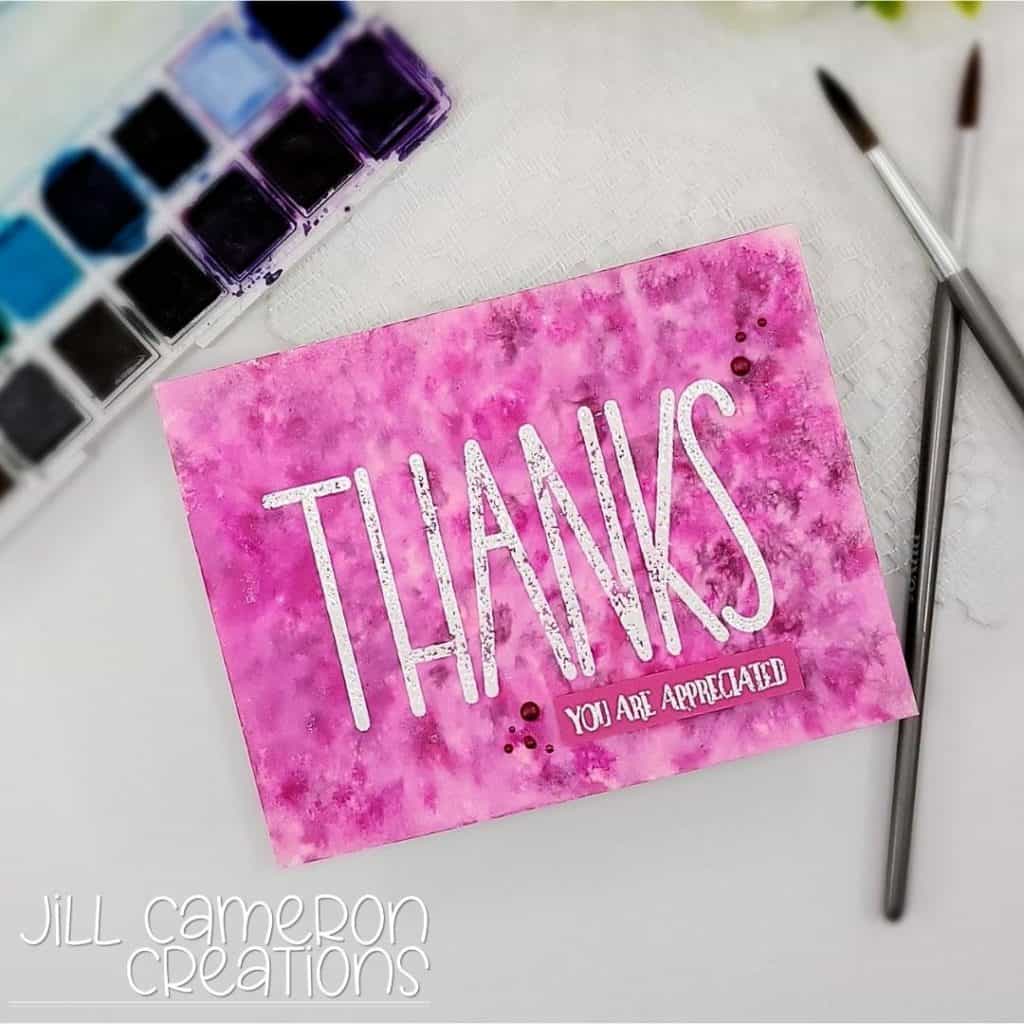
Sometimes I found that I need to add water in specific areas. To do this, I added drops of clear water from my round brush. This allows the colors to bloom without adding too much water over the entire panel.

Once I was pretty happy with how the panel turned out and I didn’t want to add any more paint colors to it, I pulled out all of my glimmer sprays and mica powders. Sometimes the glimmer sprays didn’t show up enough so I added mica powder using a small brush and just tapped it off over the panel. It is so pretty!
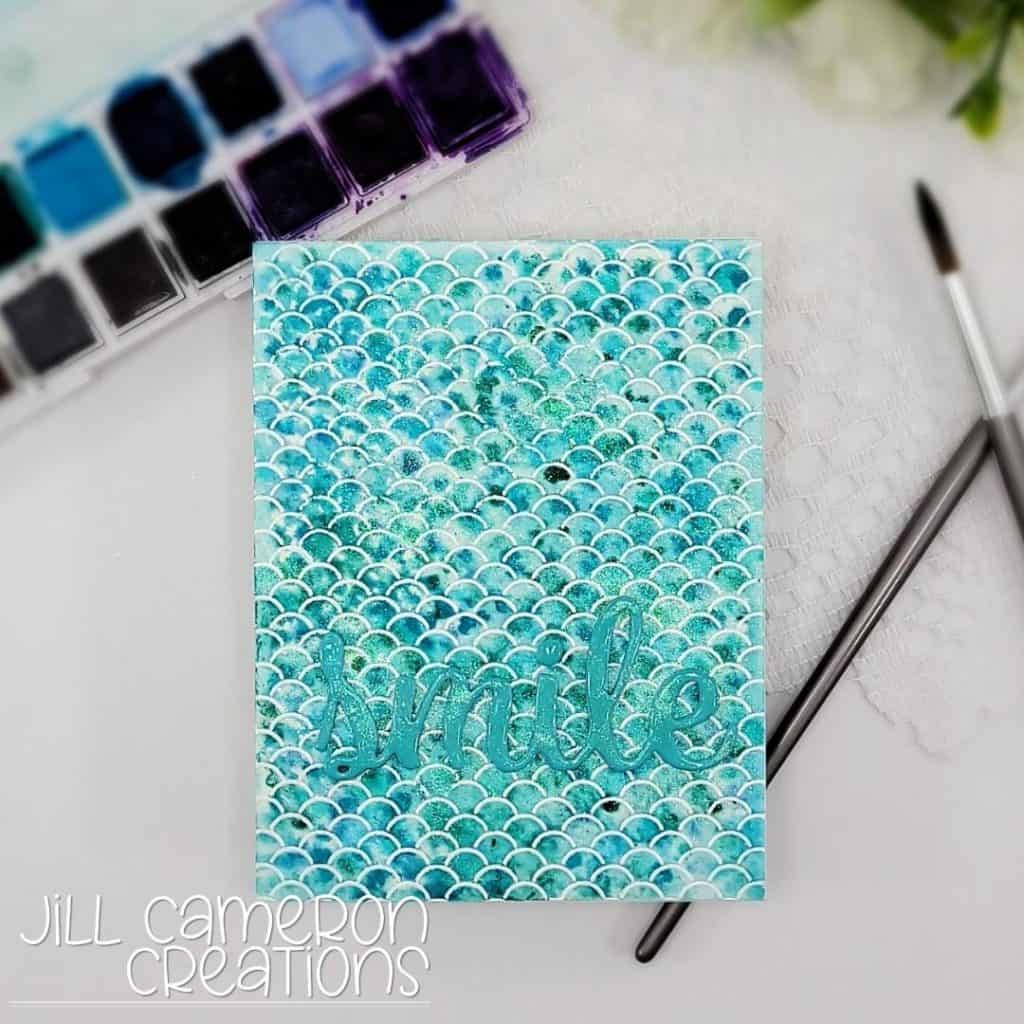
Moving the panel after it’s finished is a bit of a challenge. I allowed it to sit on my work surface for a little bit and then slide it onto a hard board to let it dry completely. Moving it to the board is when everything can run together and ruin the panel. I learned this the hard way when I ruined the orange panel I did. Oops!

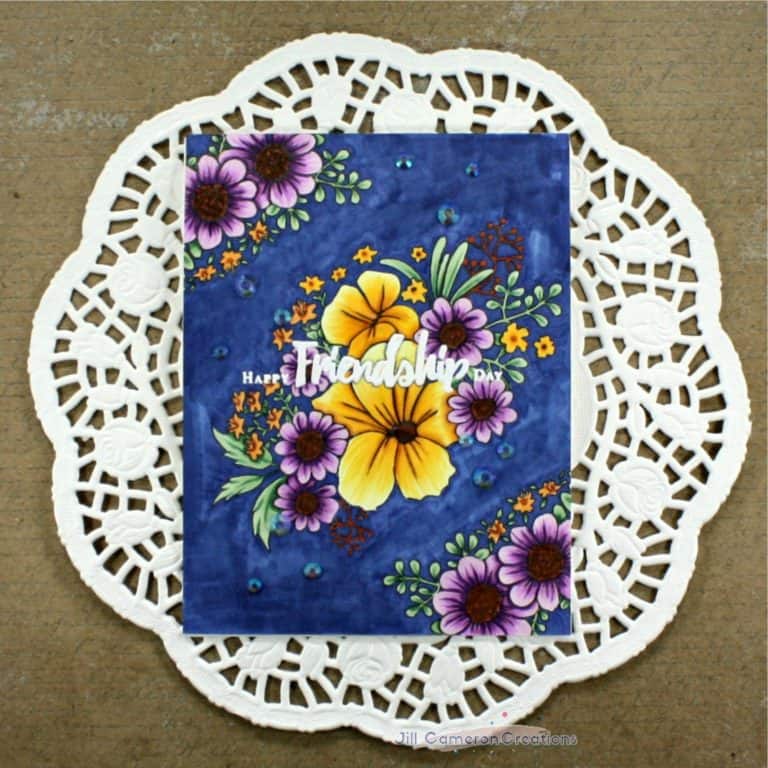
I really wanted the backgrounds to be the stars of the show for these particular cards, so I kept everything else pretty simple. Mostly white heat embossing and die cut sentiments.
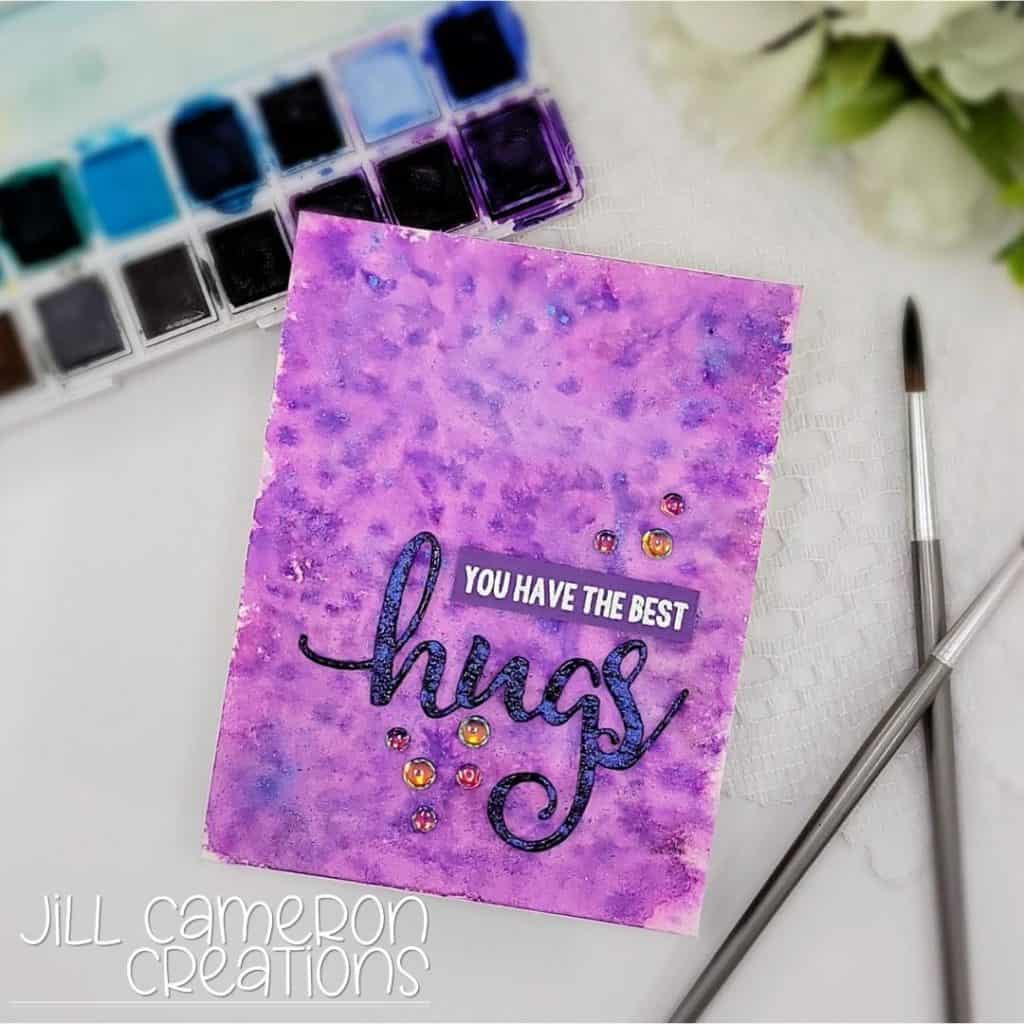
I would love to see some of your cards with this technique! It’s a great way to try out watercolor and practice controlling the balance between water and color. Thanks so much for joining me today. I appreciate you so so much. Y’all have a great day and happy card making.

