Cross Stitch on Any Card + Embroidery Hoop SVG File
Cross stitching was super popular when I was around 9 or 10 years old. There were three stores in our small town with tons of cross stitching kits and row after row of embroidery floss. As a kid that was totally into cross stitching, this was heaven on earth! Of course, as I got older my cross-stitching was replaced with other (less productive) activities.
Click here to buy the Cross Stitch Hoop SVG

I know cross stitching has become popular again. So much so that it’s even on our handmade cards. It makes sense right? I mean what’s more handmade than a cross-stitch sampler? There are several companies that have cross stitch dies available so you can cross stitch to your heart’s content on your cards.
Today I’m showing you how you can cross stitch on any card without a pattern! Of course, you can make up your own pattern and count all of those stitches or you can follow along below and create a beautiful card without the headache of counting.
Cross Stitch on Any Card without a Pattern

So how on earth can you cross-stitch without a pattern and counting? Easy! Use a stamp as your guide. Ready to get more out of your stamps? I’m using Silhouette Studio to manipulate a stamped image.
First, stamp the image you want to use in black ink. Now the color of ink doesn’t really matter as long as it’s dark. Snap a photo of the stamped image and upload it to your computer.
Next, open the image in Silhouette Studio. You’ll probably need to resize it so it fits on the virtual mat. Using the Trace feature, trace the outline of the image, in this case a heart. Select the Trace Outline option. The image will not be perfect and we don’t need it to be.
Change the outlines to transparent and fill the image in with a super light gray. Resize the heart to the appropriate size by making sure it will fit into the embroidery hoop. And print the image on some Neenah Solar White 80lb cardstock.
Now you have something to follow that you don’t have count and will easily be covered up by the cross-stitch.
Tips for cross stitching on a card
- Glue the knots on the back if you’re not sure if they will stay secure.
- For a fuller look use more strands of floss.
- Use stitching to accent any card front as a border or outline: just use a Tool-n-one to poke the holes.
- Don’t cut your floss strands to short or you’ll be changing thread all the time.
- Don’t cut it longer than your arm can reach.
- Pull the thread slowly so it doesn’t knot up on you.
- If you get a knot…DON’T PULL IT TIGHT. Use your needle to pick the knot loose.
- For more ideas and how-tos on stitching on cards, check out Jennifer McGuire’s posts
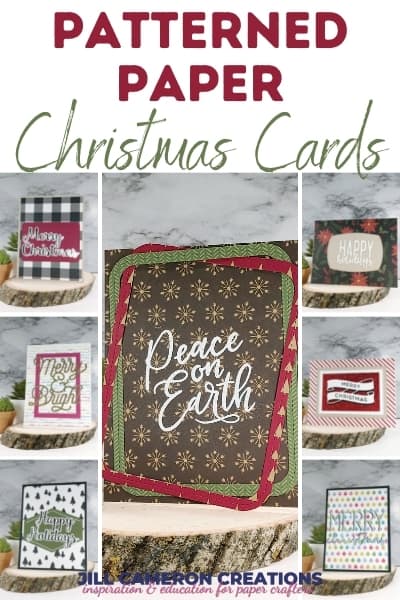
Want another way to add interest to your cards? Check out this post on adding patterned paper to any card.
Affiliate Disclosure Policy
This post contains affiliate links for your convenience. This means if you make a purchase after clicking a link, I will get a small commission with no additional cost to you as the consumer. Jill Cameron Creations/Jill Lipscomb participates in the Amazon Services LLC Associates Program, an affiliate advertising program designed to provide a means for sites to earn advertising fees by advertising and linking to Amazon.com. For full disclosure policy click here.


See more Silhouette Projects
TARDIS Card SVG
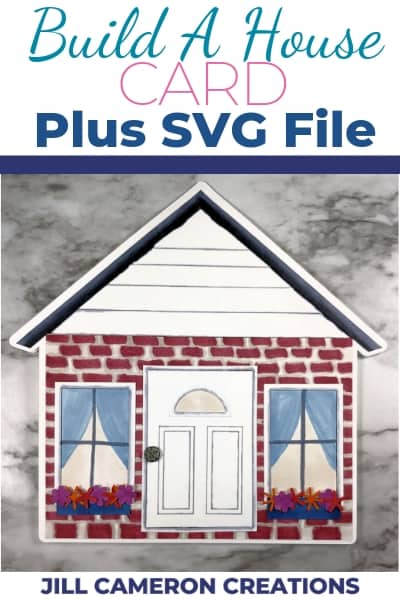
Build a House Card
How-to Use the Foil Quill in Card Making


I want to know how to clean cross stitch on a card?
Linda, Can you help me understand what you mean by clean cross stitch?