Bold Sentiments on Bold Backgrounds
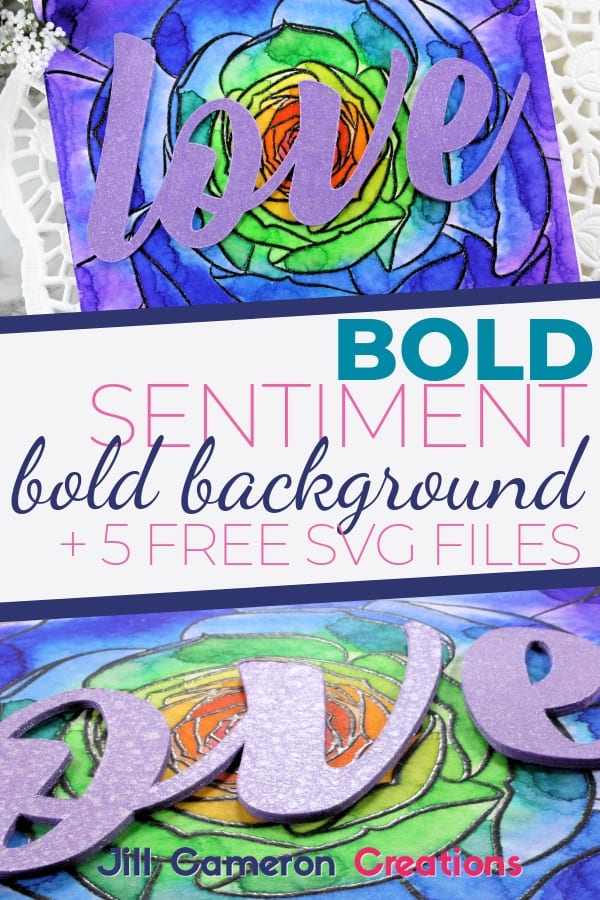
Large, bold background stamps can be a bit intimidating. I mean what on earth are you supposed to do with that giant thing? Use a bold sentiment on it of course! A large background stamp deserves a HUGE sentiment to go with it! I didn’t have any die cut sentiments large or bold enough to really support this bold background. So I created several of my own. Read on to see how I created this bright, beautiful card and how you can grab this bold sentiment SVG cut file.
Bold Sentiments on Bold Backgrounds
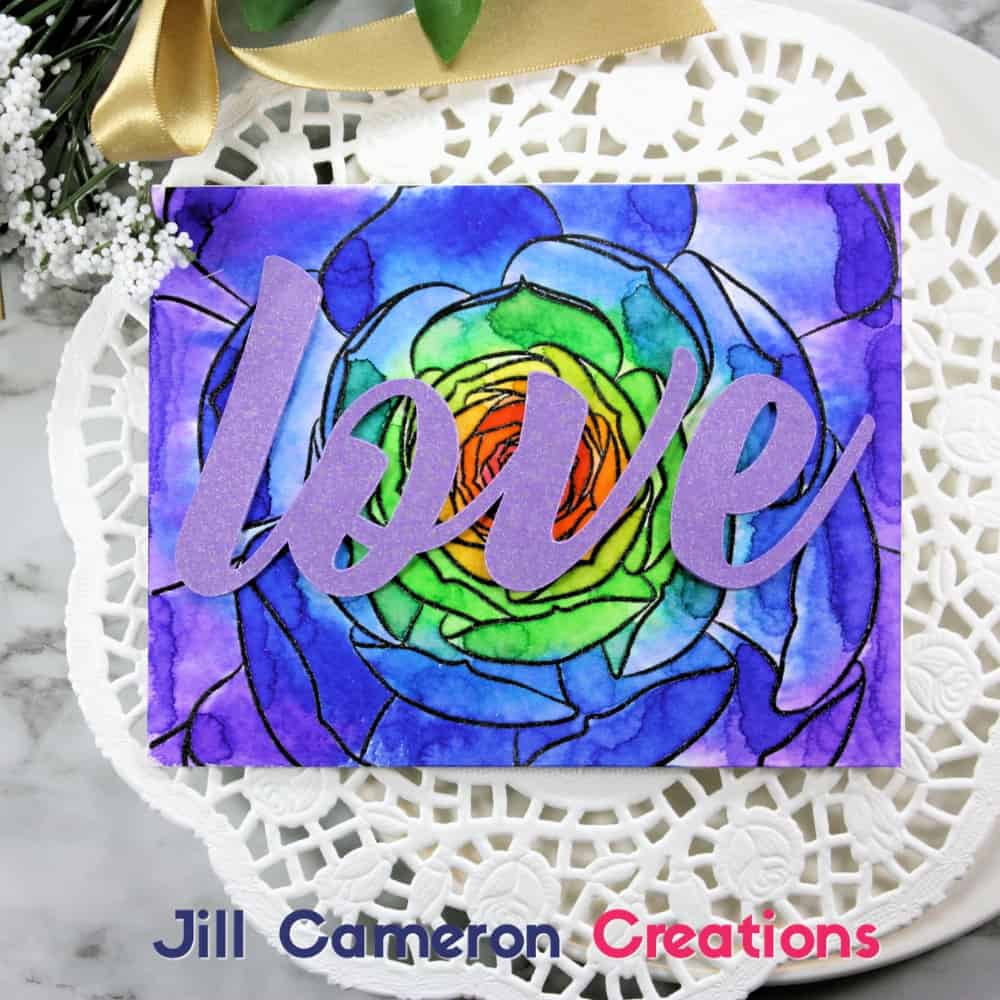
The card came together super quick! The first thing I did was set-up my cut file in Silhouette Studio. The bold sentiment ‘love’ is sized for a 5 1/2″ x 4 1/4″ A2 size card. I copied and pasted the pattern three times in Silhouette Studio, then aligned each word to get the best use of my paper and sent it to the machine to cut. This allowed me to create a thick die cut to add that wonderful dimension to my card front.
While my file was cutting, I placed the Mega Succulent background stamp in my MISTI. I stamped the image on some Strathmore Watercolor Paper using Versafine Onyx Black Ink. Then, I covered the image with clear embossing powder and melted it with my heat tool. This was the most difficult part of the entire card! Seriously!
I scribbled, yes scribbled, watercolor markers in rainbow order from the center of the image to the outer edges. Next, I sprayed the image liberally with water. The watercolor markers did all the work for me. Totally amazing! I dried the panel with my heat tool because, well, I’m impatient.
Then, I grabbed the cutting mat from Silhouette and got my cut words. I layered all three pieces together with liquid adhesive. The word needed a little extra something so I pulled out my Perfect Pearls spray. I typically put my die cut pieces into an old shipping box and spray them so the overspray doesn’t go everywhere. There were a few spots with a little bit too much which I dabbed off with a paper towel.
Lastly, I adhered everything together. I used a tape runner to adhere the watercolor panel to the card base and liquid glue to adhere the word to the front. All done!
Affiliate Disclosure Policy
This post contains affiliate links for your convenience. This means if you make a purchase after clicking a link, I will get a small commission with no additional cost to you as the consumer. Jill Cameron Creations/Jill Lipscomb participates in the Amazon Services LLC Associates Program, an affiliate advertising program designed to provide a means for sites to earn advertising fees by advertising and linking to Amazon.com. For full disclosure policy click here.
See more Silhouette Projects
TARDIS Card SVG
Custom Stencils for Cards
Print and Cut Copic Coloring + Save The Crafty YouTuber Video Hop

This is so pretty. I can just see this hanging in our boy’s room with the big Noah’s Ark wall hanging.