AECP All About Layers
I am so thrilled to share that I’ve been accepted to the Altenew Educator Certification Program. Working at my own pace, I’ll be submitting sample cards on specific topics though these types of blog posts. Best of all, you get to see my work and learn along with me.

I won’t be doing videos for these particular posts. Instead, I’ll be writing a little more detailed blog post than I normally do.
All About Layers Lesson 1
For my first card, I’m using the Vintage Rose stamp and die set along with a sentiment from the Mega Succulent stamp set. This card is clean and simple with lots of white space. White space is your friend. 😉
Also, notice I kept all of the images and sentiment towards the lower right of the card. The eye travels across the panel from the top grey rose to the bottom grey rose. I left white space around the sentiment as well to allow it to stand out against the roses and the background.
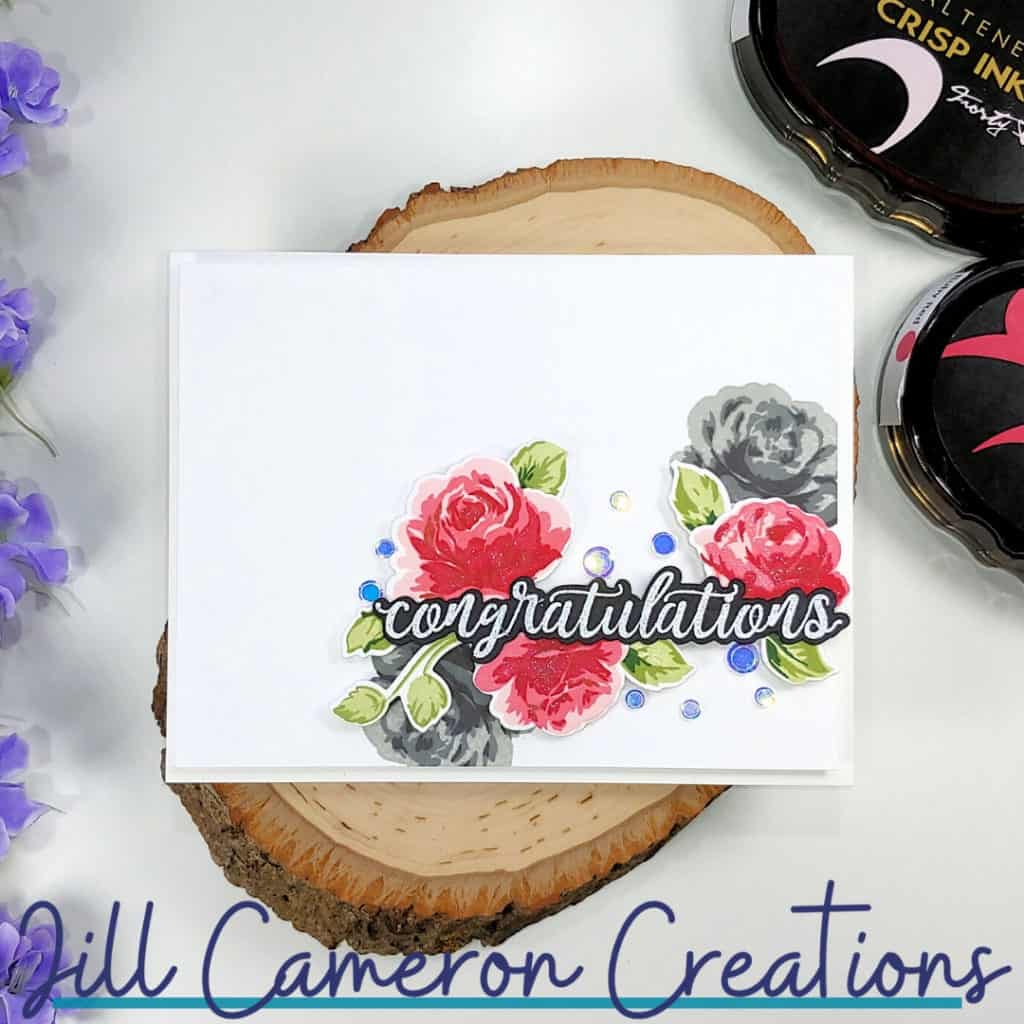
The Vintage Rose stamp set is a layering stamp set that does not have image outlines. The stamps come with a handy guide so you know how to line up the stamps. Just look straight through the acrylic block or the stamp positioning tool you’re using to align the stamps properly.
The one technique that I loved in the All About Layers class from Altenew was the use of grey inks in combination with the bright colors. This adds so much contrast to the card. I used that technique in this card by added two of the large Vintage Rose images in a few shades of grey.
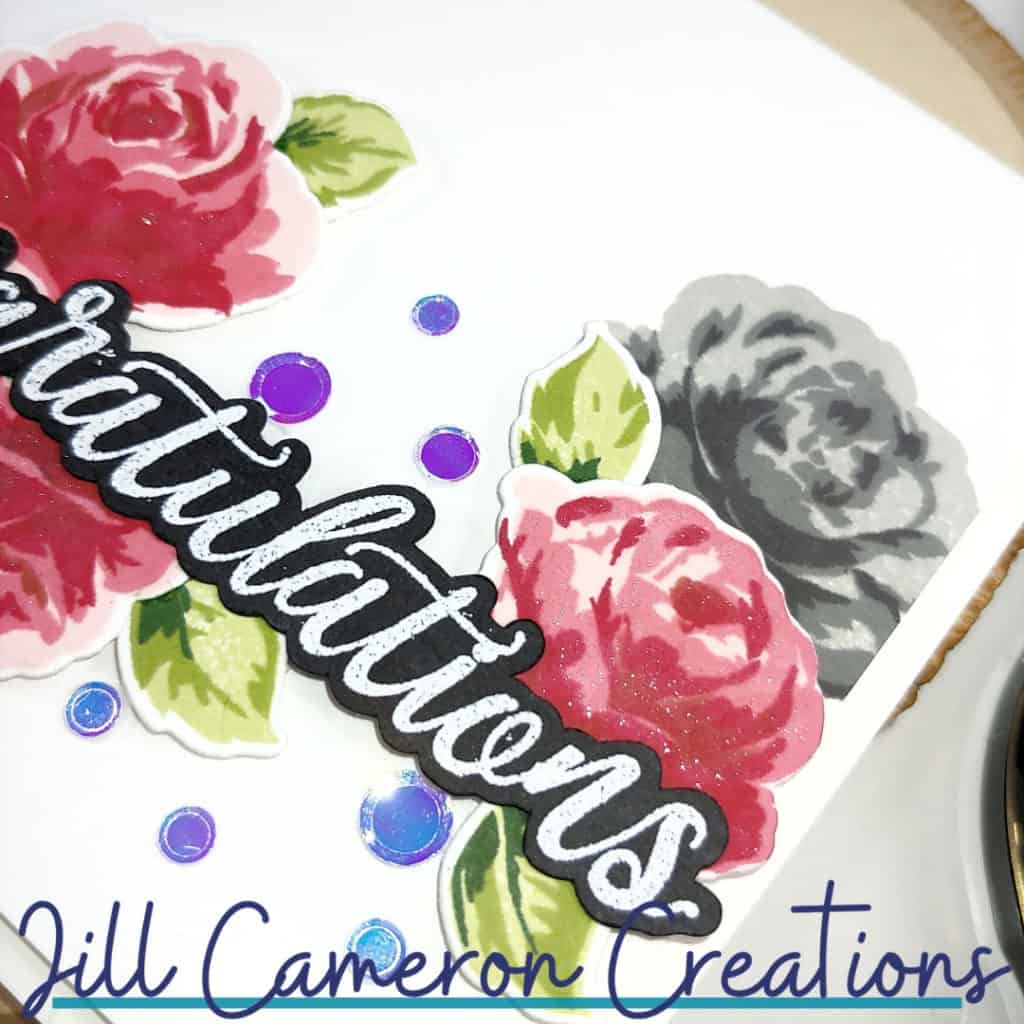
I stamped the grey roses directly on the card panel. Then I trimmed the panel down to 4″ x 5 1/4″. I also made sure that part of the stamps went off the trimmed panel while the sentiment and the pink roses hung over the edge just slightly. The entire panel is popped up on a white card base.
I used my MISTI to stamp the flowers in Altenew Crisp inks. This allowed me to stamp each layer of all of the flower at the same time. I did the same thing for the leaves. I used the coordinating dies to cut out all of the images.
I stamped the sentiment on black cardstock using Versamark ink so I could heat emboss it with white embossing powder. If you’re wondering how I got it cut out so nice and neat, I used my Silhouette Cameo with a PixScan mat.
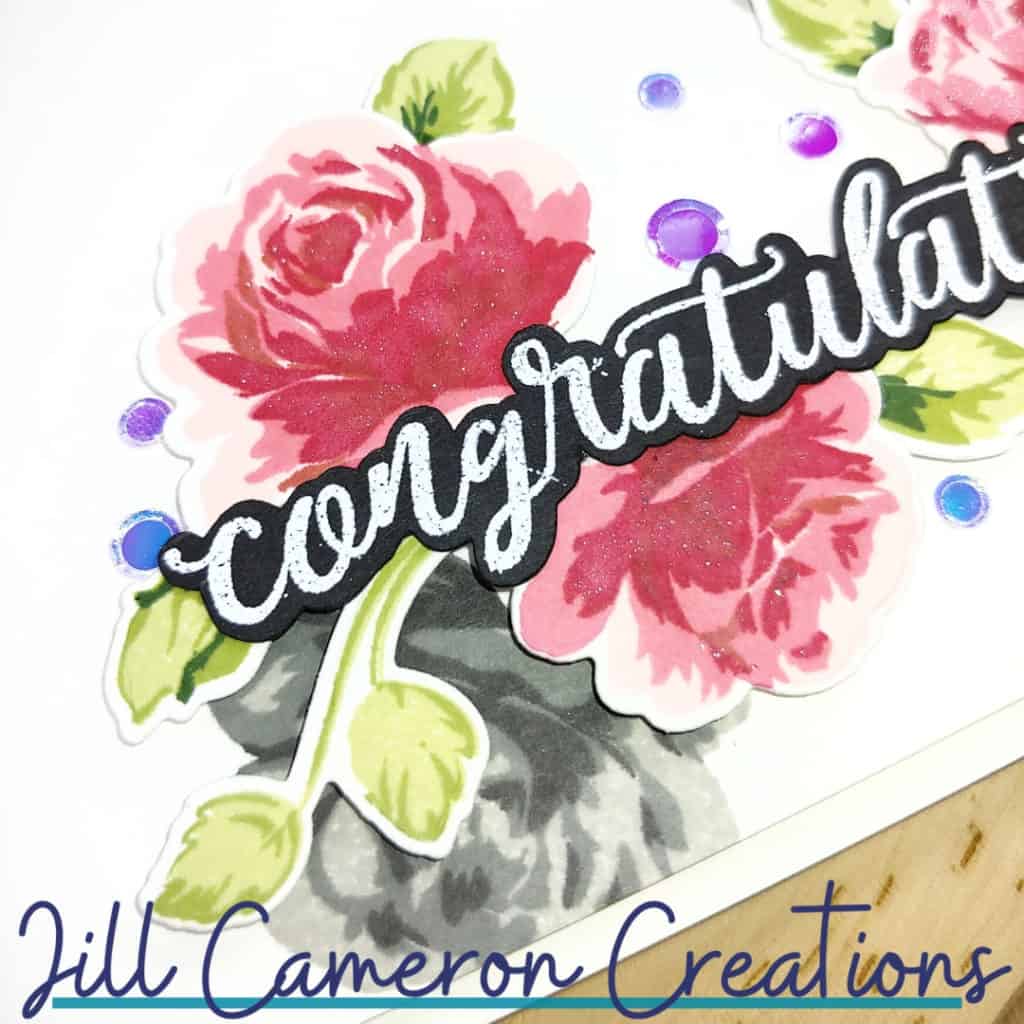
Finally, I arranged all of the images around the sentiment and popped them up using foam tape. As a final touch, I used some Glitter Brush Marker on the darkest parts of the flowers and popped a few iridescent confetti around.
This stamp set doesn’t have to be stamped perfectly to be beautiful. I love that even when it’s slightly off, it still produces amazing results.
Affiliate Disclosure Policy
This post contains affiliate links for your convenience. This means if you make a purchase after clicking a link, I will get a small commission with no additional cost to you as the consumer. Jill Cameron Creations/Jill Lipscomb participates in the Amazon Services LLC Associates Program, an affiliate advertising program designed to provide a means for sites to earn advertising fees by advertising and linking to Amazon.com. For full disclosure policy click here.


Oh my! I absolutely LARVE this!! Congrats on your first post for AECP!
Thank you for entering your work to the AECP assignment gallery. Well done!
Thank you!
Beautiful card, and great write-up on your processes! I am also in the “June 2020” AECP class! TFS!
Thank you!