A Polk-a-Dotty Concord and 9th Turnabout Christmas Card
I love non-traditional Christmas cards. By non-traditional I mean not red, green, and white. This Polk-a-dotty card uses the unique Concord and 9th Dotty Turnabout stamp. The stamps contain a simple image that can be rotated up to three times (from the original stamped image) to get a beautiful background. Concord & 9th has a YouTube video demonstrating how to get the best results from all of their Turnabout stamps.

Affiliate Disclosure Policy
This post contains affiliate links for your convenience. This means if you make a purchase after clicking a link, I will get a small commission with no additional cost to you as the consumer. Jill Cameron Creations/Jill Lipscomb participates in the Amazon Services LLC Associates Program, an affiliate advertising program designed to provide a means for sites to earn advertising fees by advertising and linking to Amazon.com. For full disclosure policy click here.
Create Placement Guide for Turnabout Stamp
Turnabout stamps are 6 x 6 background stamps. These stamps require the one-time creation of a placement guide. You’ll need the insert card from the stamp package. On the back of the insert, there is a center point alignment guide. Align the stamp with center point guide with the stamp facing down as if you were stamping the image. Now, this part is a little scary but don’t worry, it doesn’t ruin your stamp. Grab your ruler and a permanent marker. Using the center point as your guide, create a giant ‘X’ on the back of the stamp.
Next, you’ll need to create your jig for your cardstock. Cut a 6 x 6 piece of cardstock or chipboard, something that you can use over and over again. Grab that ruler and permanent marker again and make another giant ‘X’.
A Polk-a-Dotty Concord and 9th Turnabout Christmas Card
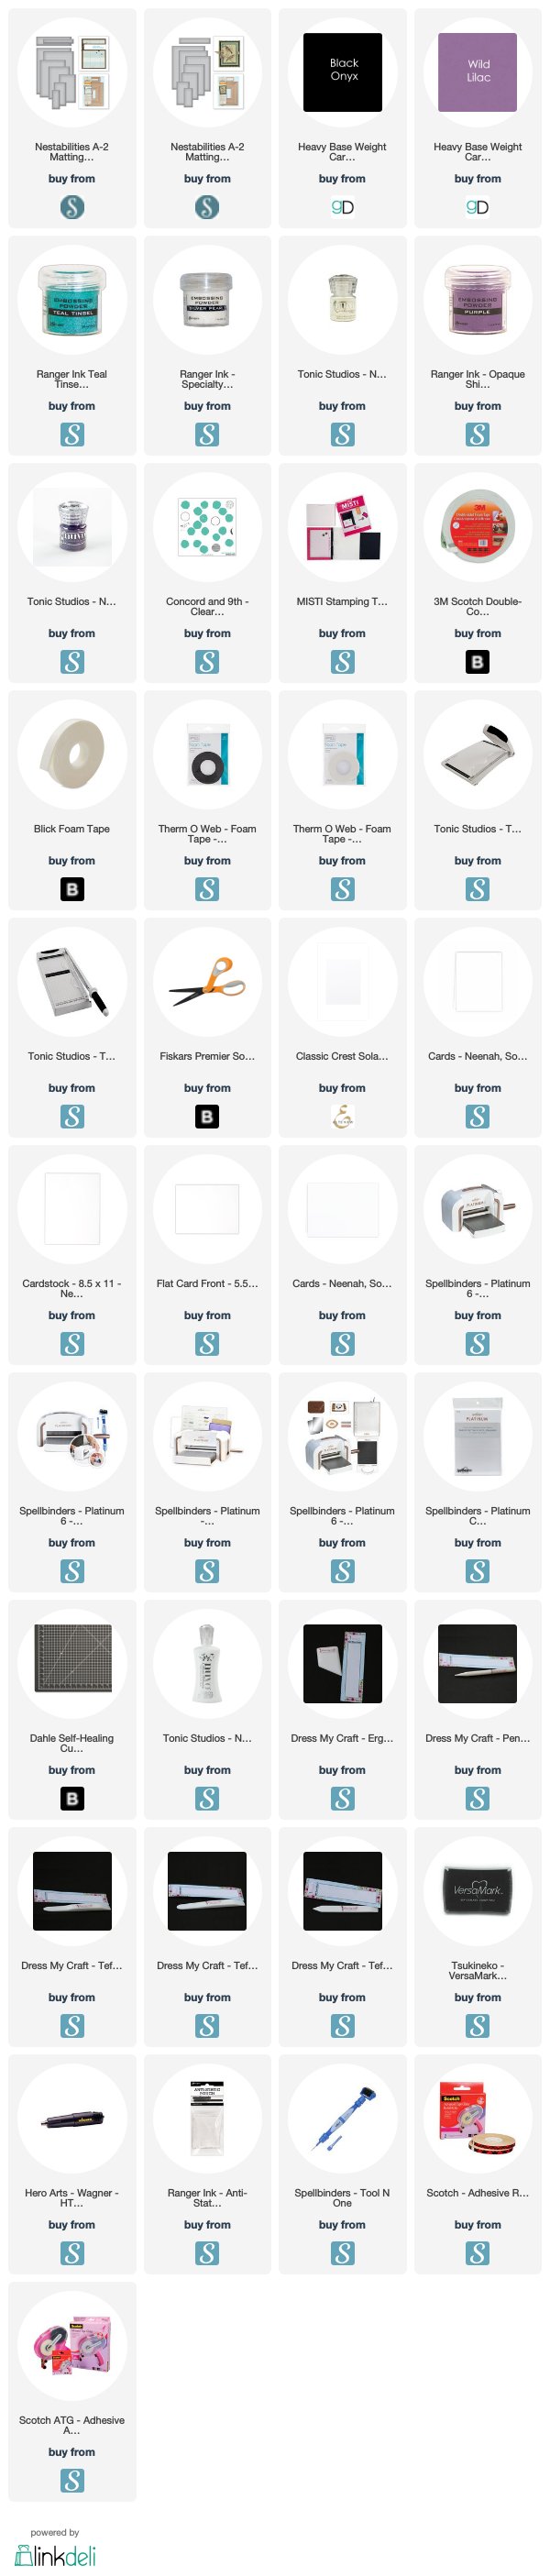
To start, my card base is a top folding notecard made from 110lb Neenah Solar White cardstock. I used Spellbinders A2 Matting basics to cut down my panels of purple cardstock, Neenah Solar White 80lb, and black cardstock for my sentiment.
Place the jig in your MISTI. Line up the center of the stamp with the center of your jig to place the stamp on the lid of your MISTI. Place your white cardstock panel on the jig. I used some temporary tape runner on the back of the panel to keep it in place on the jig.
Next, the dotty background was created using the Dotty Turnabout stamp from Concord & 9th. Pick out four different embossing powders that you love together. Prep the white cardstock panel with an anti-static tool. Go ahead and ink up the stamp with Versamark ink and stamp the image. Then, take out the jig with the panel attached to it and cover the white cardstock panel in the first color of embossing powder. Tap off the excess powder and heat set the embossing powder. Turn the jig a quarter turn and repeat the process three more times.
When I made this card I found that I would not recommend using embossing powders that have glitter in them. I wasn’t thrilled with how those dots turned out but I did like the overall effect of the card.
Once I finished the background I cut it down to the size I wanted and embossed using the A2 Matting Basics dies.
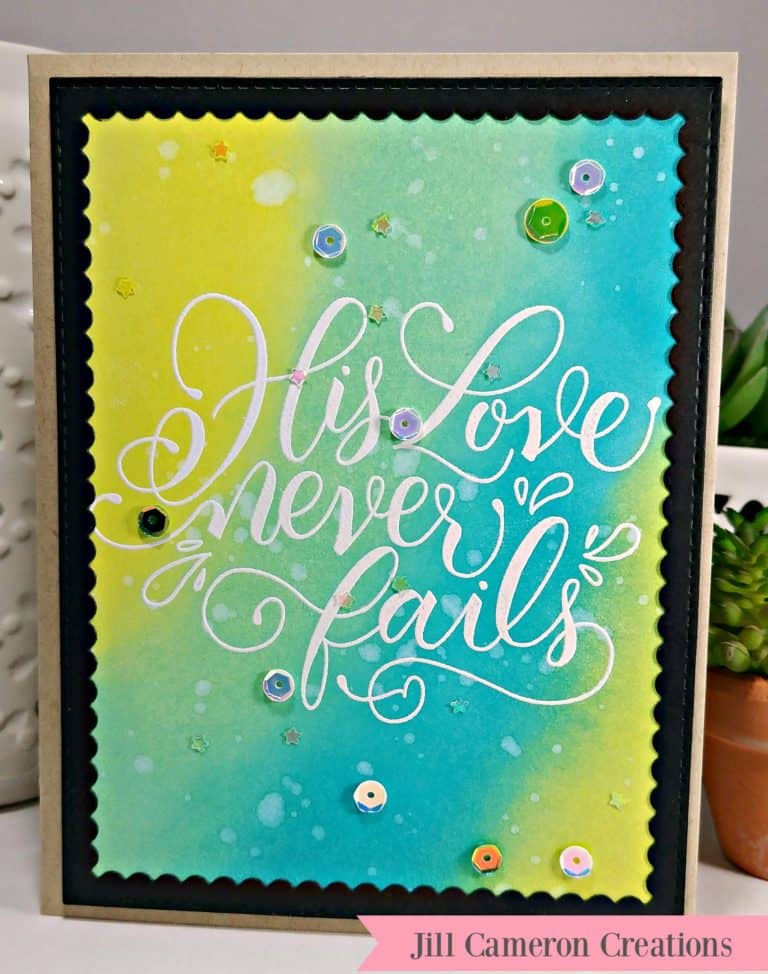
Lastly, I stamped my sentiment with Versamark ink on black cardstock, poured white embossing powder over it and heat set it. I popped up the sentiment using some foam tape. Of course, you can use craft foam instead.
I hope you’ve enjoyed today’s card.