AECP Set of Encouragement Cards for the Gals
Hello! Today I have two posts for you. This one is a set of encouragement cards for the gals and the second is a set of encouragement cards for the guys.
This is my final project for Level 1 of the Altenew Educator Certification Program.
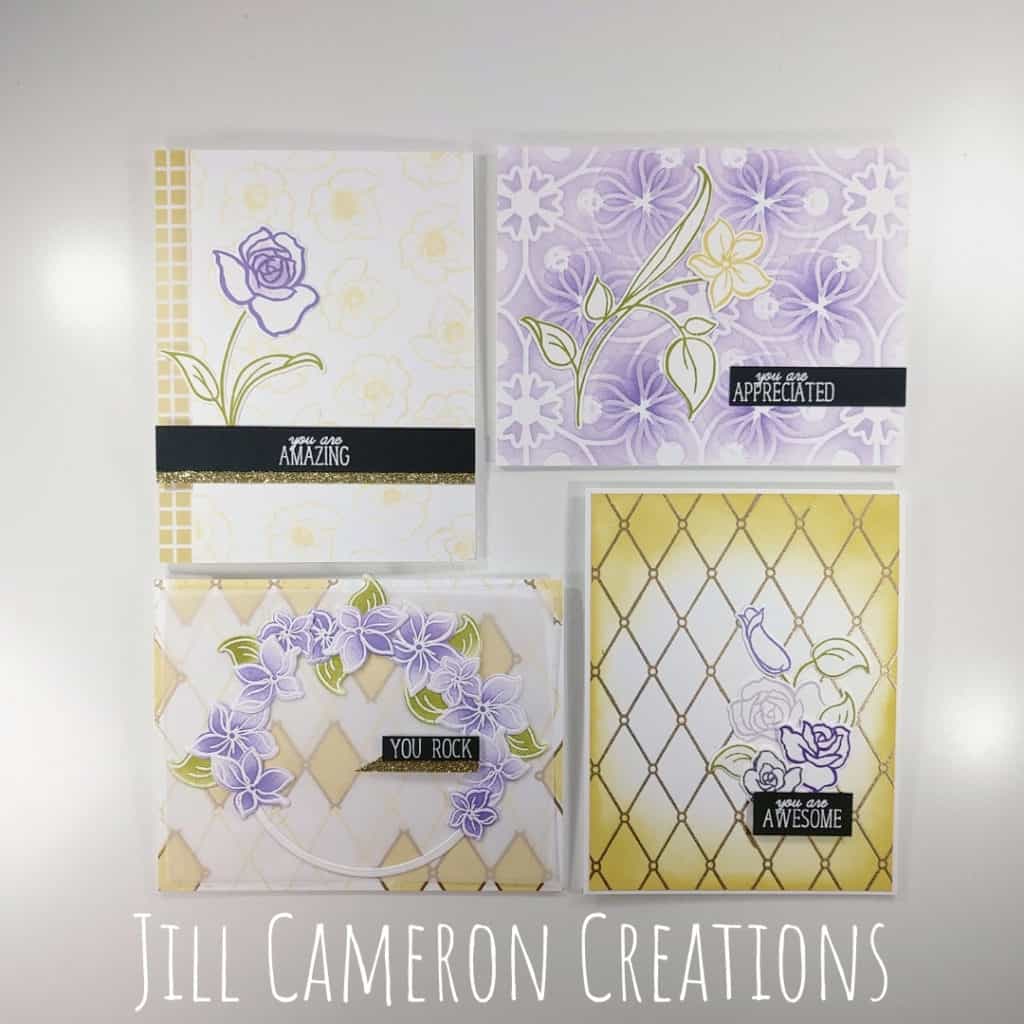
There were three classes in Level 1 of the program that I found to be foundational for cardmaking because these techniques can be used in so many different ways. I used techniques from each of these classes on all of the cards created.
- Beyond Basic Backgrounds
- Easy Ink Blending Techniques
- Let it Shine
Watch the video below to see how each card was created. All of the products I used are linked at the bottom of this post.
I picked out my colors first. I’m using purples and yellows with a touch of green for all of these cards. Purple is my favorite color as most of you know. (I also wanted to use the colors I decorated my kitchen in for the first place I live on my own.) All of the sentiments are on black cardstock with white embossing.
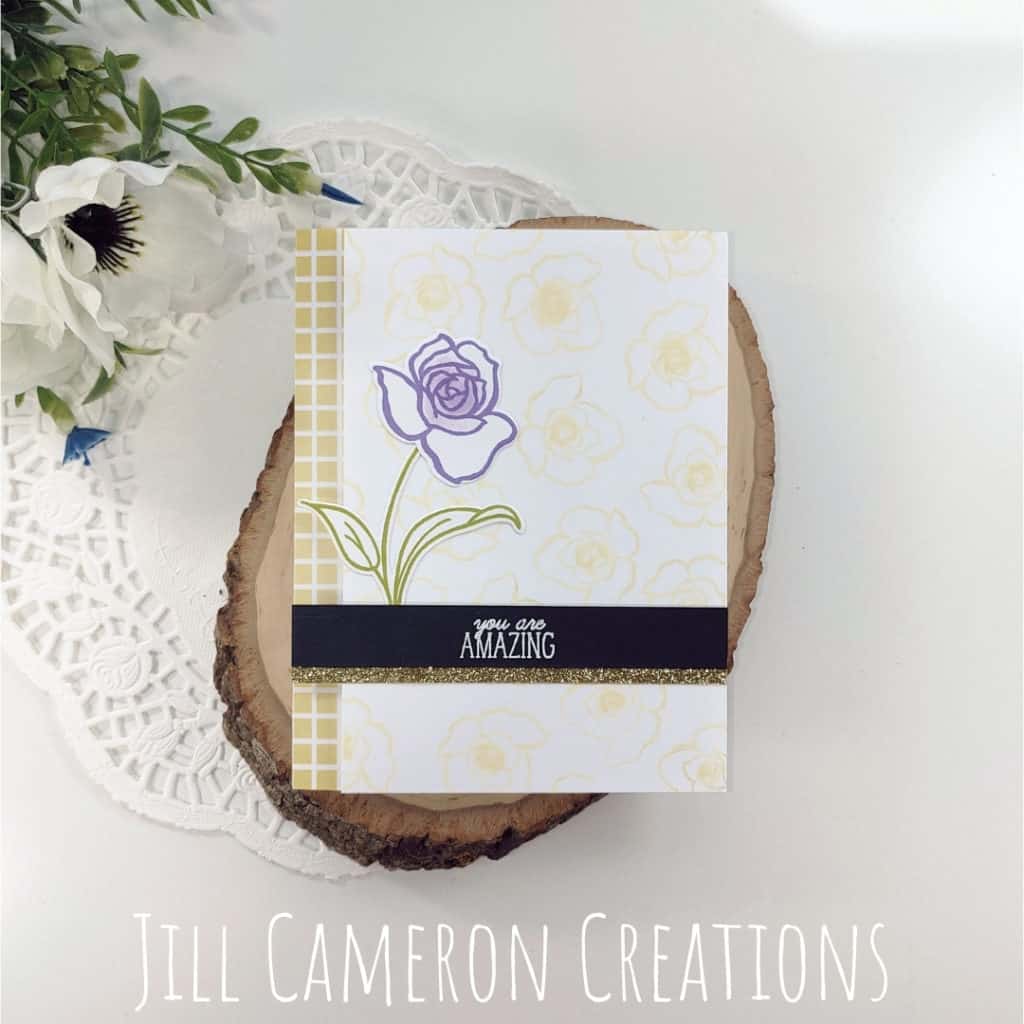
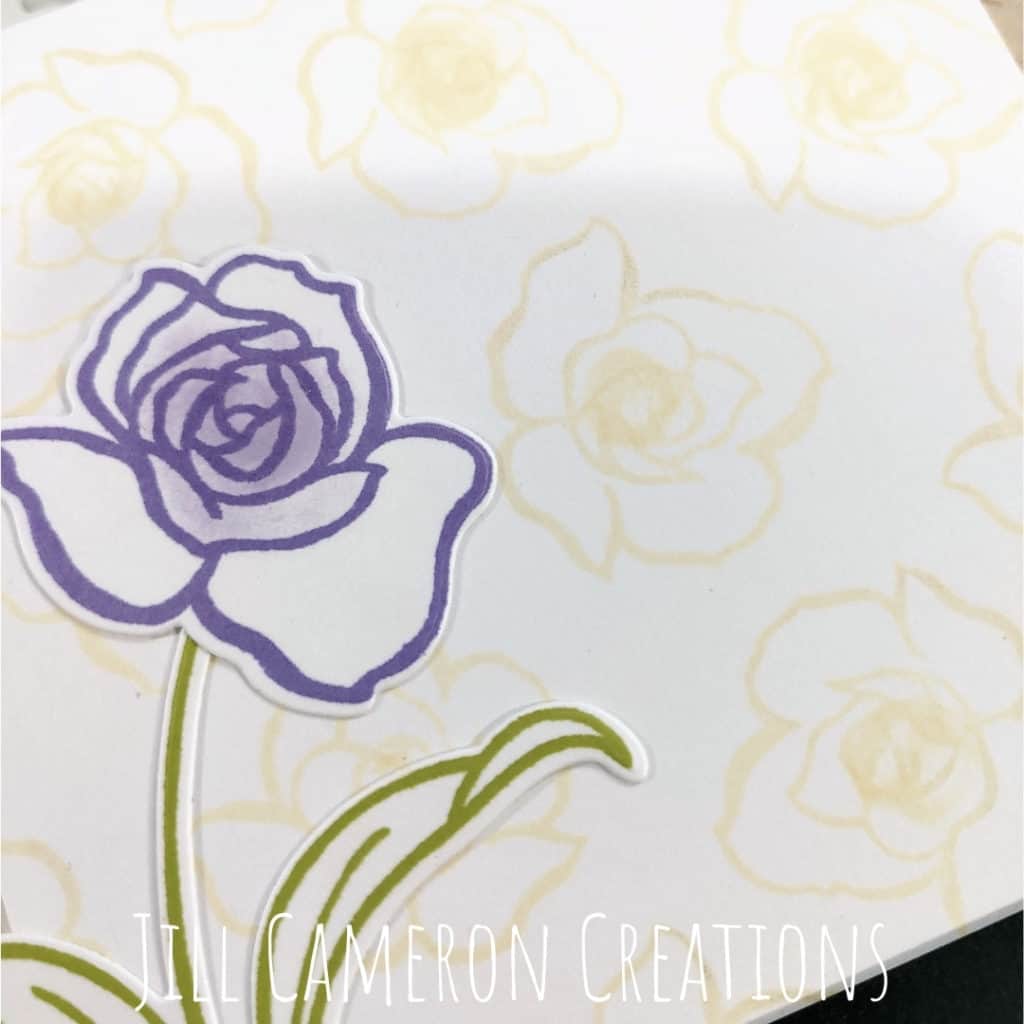
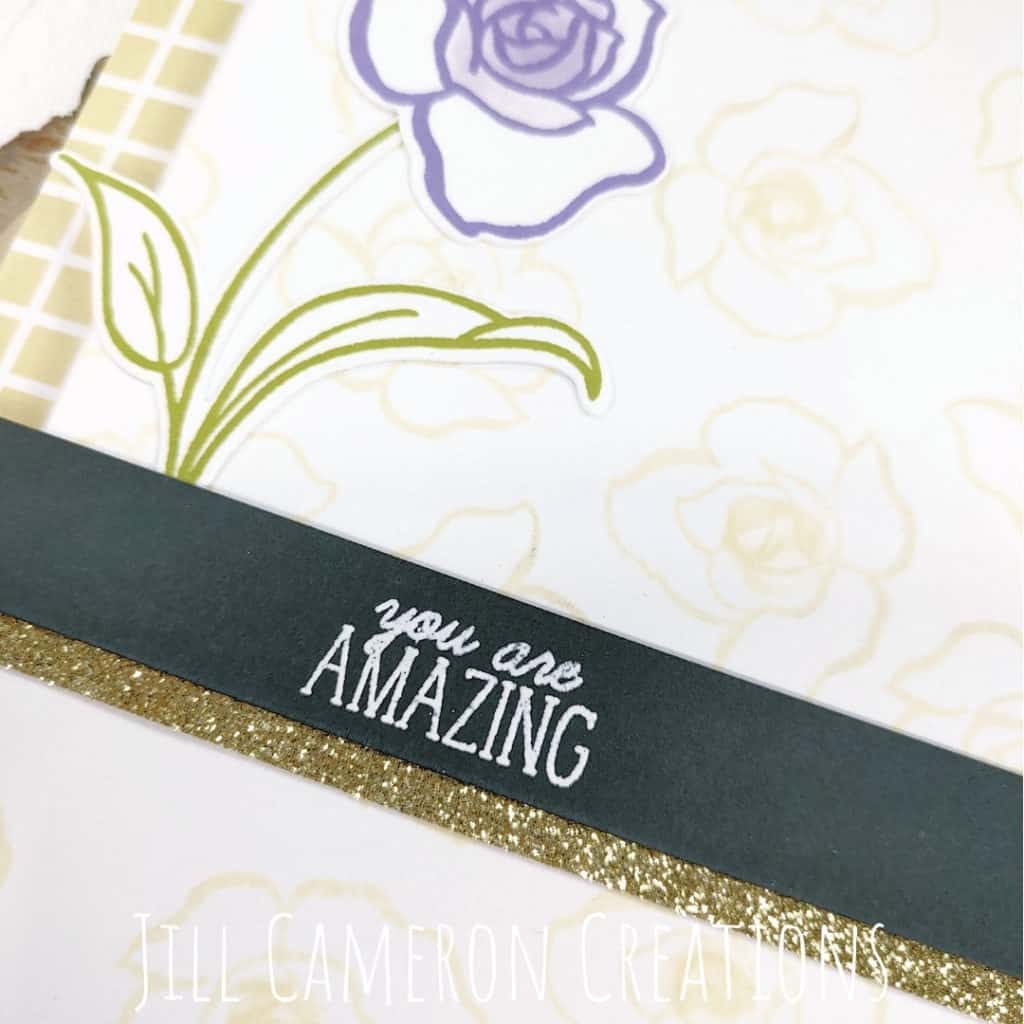
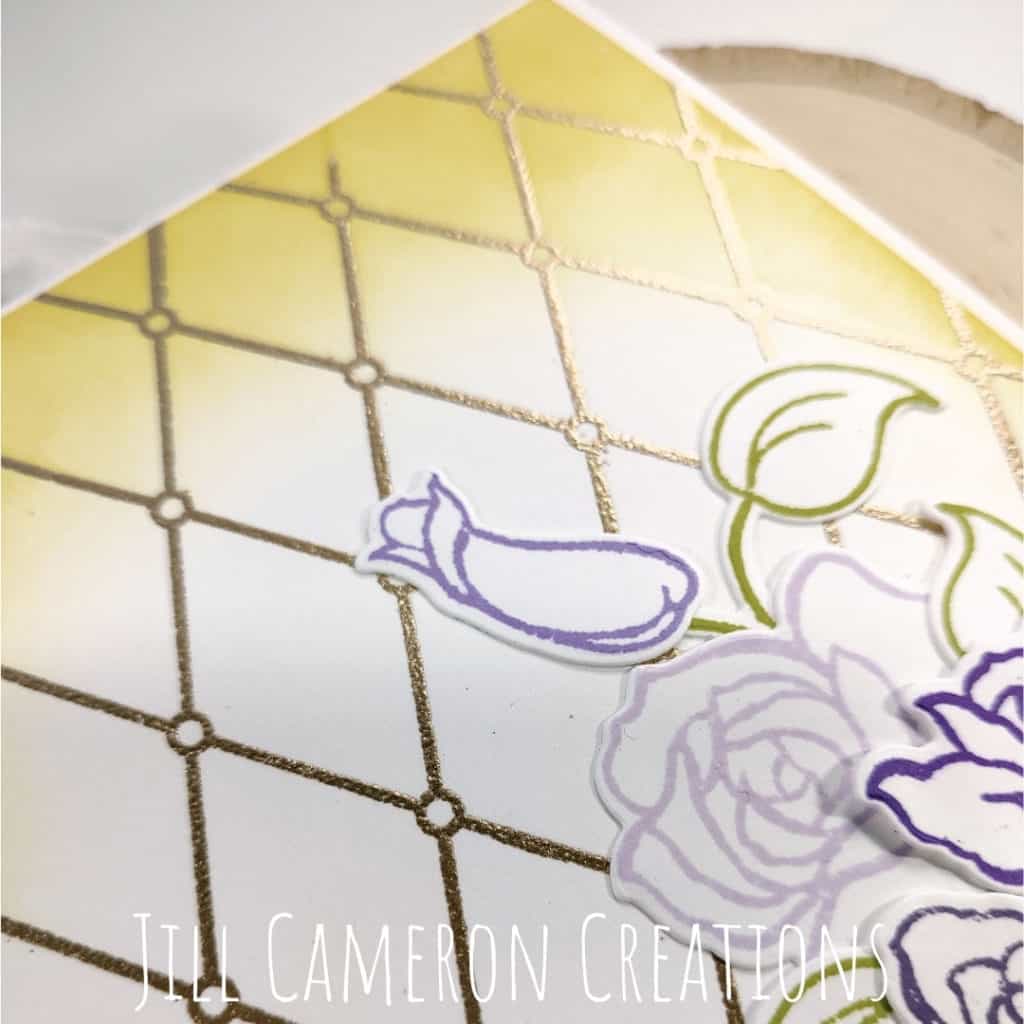
For the first card, I created a background using a stamp. When you’re creating a custom background using a stamp, don’t forget to stamp off the edges of the cardstock and to rotate your stamp. This will give your background a more complete look and it’ll look like patterned paper.
Then, I stamped and die cut a bloom and a stem. The patterned paper matched the colors perfected and added a different texture to the background.
I used a cotton swab to add a little ink blending to the centers of each flower.
The sentiment needed a little something else, so I added a strip of gold glitter cardstock.
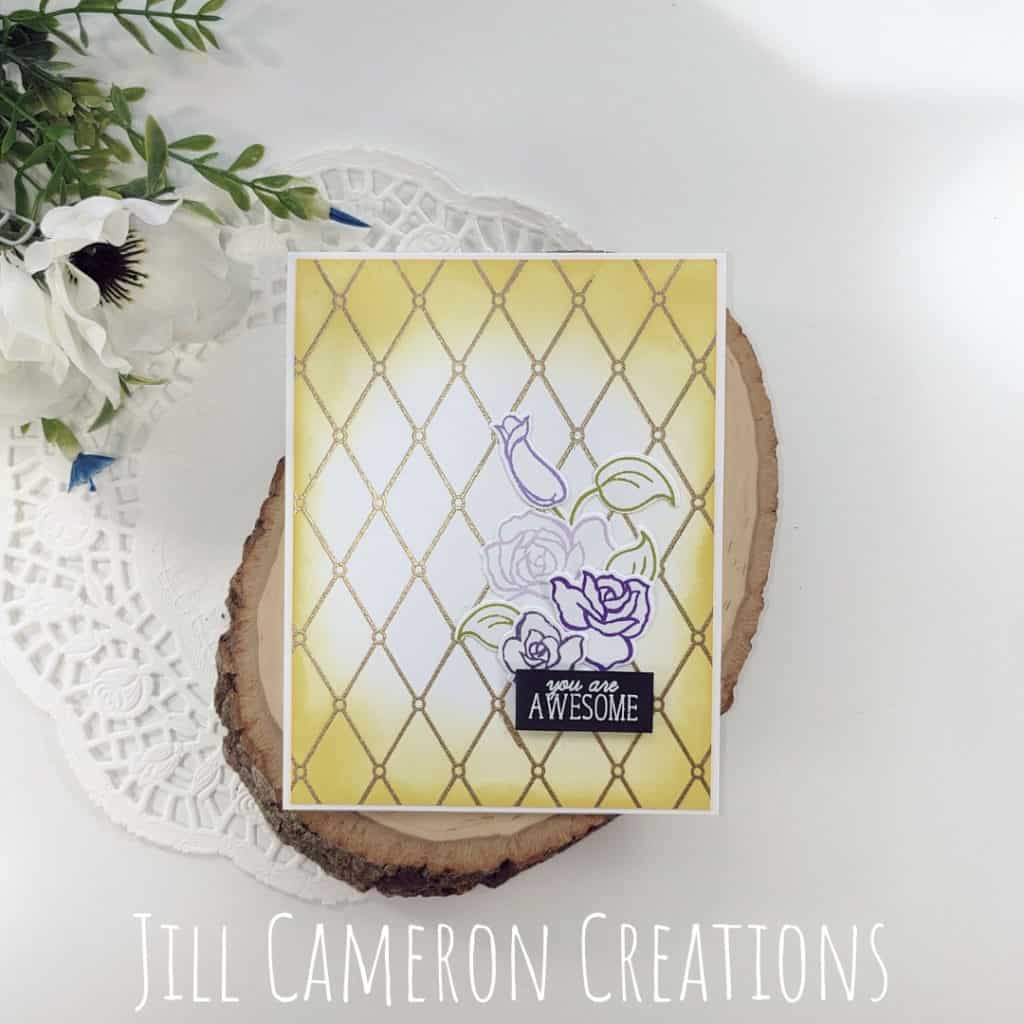
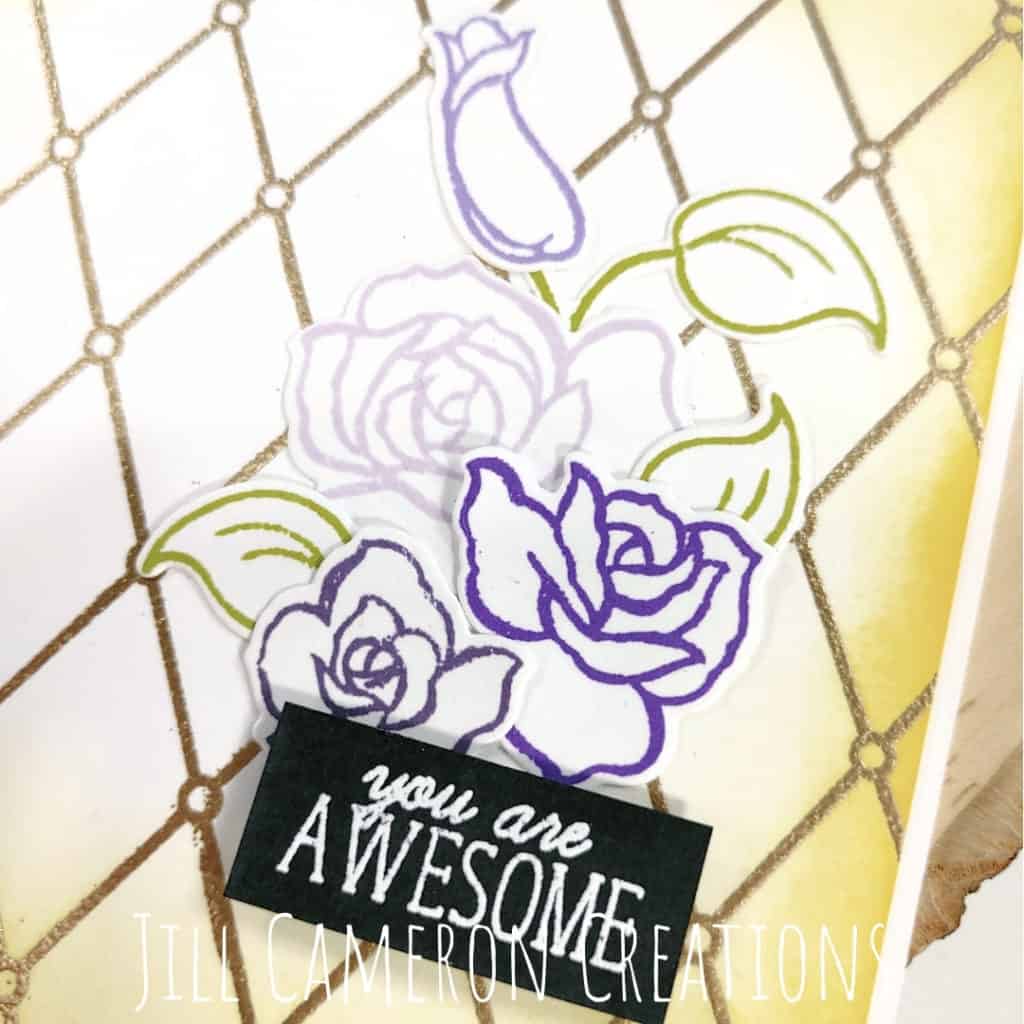
The second card is a classic design. I stamped the background and heat embossed it with gold embossing powder.
Then, I used a domed ink blending tool to ink blend yellow ink around the edges of the panel. This created that center white area that seems to glow.
I stamped several blooms and leaves and used the coordinating dies to cut them out. Arranging these elements doesn’t have to be a headache either. I placed them how I wanted them on my card front then used kitchen wrap to hold them in place. Check out the video to see how.
The sentiment is white heat embossed on black cardstock and popped up with foam tape.
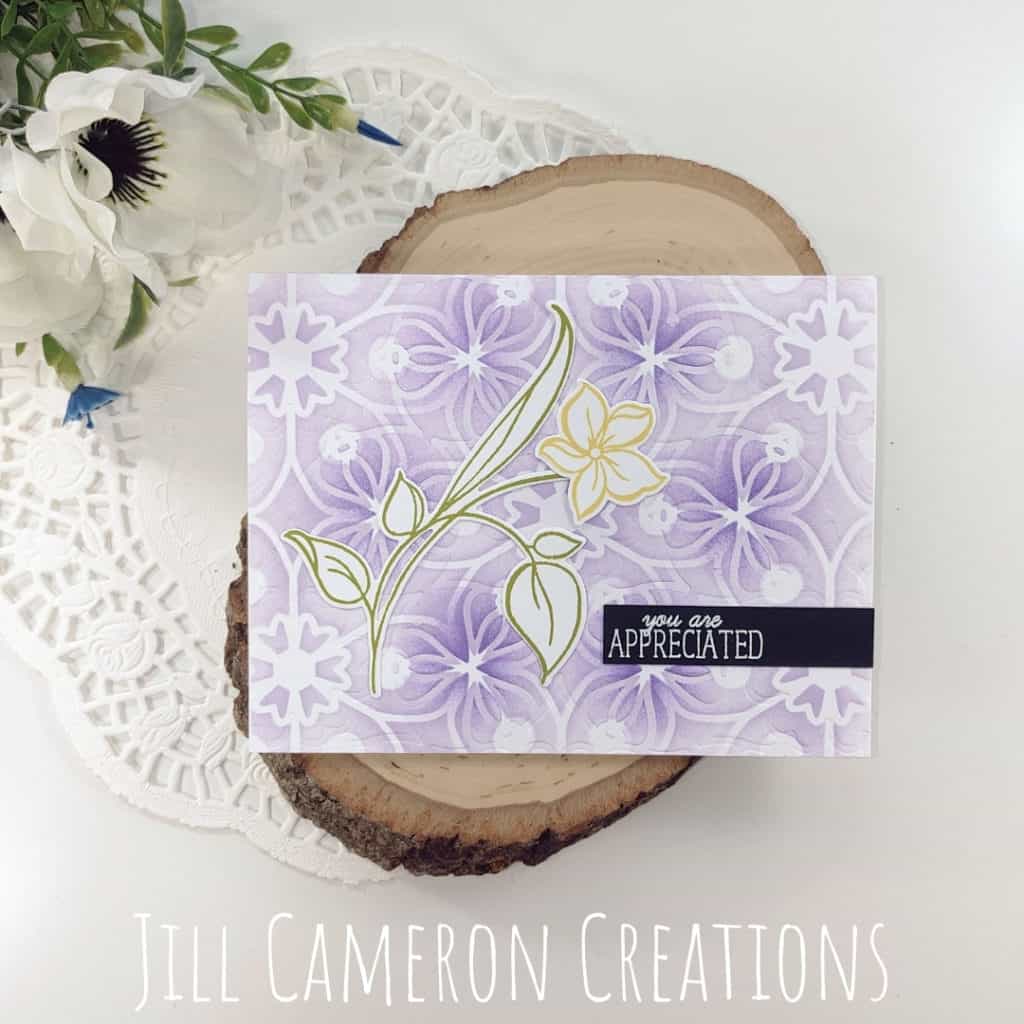
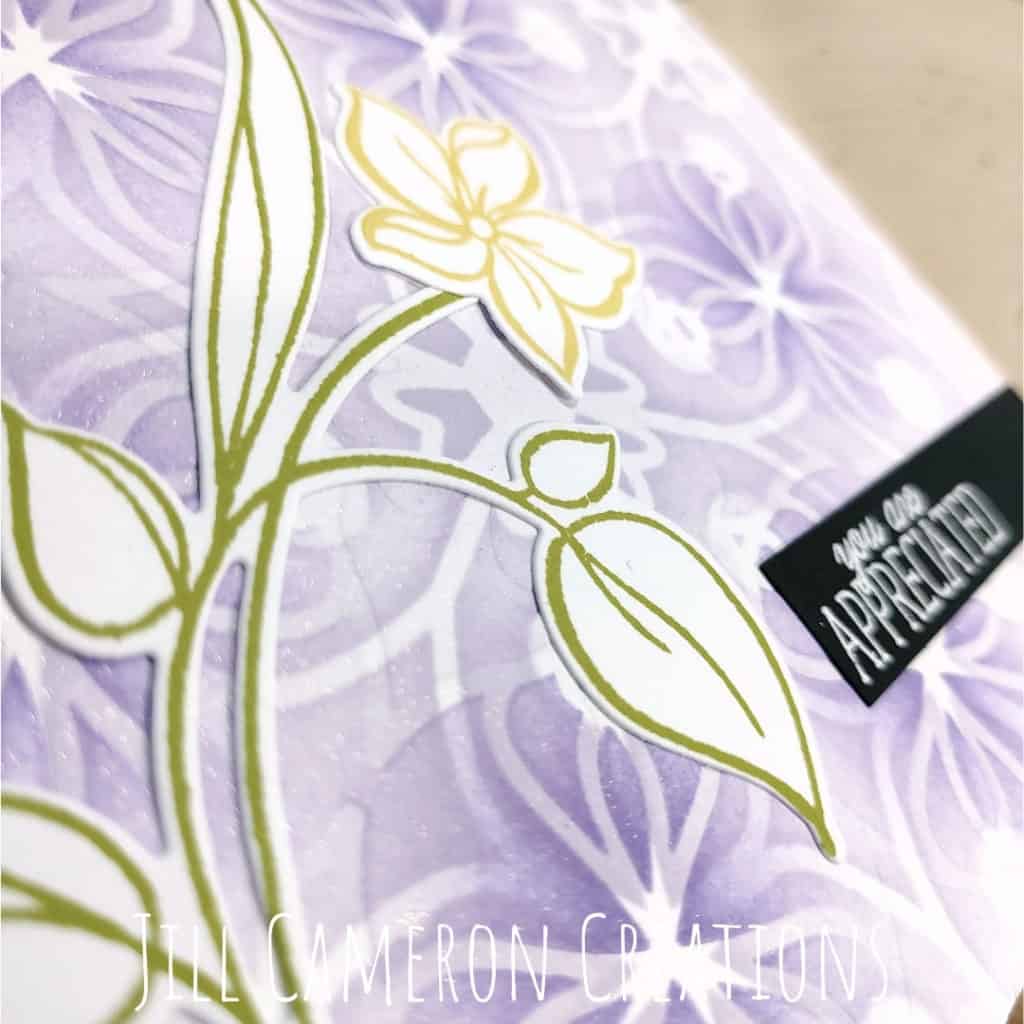
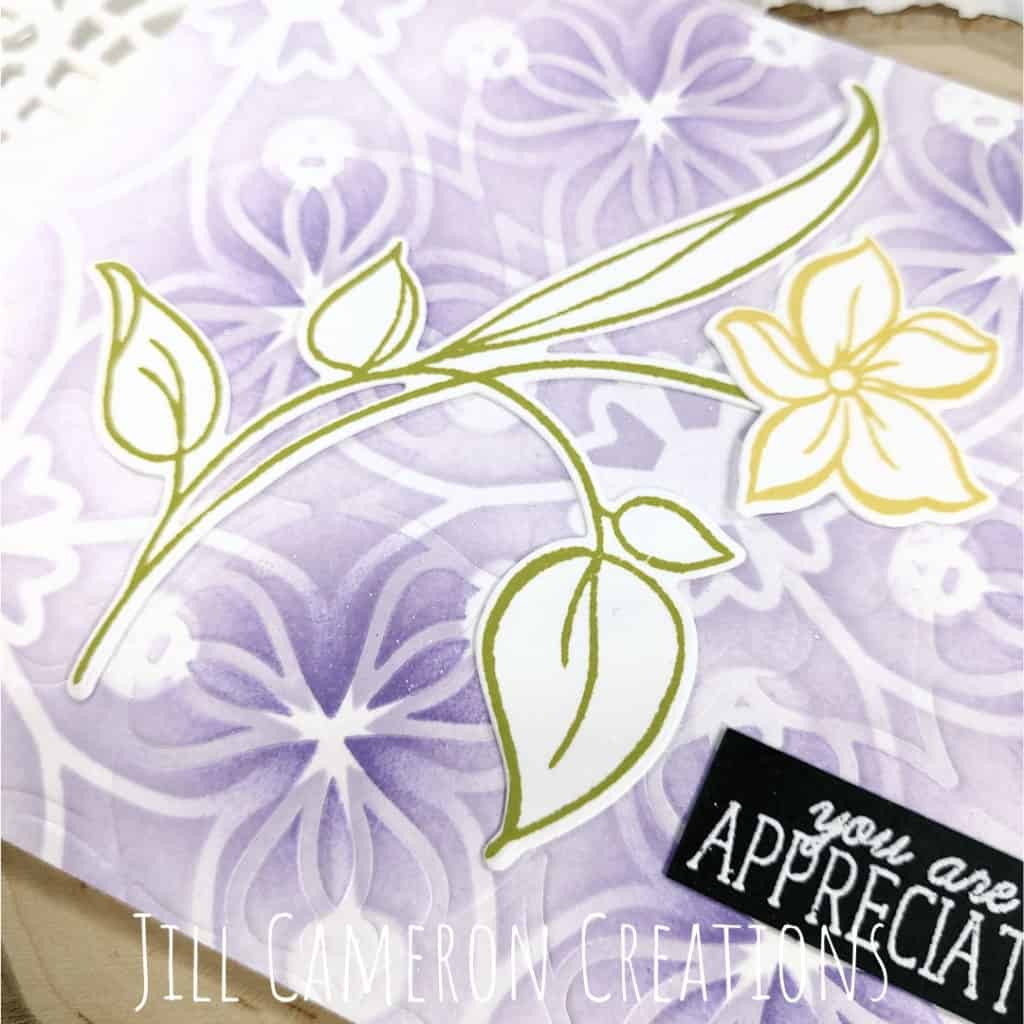
Our next card is a little different. Instead of using a die to create an embossed impression, I used a stencil.
I ink blended the first stencil in various placed and not evenly. Then, I placed the second stencil on the panel and aligned it with the pattern. I used an embossing mat and ran it through my die cutting machine to get the stencil impression on the cardstock.
I didn’t remove the stencil right away. I inked over the flower images first in a darker purple ink.
Finally, for the background I misted it with an iridescent shimmer spray.
I stamped a bloom and stem to glue flat to the card from. The sentiment is white heat embossed on black cardstock.
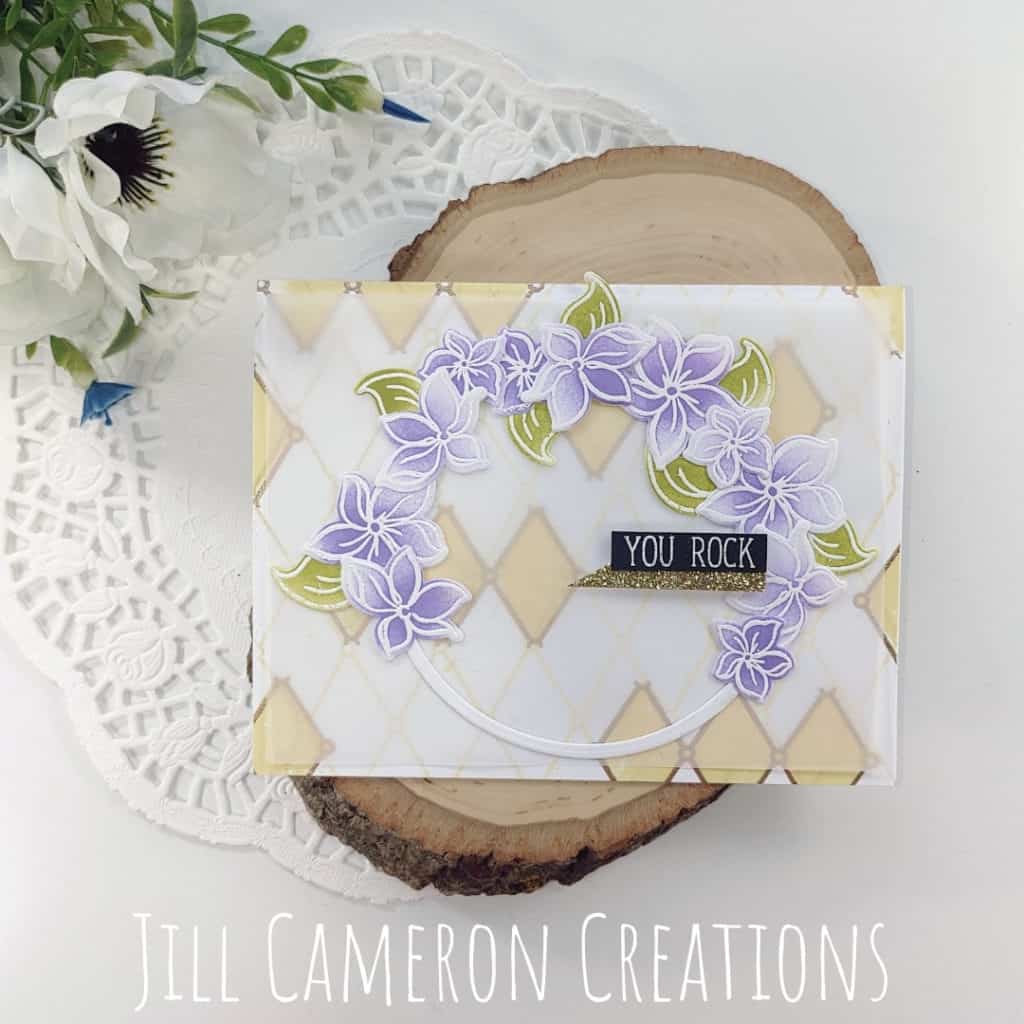
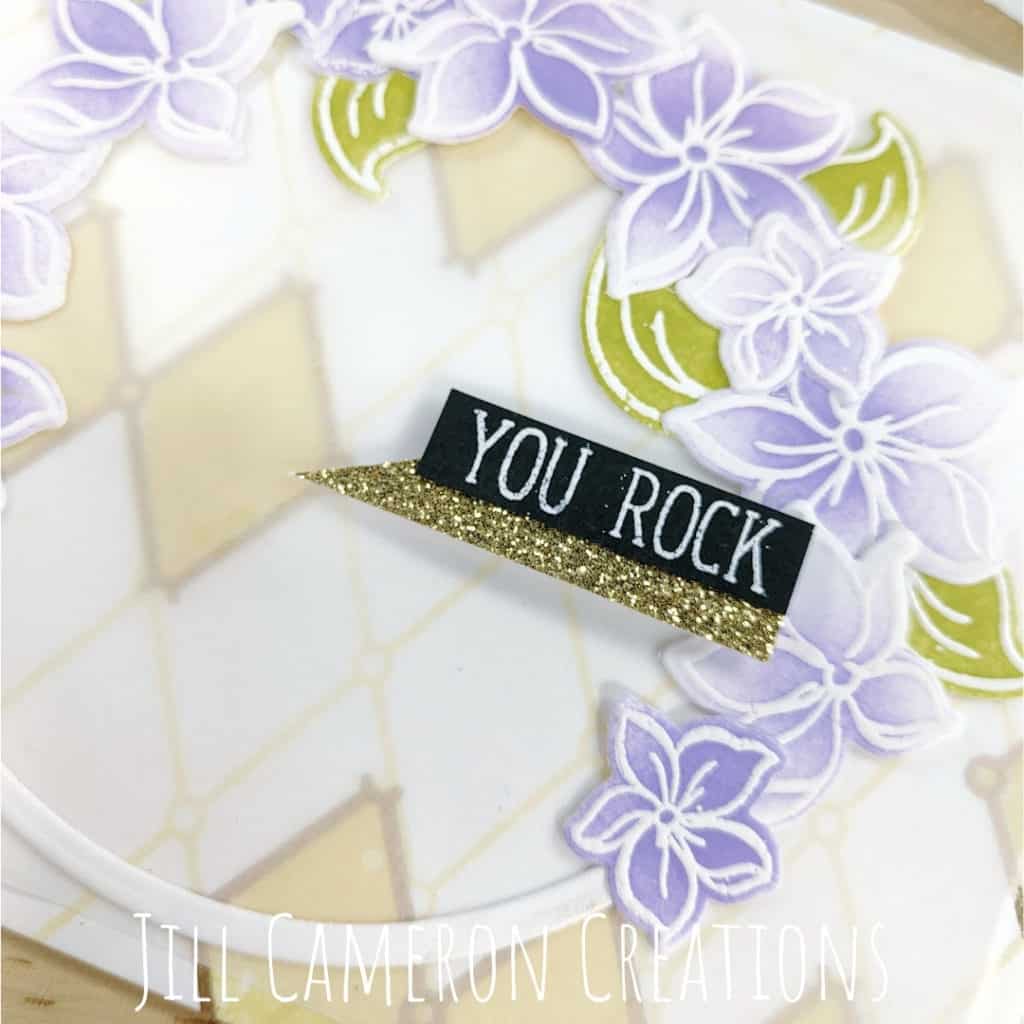
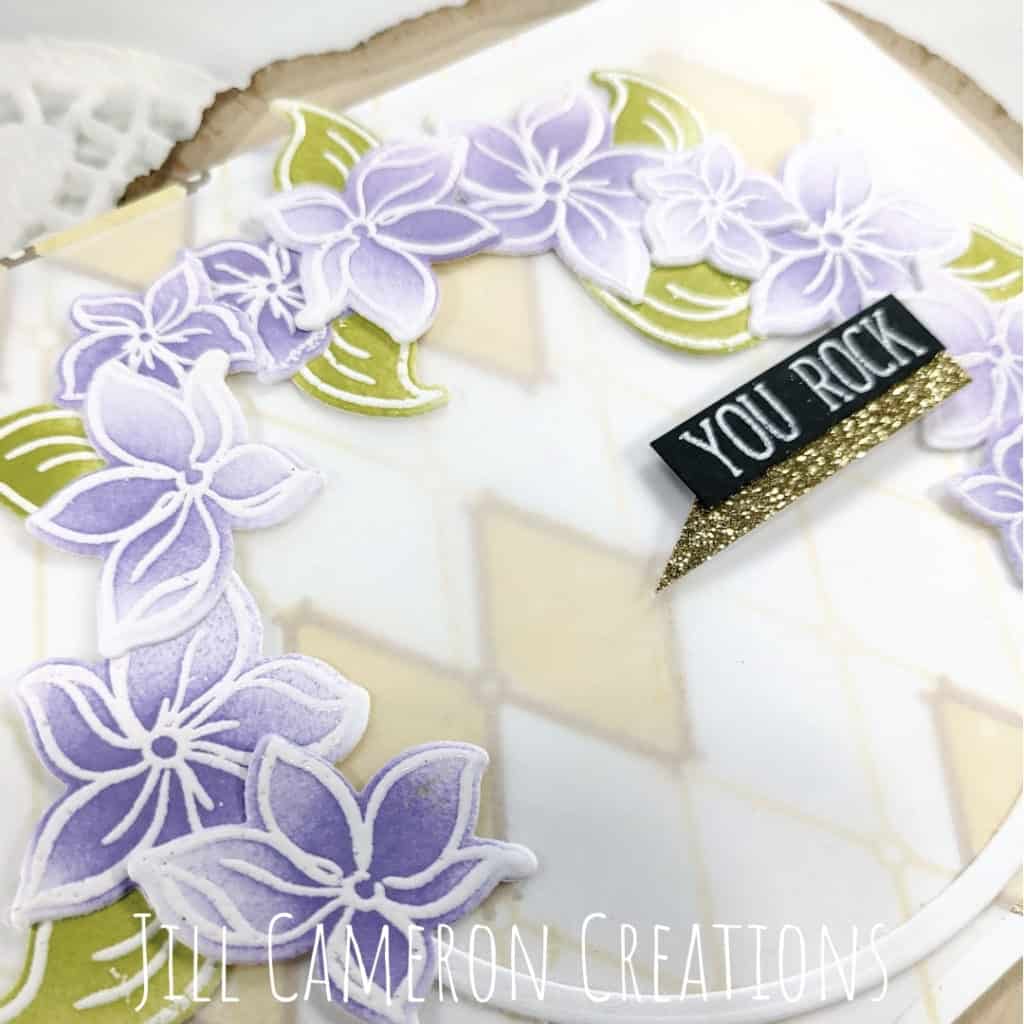
This final card is my favorite of the encouragement cards for the gals. I started with the background first. I randomly stamps the diamond outline in gold embossing powder and then filled it in with mid-tone yellow ink. Then, I stamped the entire background image in light yellow.
I stamp and bunch of flowers and leaves in embossing ink and then embossed them in white embossing powder. I ink blended all of the flowers in purple to create varying colored flowers easily. And did the same for the leaves. Then, I die cut them with the coordinating dies.
I wanted to create a wreath on the front of my card but I can’t make a circle with some help so I die cut a circle frame and glued by flowers and leaves to the circle frame. You can complete the circle or cut the empty circle part off but I really liked the look of the frame.
I trimmed down a piece of vellum and glued the wreath to the vellum then added glue behind the wreath and glued it to the background.
The sentiment is white heat embossed on black cardstock with a pop of gold glitter cardstock.
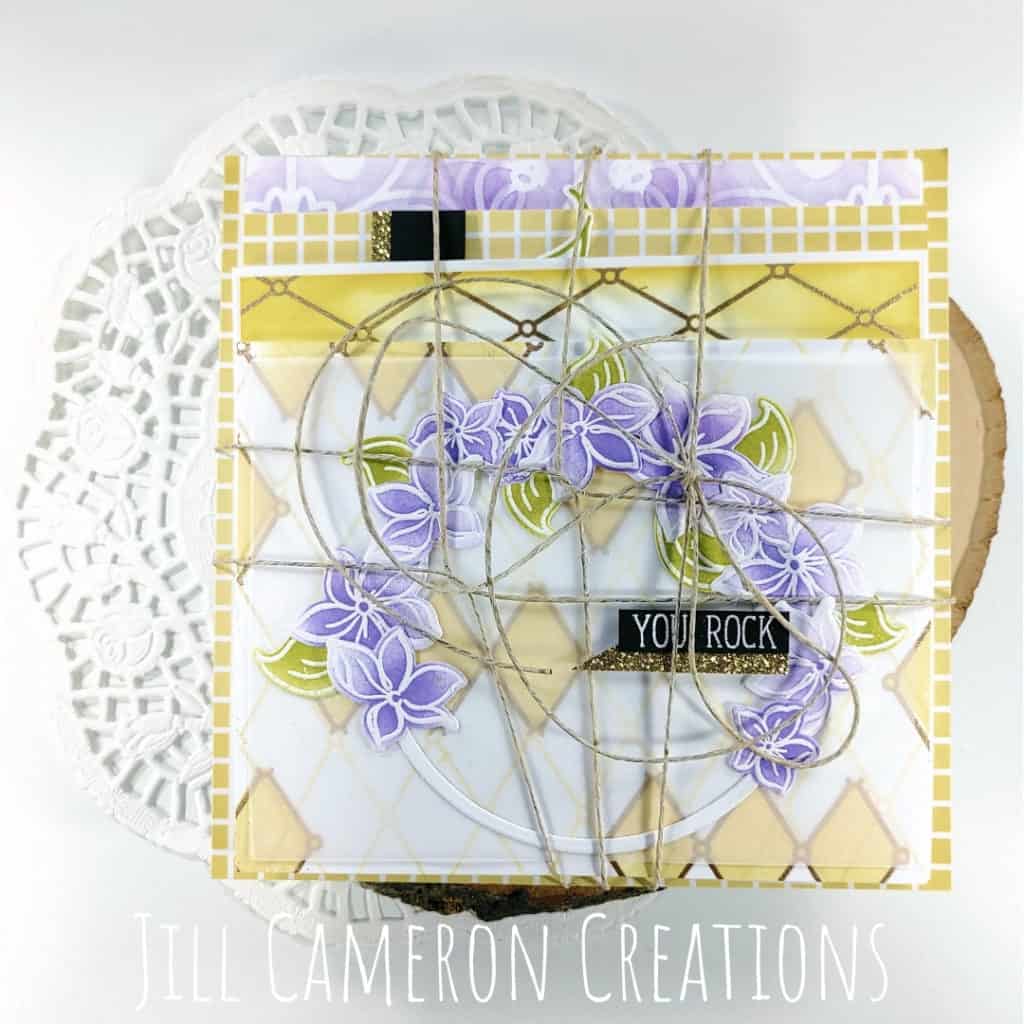
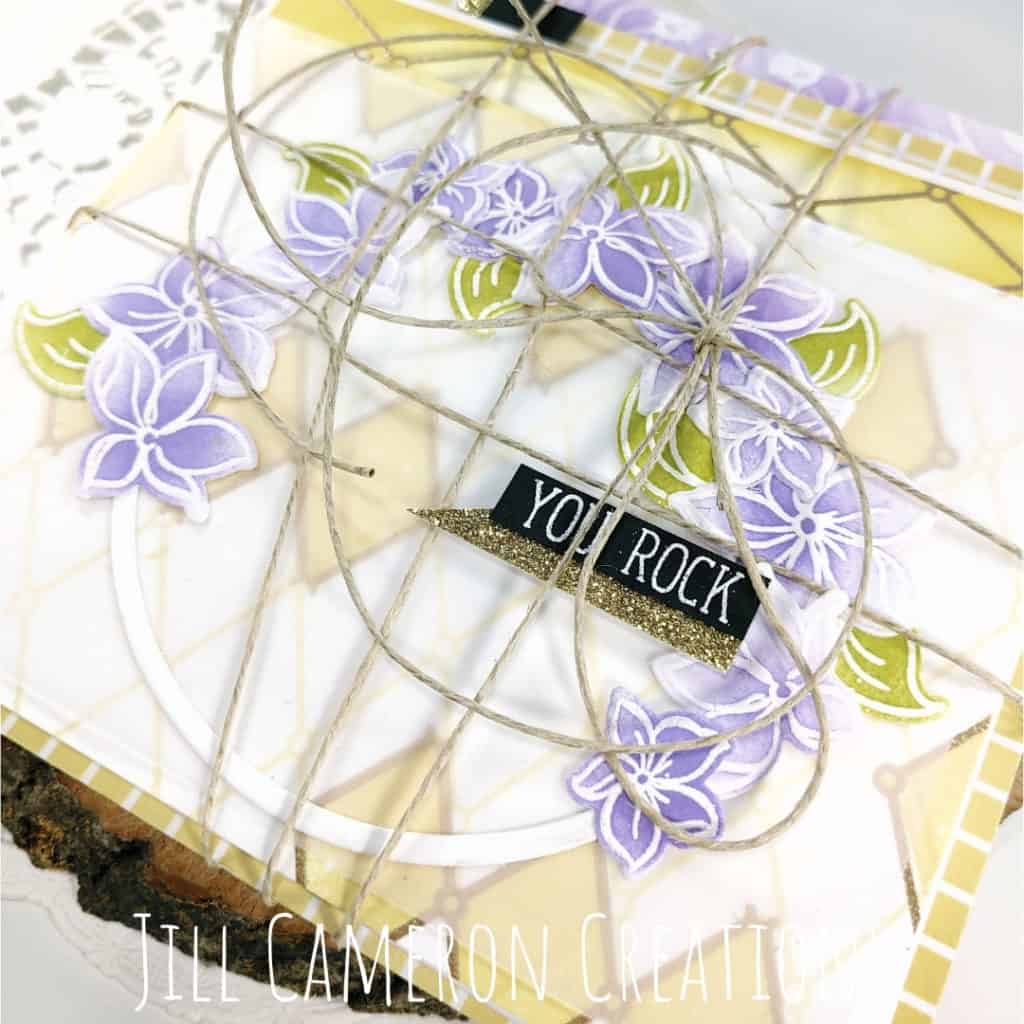
Finally, I created a flat pack for my packaging. I used some backer board I had cut down to 6″x 6″ and twine from my gift wrap stash. The twine is from Christmas gifts and my Mom’s crazy gift wrapping. I haven’t bought ribbon in years because I just save it from her wrapping. This was leftover from last year’s gifts.
Since, I like to use gift bags or need to mail card sets a lot I like the idea of a flat pack like this. The backer board keeps everything from bending and the twine creates a really awesome crisscross cage around the cards.
The envelopes are behind the cards and you can get a sneeky peek at all of the cards in the set.
Don’t forget to take a look at the Encouragement Cards for the Guys too!
This post contains affiliate links for your convenience. This means if you make a purchase after clicking a link, I will get a small commission with no additional cost to you as the consumer. I participate in the Amazon Services LLC Associates Program, an affiliate advertising program designed to provide a means for sites to earn advertising fees by advertising and linking to Amazon.com. For full disclosure policy click here.


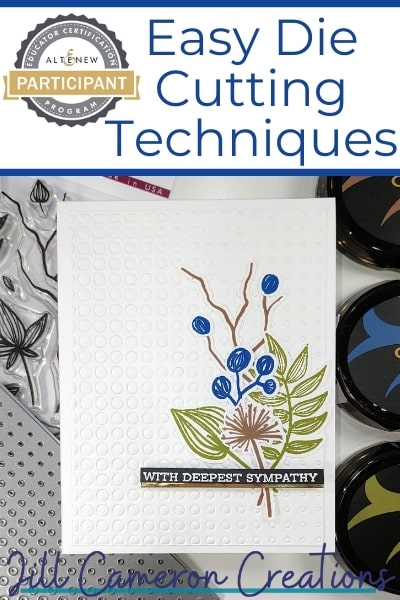
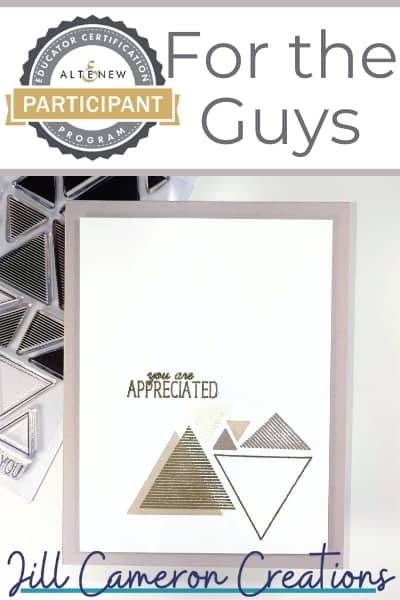

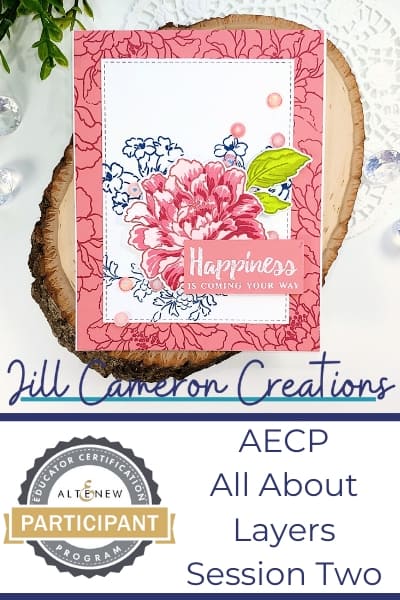
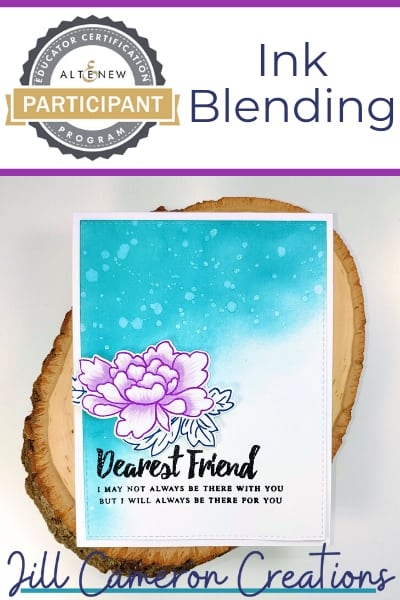
All these cards look wonderful! I especially like the color combination which is quite different for a feminine card set.
Thank you for submitting your work to the AECP assignment gallery.