Custom Stencils for Cards
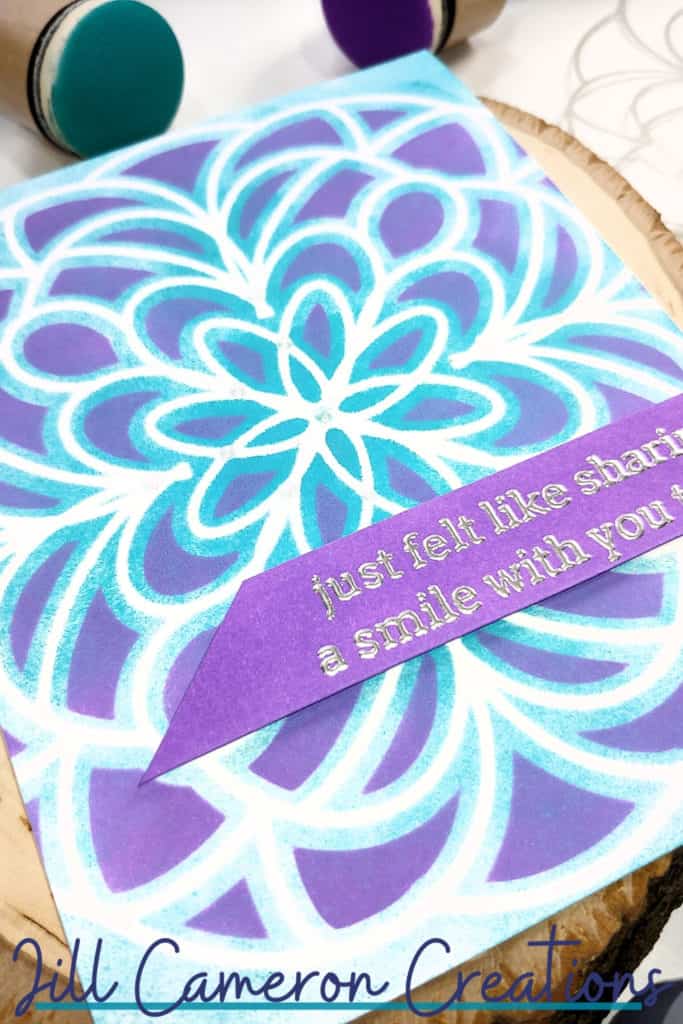
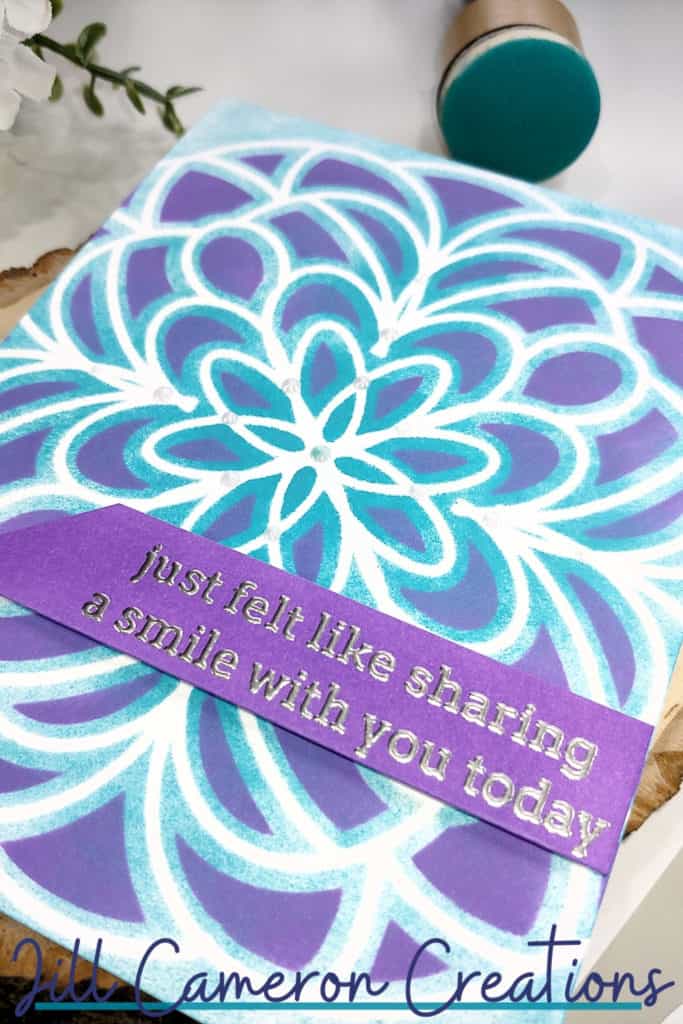
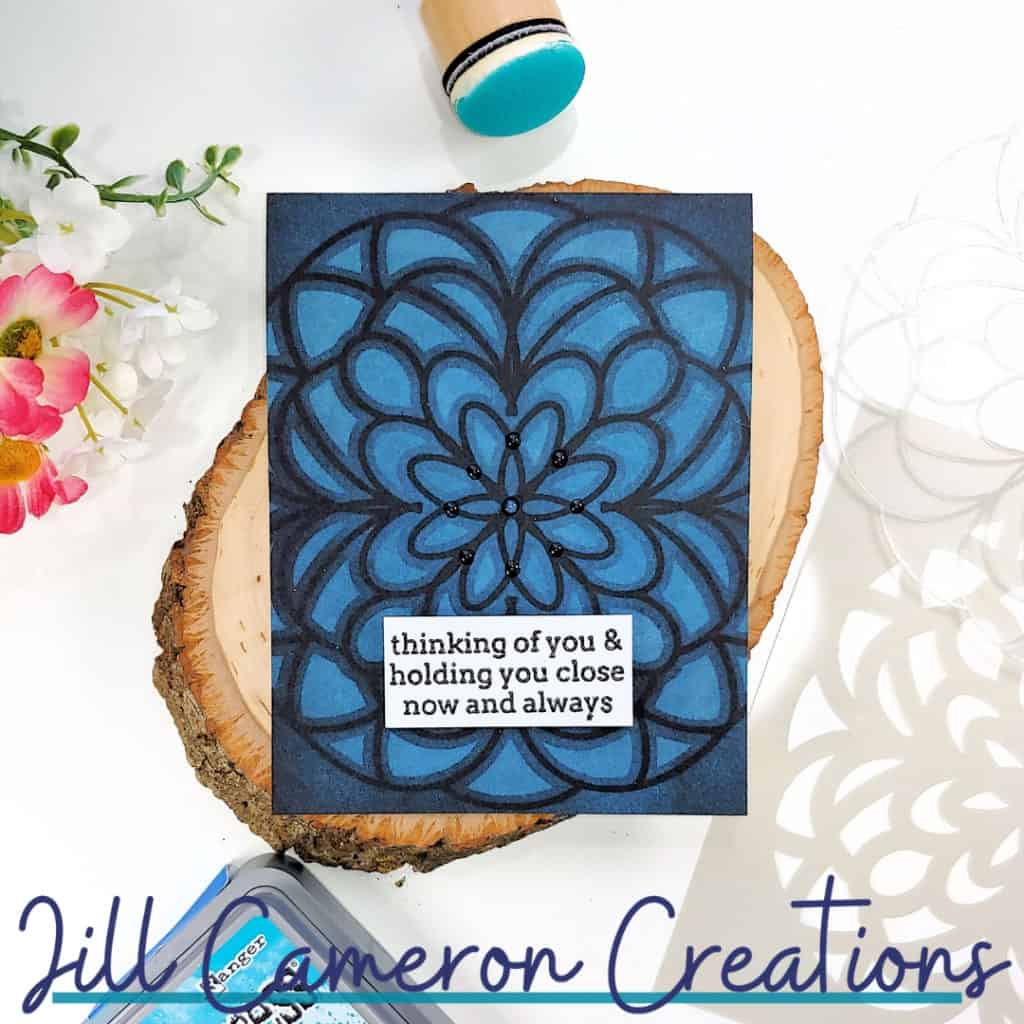
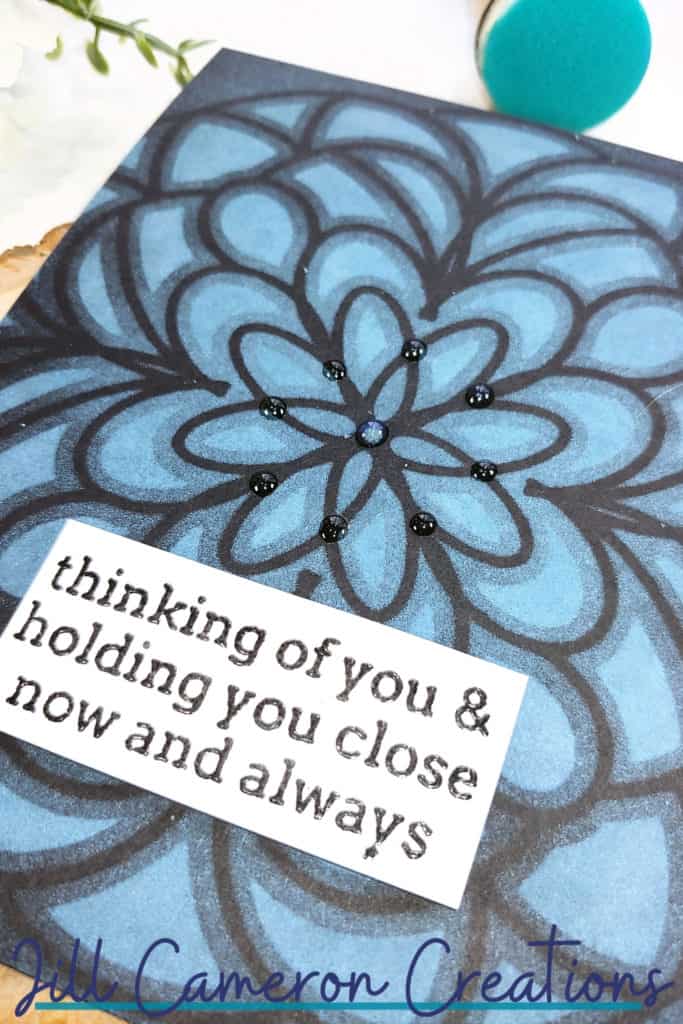
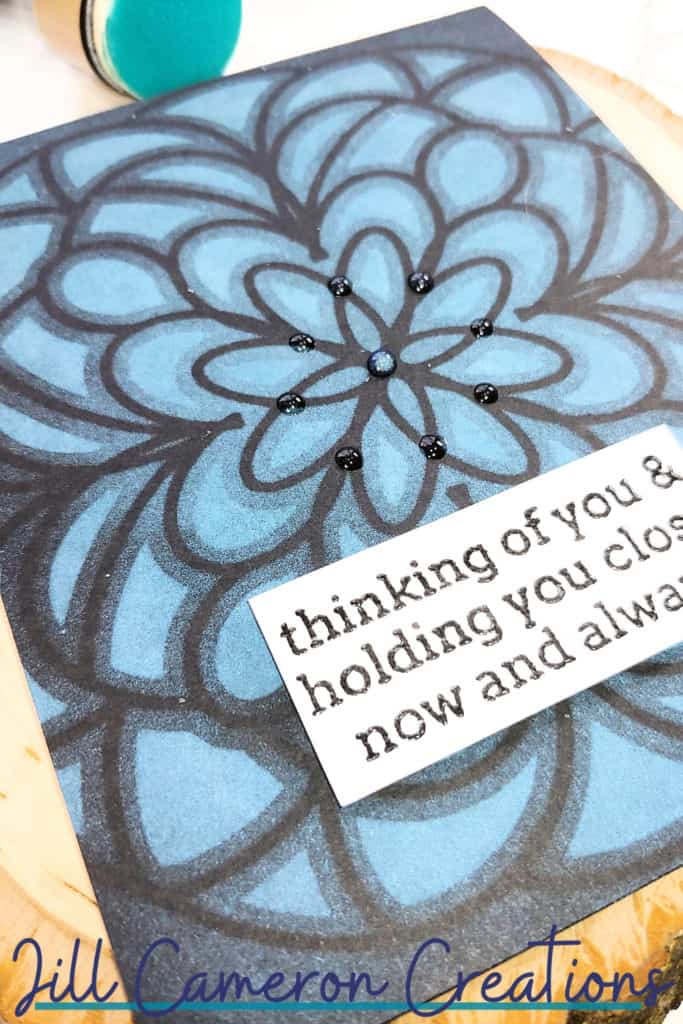
Today’s post is a little bit different. I’m making cards but I’m also sharing with you how to make custom stencils for you to use with your beautiful card creations. I don’t know about you but I love using stencils to create amazing backgrounds and add texture to my projects. The first part of this is the how-to and the second is the actual cards.
There is another reason to make a custom stencil that I’ll share with you too. Read on for more.
Affiliate Disclosure Policy
This post contains affiliate links for your convenience. This means if you make a purchase after clicking a link, I will get a small commission with no additional cost to you as the consumer. Jill Cameron Creations/Jill Lipscomb participates in the Amazon Services LLC Associates Program, an affiliate advertising program designed to provide a means for sites to earn advertising fees by advertising and linking to Amazon.com. For full disclosure policy click here.
Custom Stencils
First, I’m using my Silhouette Cameo to create custom stencils. It’s really no different from creating any other design project except the cut settings are different. But fear not, the settings are pretty much preset. I recommend changing two settings for the preset: turn on overcut and cut the material twice instead of once.
The SVG files I used to create the stencils are my own creation and can be purchased in my shop. Click the image below to get your Layered Medallions & Snowflake SVG now!
I created stencils out of two of the four layers for layering stencils but you don’t have to be that crazy with your design.
Do you like to use stripes? Make a stencil for it.
Do you like circles? Make a stencil for it.
Do you like clouds? Make a stencil for it.
What about hillsides? Make a stencil for it.
I’m going to demonstrate how to make a striped stencil. You’ll be able to make all kinds of backgrounds with it including buffalo plaids or rainbow stripes.
Where can you get stencil materials? You can get it at your local big box craft store but it’ll cost you. When I priced it locally it was almost $9 for 3 12″ x 12″ sheets. That’s a bit pricey. I found that Amazon had the best prices for the stencil material sheets in a variety of thicknesses.
Other Custom Stencils
The other surprise idea I have is to create masking stencils for your stamps. To do this you’ll also need a PixScan Mat. Here’s what you need to do.
- Place the stamped image on the PixScan mat.
- Take a photo of the PixScan mat with the image on it and import it into Silhouette Studio.
- Trace the outline of the image.
- Copy and paste the outline into a new project tab.
- Follow the same instructions as above and keep the negative and positive portions of the stencil.
Now, you have the stencils to mask over your images so you don’t have to fussy cut to create a mask. And you have the outside of the image so you can ink blend inside of the image without going outside of the lines. This is great for those large floral images to ink blend a little bit of Speckled Egg Distress Ink around the edges of them.
The Cards
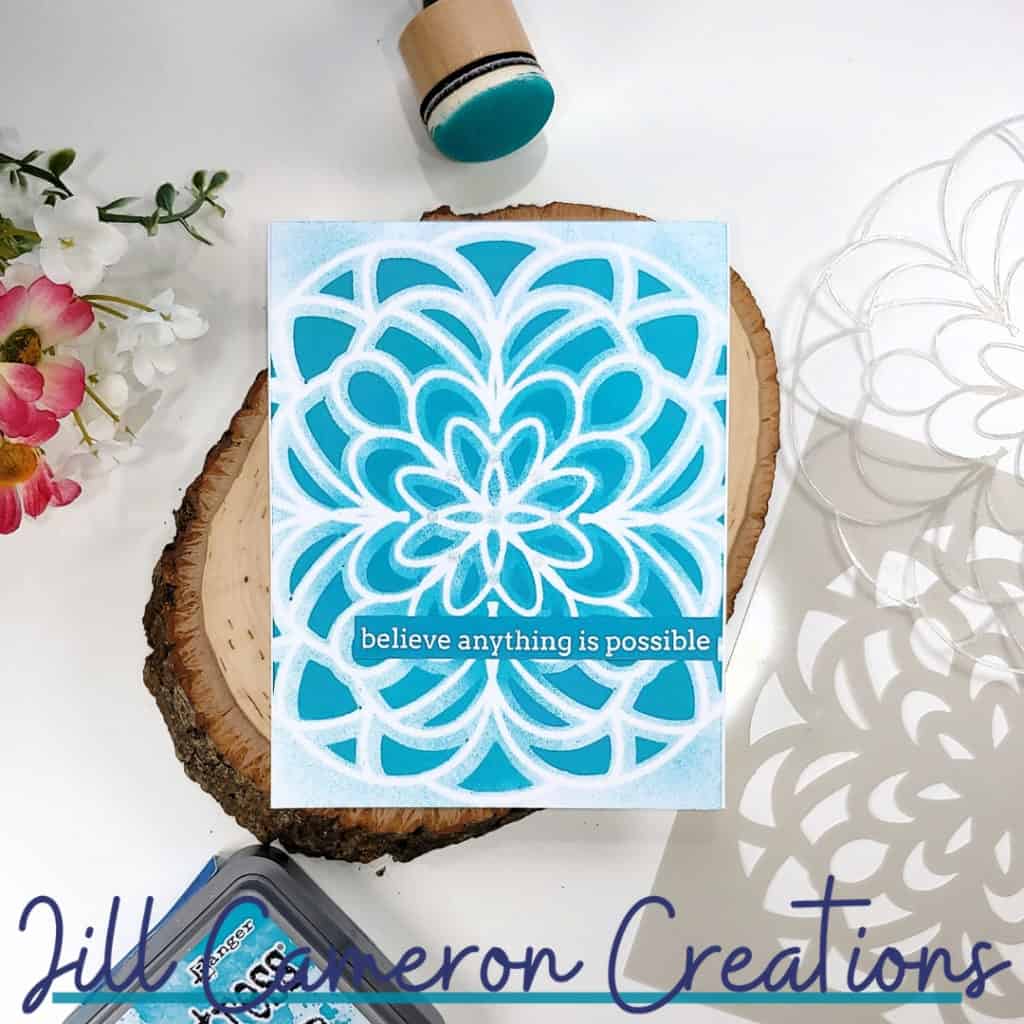
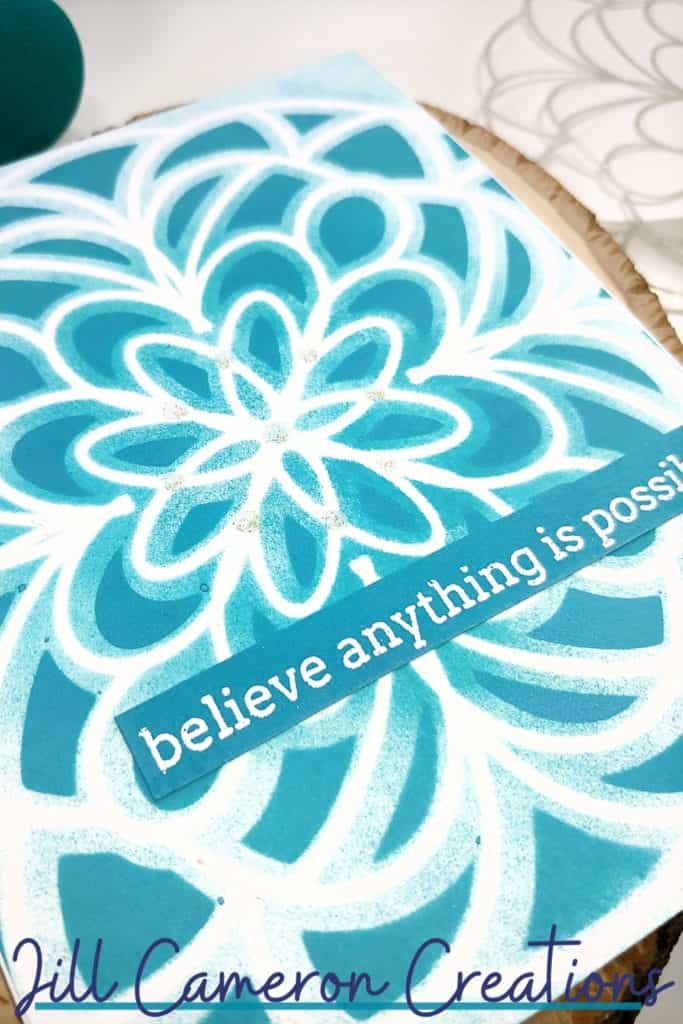
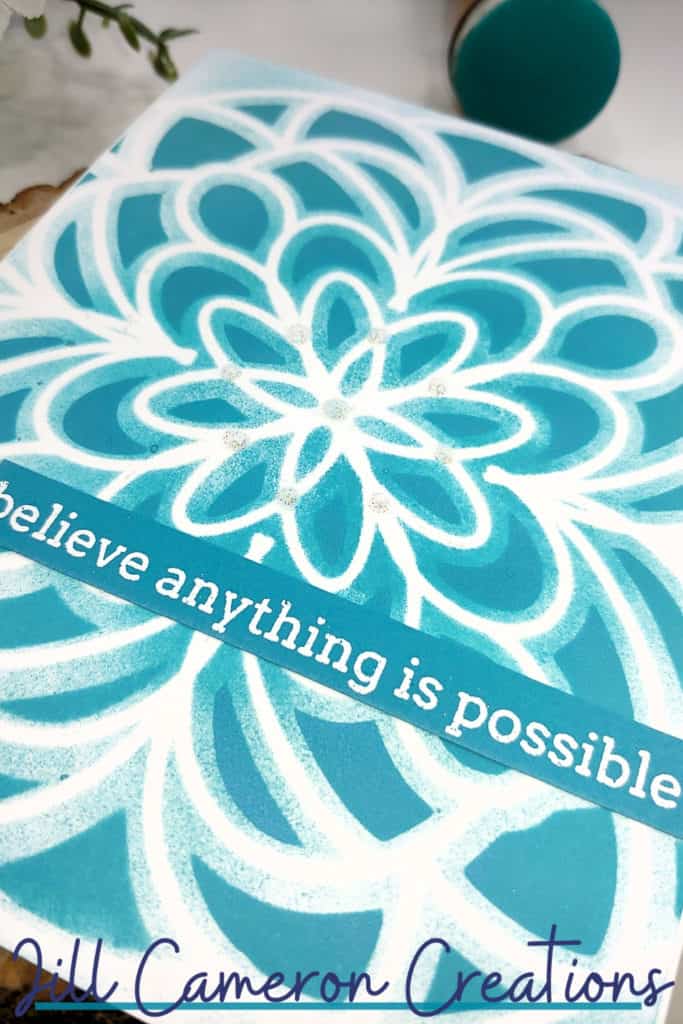
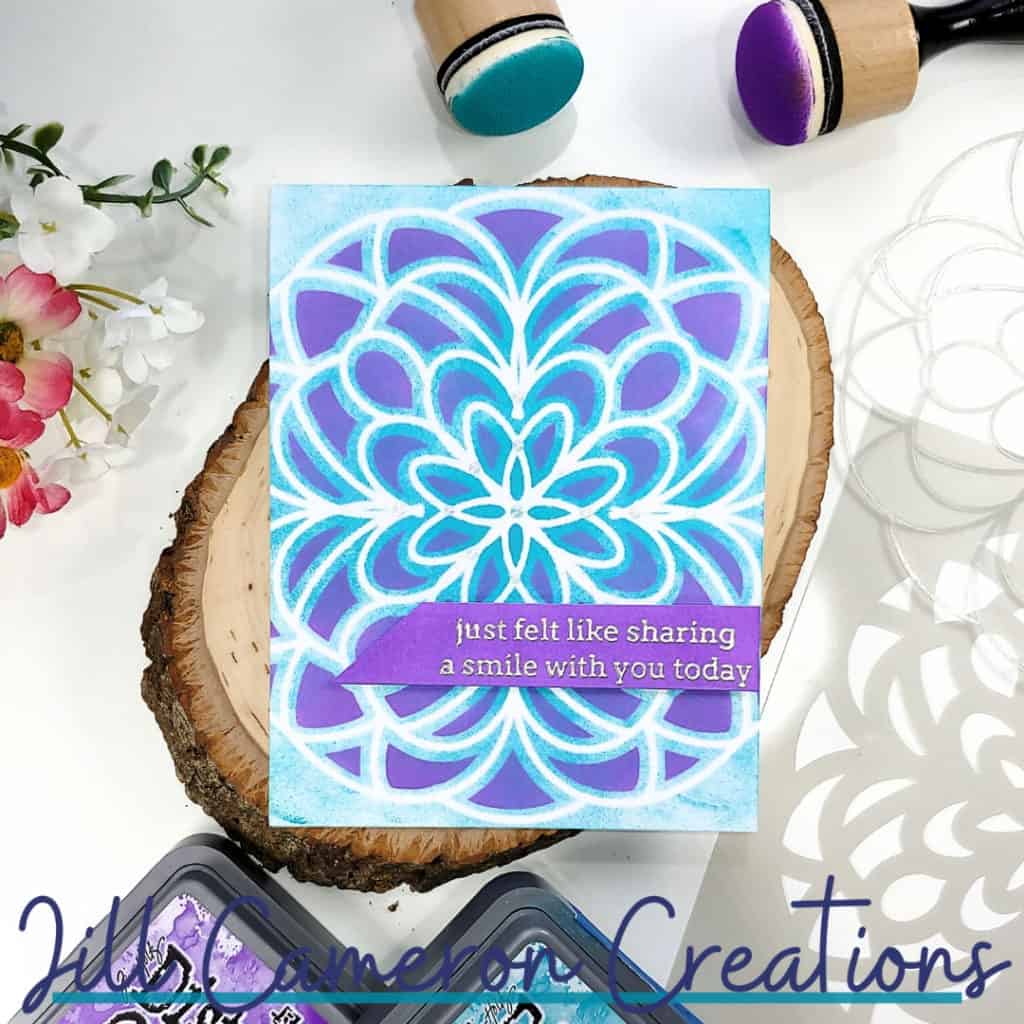
See more Silhouette Projects:
TARDIS Card SVG
Envelope SVGs
Foil Quill Designs


Thank you
These are great !
What thickness do you recommend for the stencil material?
Love the cards. They look great!
Bare minimum 4 mil. I think that’s also what most of the stencil blanks you’ll find are is 4 mil.
Thanks