Build a House Card
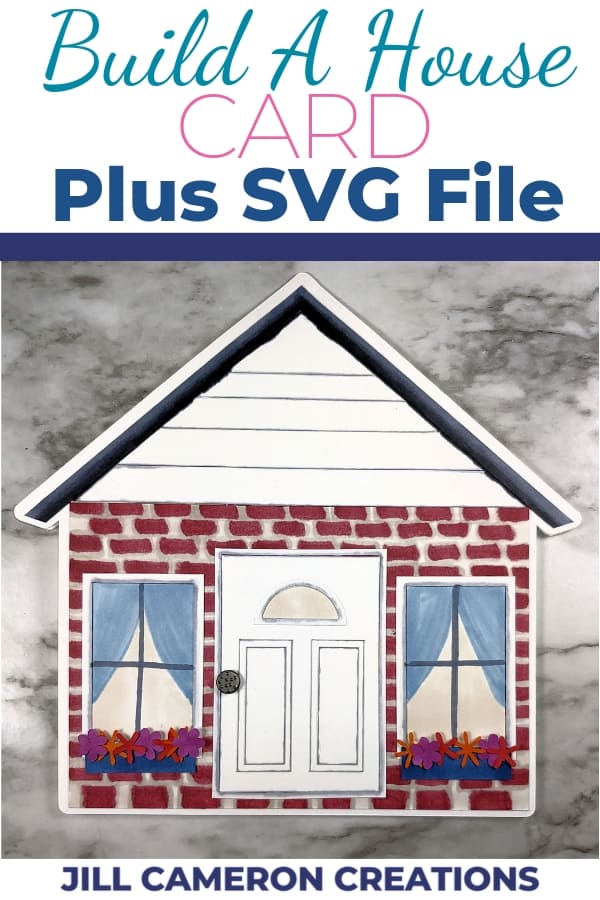
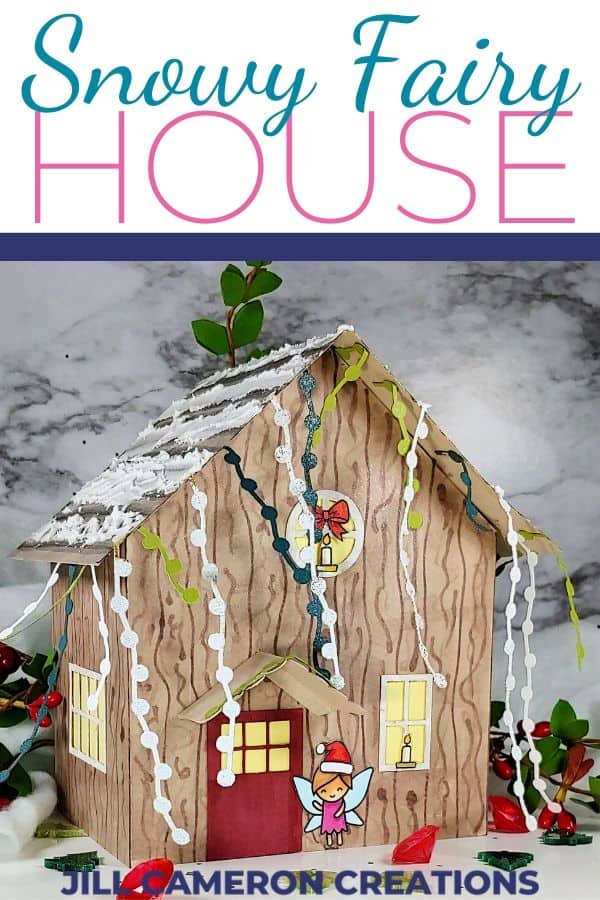
One thing that I’ve always loved is decorating a house for the holidays. Any holiday! I thought it would be so fun to create a card in the shape of a house to decorate for any reason! The house is my own design and it’s made so that you can cut it from patterned paper or all white and color it. Then add any stamped and die cut images for the occasion!
Build a House Card
You got the Build a House SVG File so now what? (Note: Standard Silhouette Studio will not open SVG files. You’ll need Designer Edition or higher to open SVG files.)
Don’t be over whelmed when you open this file. There are lots of pieces so that you can decorate your card any way you want.
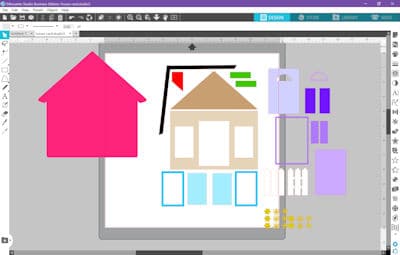
I color coded all of the parts. The base is pink, the door parts are purple, and the window parts are blue. The two green pieces are window boxes or planters for the flowers. I created solid panels to fit in the window too. This way if you want to layer you can very easily.
How-to put this house card together
- Cut two of the large pink house outlines. This is the card base.
- I like to group all the items I’m going to cut from the same color paper together.
- Your cut settings are VERY important! Select the correct material. Most cardstock will cut great on the ‘Cardstock (80lb)’ setting.
- Change the Passes to 2 and check the box for Overcut.
- Cut all the pieces you’re going to use.
- If you plan on coloring the pieces to the house, do it before you put it together.
- Next, score one of the card base pieces towards the top of the roof. This will be the back of the house.
- Use a really strong adhesive to adhere the two card base pieces together at the top above where you just scored the paper.
- Start assembling the house with the base of the house first. This is the large rectangle with spots of windows and a door. The card base is about 1/8″ bigger than the house so be sure to leave about that much space at the bottom and either side.
- Add the large triangle on top.
- The window and door frames sit on top of the base of the house. They don’t fit down in the cut-out. This gives the house some dimension. Cut several frames and stack them up for more dimension.
- Finish off the card however you want. Add stamped images like wreaths, trees, critters, or anything else.
- You will need a large envelope for this. The finished size of the card is about 7 1/2″ x 7 1/2″.
And it’s just that simple!
Don’t forget to check out my favorite crafty things and stamp companies here!
See more Silhouette Projects
TARDIS Card SVG
Foil Quill Designs
Envelope SVGs

Jill, this is absolutely amazing. Great video. I love this idea for a card. Wonderful tutorial.
Lucy, Thank you so much! It’s been a challenge to come up with unique card designs.
Thank you so much for creating and sharing these wonderful svgs”.