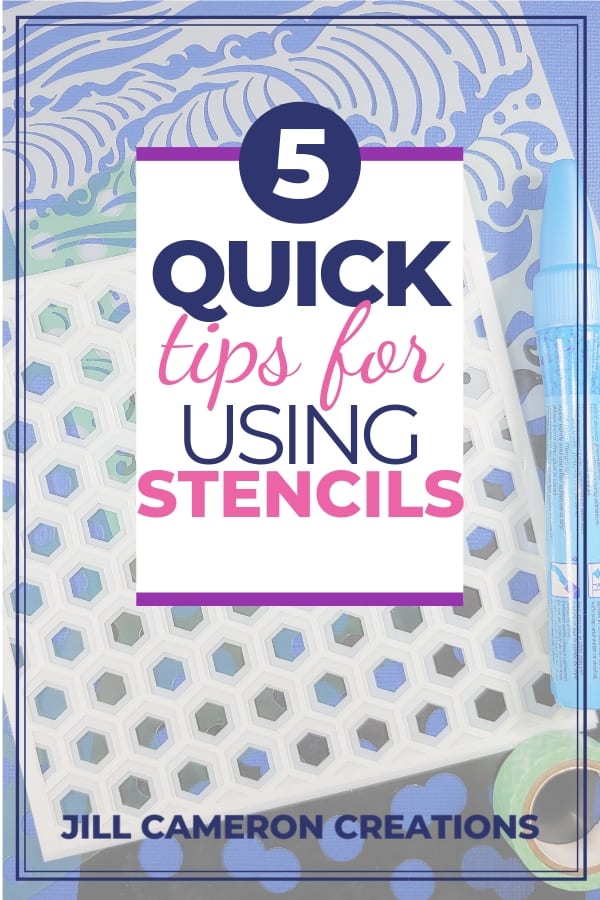
5 Quick Tips for Using Stencils
You know sometimes stencils can be tricky little buggers. Today I’m sharing 5 quick tips for using stencils. I mean they bend and move around all over the place. It’s tough to get a good stencil impression without some sticky assistance.
One thing I’d like to point out about stencils, in general, is the thicker the stencil the more stable it is but thinner stencils give a crisper image. It’s a catch 22 there. A more stable stencil or a crisper image? That decision is I leave up to you but I thought I’d point this out before we get started.
The products I use in the video are linked within the text below.
Affiliate Disclosure Policy
This post contains affiliate links for your convenience. This means if you make a purchase after clicking a link, I will get a small commission with no additional cost to you as the consumer. Jill Cameron Creations/Jill Lipscomb participates in the Amazon Services LLC Associates Program, an affiliate advertising program designed to provide a means for sites to earn advertising fees by advertising and linking to Amazon.com. For full disclosure policy click here.
5 Quick Tips for using Stencils
Let’s just dive right! These tips can be used with any size or type of stencil.
- Tape your paper to the back of the stencil. Washi tape or painters tape
are great low tack options for this. If you’re stenciling something like a canvas, then put something solid under the empty part of the canvas and use washi or painters tape to tape the edges down to the canvas. - ALWAYS wash your stencils after use! I can’t stress how important it is to wash your stencils. How disappointed would you be to find there was green ink left on your stencil and the blue sky you’re working on just turned slightly green? Washing your stencil is even more important if you’re using embossing pastes. Pastes dry quick and gunk up the details of your stencil. Use warm water and a fingernail brush. That’s not good! So wash after every use!
- Instead of pulling the paper away from the stencil, pull the stencil away from the paper. The paper will be less likely to curl and you’re less likely to stick your fingers in the panel you just created.
- This might not seem important but it is. How you store your stencils can mean the life or death of them. I store mine in a plastic sleeve right now but that’s definitely not good for them. I have to take them all out and sort through them to find the one I want and then put them all back. So I’m going to make paper pockets from inexpensive cardstock. I’ll stencil the design on the outside and just slide the stencil in the pocket. I’ll be sure to share pictures once I get that done! And I’ll share the pocket design too.
- Here’s the biggy! Use a liquid adhesive that dries temporary on the back of the stencil. Mono Multi Liquid Glue and Zig Two Way Glue Pens are amazing for this! I use Zig Two Way Glue. It lasts a few times. It has a built-in applicator. It goes from blue to clear when dry. It’s not overly sticky and it washes off easily.
I seriously hope these tips help with your next stenciling project! What is your favorite tip when using stencils? I’d love to hear them. Email me at hello@jillcameroncreations.com and I’ll update this post with your tips and tricks!
Great tips on using stencils! Really like the storage idea of stenciling the pocket, now I will go search for your pockets. Thamks Jill
Pam
Pam, I haven’t made my pockets for my stencils yet but I will certainly update the post when I do. 🙂