Copic Coloring: Wizards Go Back To School Too
I absolutely love me some Harry Potter!!! When I saw the Wizardly Little Dude image by Polkadoodles I had to have it! I colored the image as a wizard going back to school with his beloved owl. This card is all about the Copic coloring as the rest of the card is super basic and simple. All of the colors used are include in the product links below.
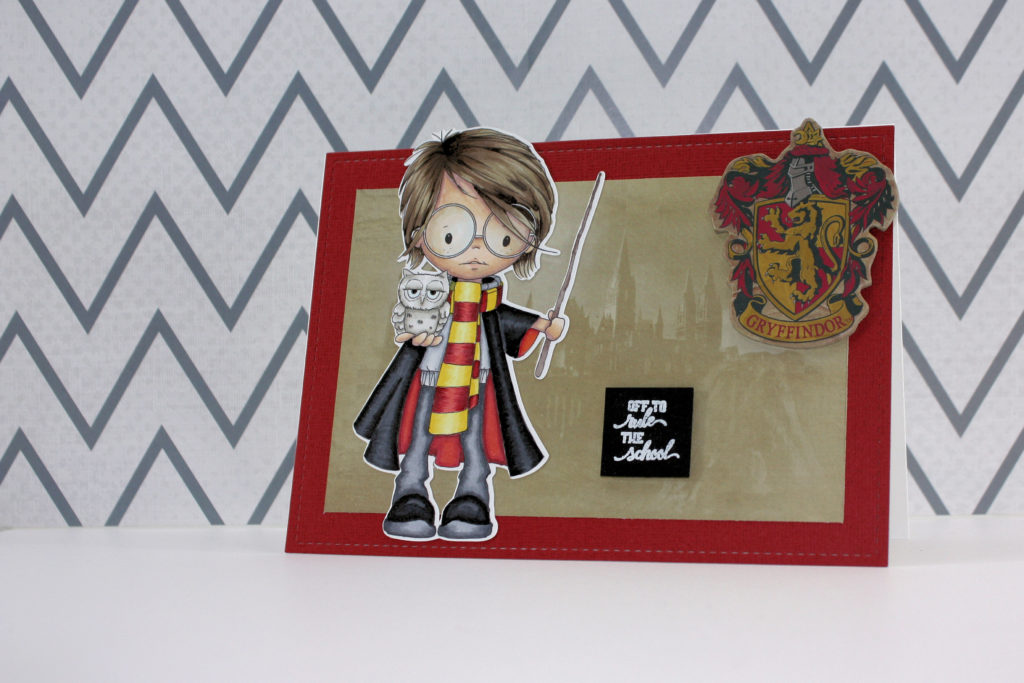
The background paper and chipboard sticker I used is from a VERY old scrapbooking paper pack. I’m sure you’ll be able to find something very similar online. I’ve included a sticker set in the product list that is similar to the one I used.
Links to the products used are below. Some links are affiliate links which means I get a small commission from your purchase at no additional cost to you. This is how I pay for my stamps, inks, and tools for content on my website. Full disclosure here. Thank you for your support.
Wizards go Back to School too
Hair, skin, and glasses
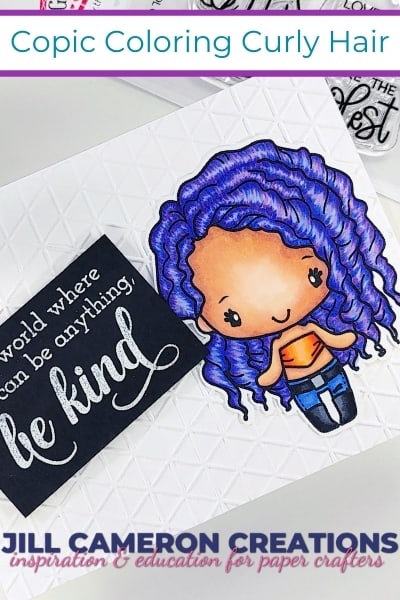
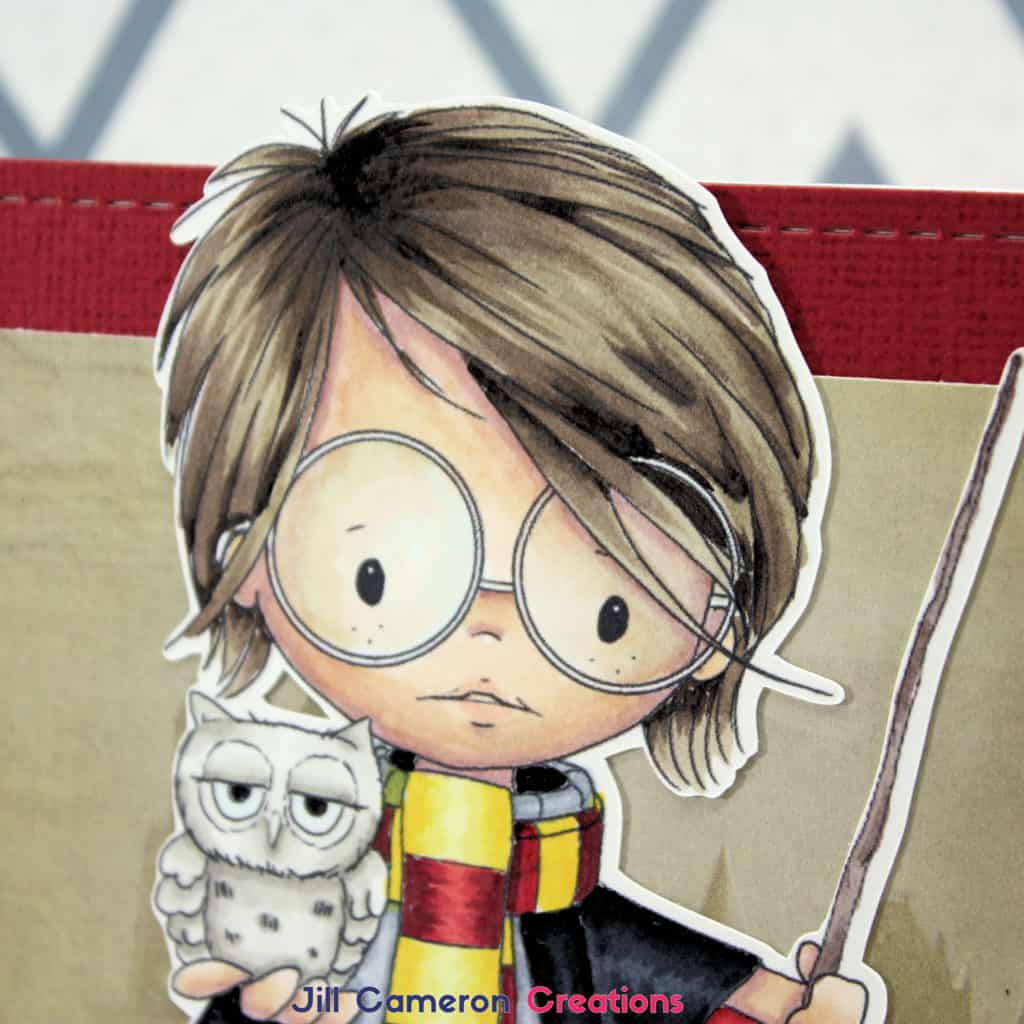
I’m still not the greatest at Copic coloring hair but I practice and I’m much better than I used to be. And that my first point here! Practice your coloring! I promise if you practice it will get better and better. Don’t compare your beginning to someone else that’s been doing this for a while. They got that good after lots of practice.
A few things I’d like to note here:
- Notice the crown of his head, behind the glasses, and behind the ears, the hair color is much darker. This pushes that hair behind those things.
- The darkest color is only added where the artist drawn lines are. Like I said, I’m still working on Copic coloring hair.
- Notice the center of the face is much lighter than the edges of his face. I didn’t put shading behind the glasses much except on the right side.
- Also, there is a slight blue tint to the area inside the glasses. I used a super light BG000 to fill in the entire area just to give the impression of glass in the frames.
- Don’t forget to add some color to the lip area. Our lips are a slightly darker color than our skin tone.
Creating Black
Coloring black scares me to death! You don’t want the image to turn into one big black blob! Coloring black is a skill. The key is the highlights. Also, remember to hold your work at arm’s length before you judge it. Let’s take a look.
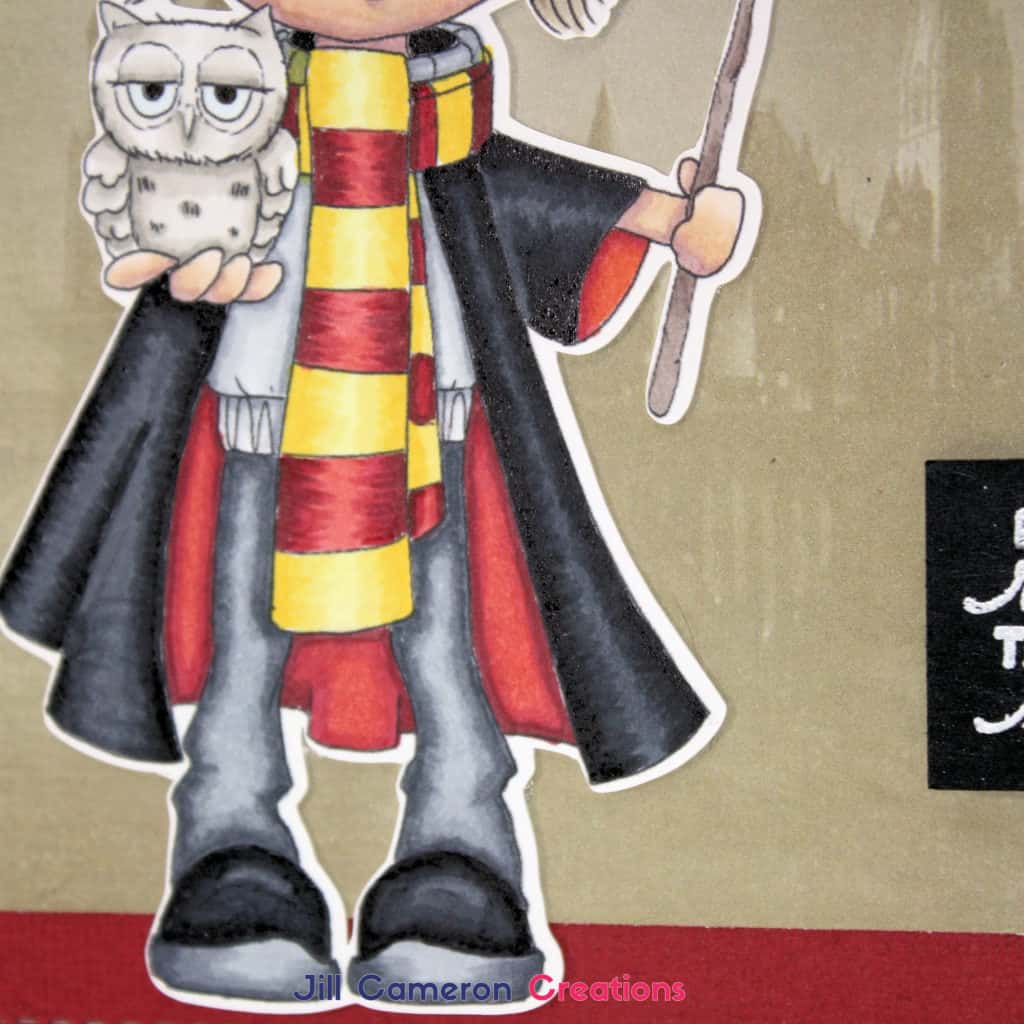
- I colored each section of the robe instead of all at once. Notice you can still see the strokes of the marker and it isn’t 100% blended. This close up that’s easy to see but further away you just see the highlights.
- Use black, and dark grays to convey black. I use the Cool Grays for black. That’s just a personal preference.
- I used tiny little flicks of color from the edge of the robe to start. You can also use a really light C marker to map out the darkest areas before committing to the black marker.
- Notice there is a lighter line of color between the robe and the sleeve. When you’re this close up to the image it looks rather odd but at arm’s length, it just looks like a distinction between the robe and the sleeve. This is why it’s important to remember to judge at a distance rather than super close up!
That’s all for today! I hope you learned a little something to help improve your Copic coloring!
For more Copic Coloring inspiration check out Copic Coloring Vintage Teacups
Copic Coloring Three Little Witches

