Distress Oxide Ink on Glossy Photo Paper
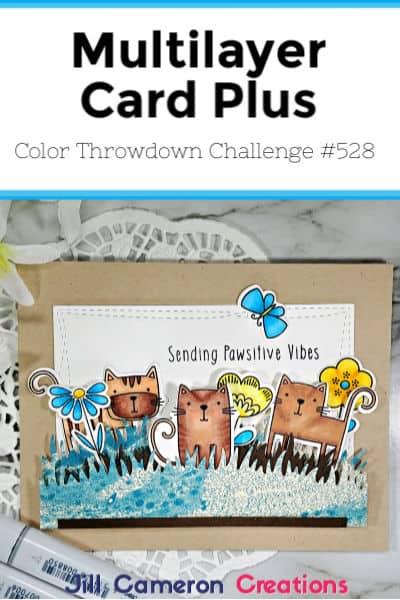
Ink smooshing with Distress Oxide Ink on glossy cardstock is very popular right now. I don’t have any glossy cardstock so I tried Distress Oxide Ink on glossy photo paper and had great results! I’m going to share with you a few things I learned using the Distress Oxides on glossy photo paper that I’m sure will work with glossy cardstock as well. I discovered something while I did this technique that I haven’t seen in other videos or posts about Distress Oxide Ink on glossy cardstock or photo paper and I can’t wait to share it with you!!
Before we get started I would like to point out photo paper is much thinner than cardstock. To correct this issue I backed my photo paper with a piece of 80lb Neenah Solar White Cardstock.
Distress Oxide Ink on Glossy Photo Paper
There are lots of ink smooshing videos out there in the wide world of card making. If this technique is new to you, it is amazingly simple and FUN! Here’s what you will need to smoosh Distress Oxide Ink on glossy photo paper.

- Several Distress Oxide Ink pads in your favorite colors. Just be sure each color will complement the others.
- A smooth non-porous surface such as a glass mat or a Ranger Craft Sheet
- A spray bottle of water. I use a Mini Mister.
- Glossy photo paper
- Paper towels
- Distress Micro Glaze
- Mini Ink Blending Tool with the applicator sponge
- Heat tool
Steps to Ink Smooshing
First, press the ink pad onto the non-porous surface (glass mat or craft sheet). Then spray with water. You want to add just enough water that the ink becomes more liquid but not watered down. Next, dip the photo paper, glossy side down, into the ink. Smoosh the paper around in the ink, wiggle it, pounce it, just in the ink on the paper. Dry the layer of ink with a heat tool. **Important keep the heat tool moving around or the paper will burn.
Once the paper is completely dry, wipe off the oxidation with a paper towel.
Repeat all of this as many times as you wish with the various colors. Be sure to dry each layer completely and wipe off the oxidation with a paper towel.
Finally, add Distress Micro Glaze using a Mini Ink Blanding Tool. Buff off the paper using a paper towel and it’s all done! Here’s a look at each finished card.
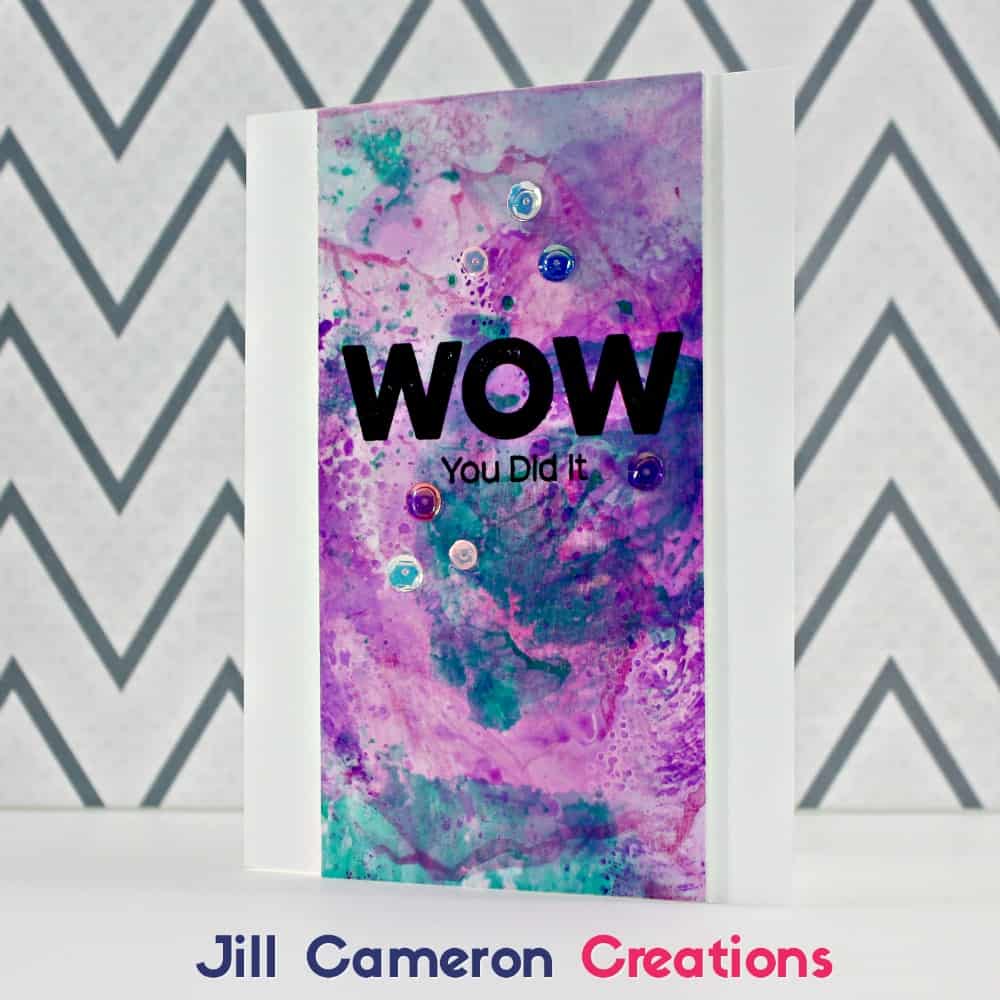
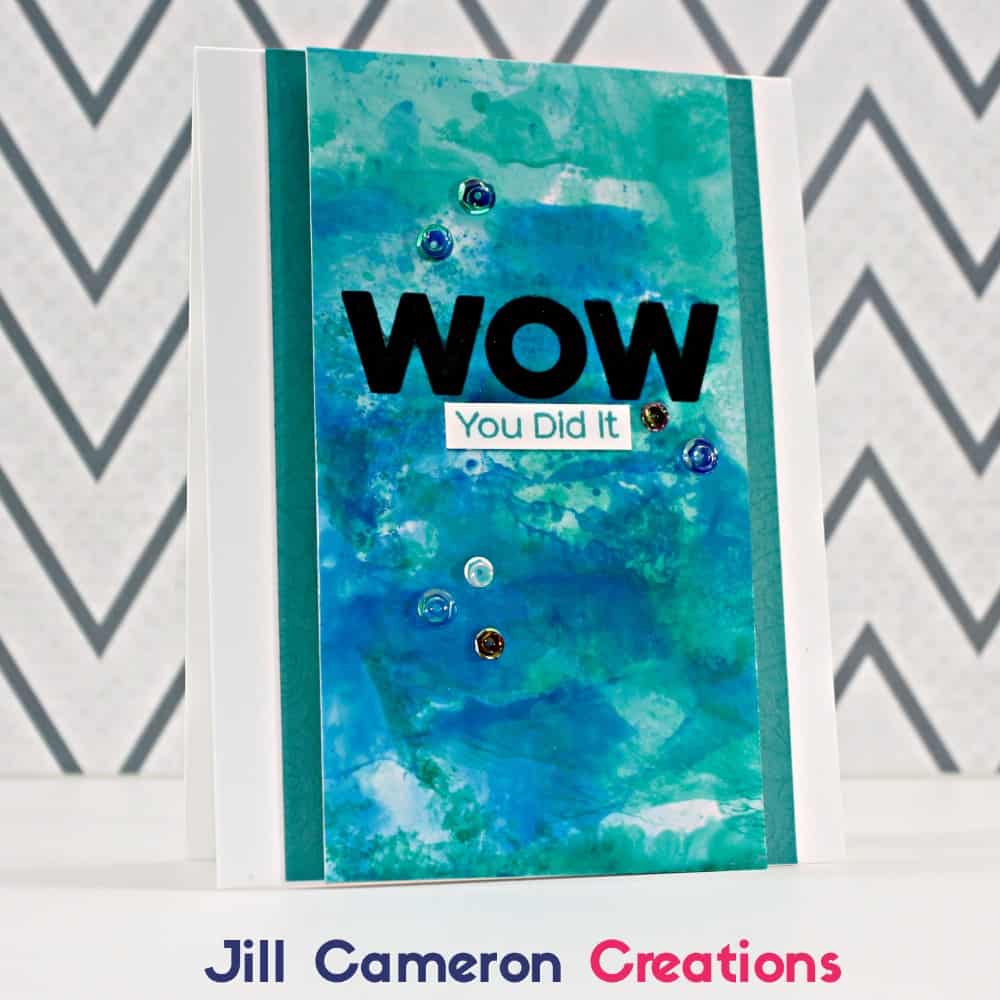
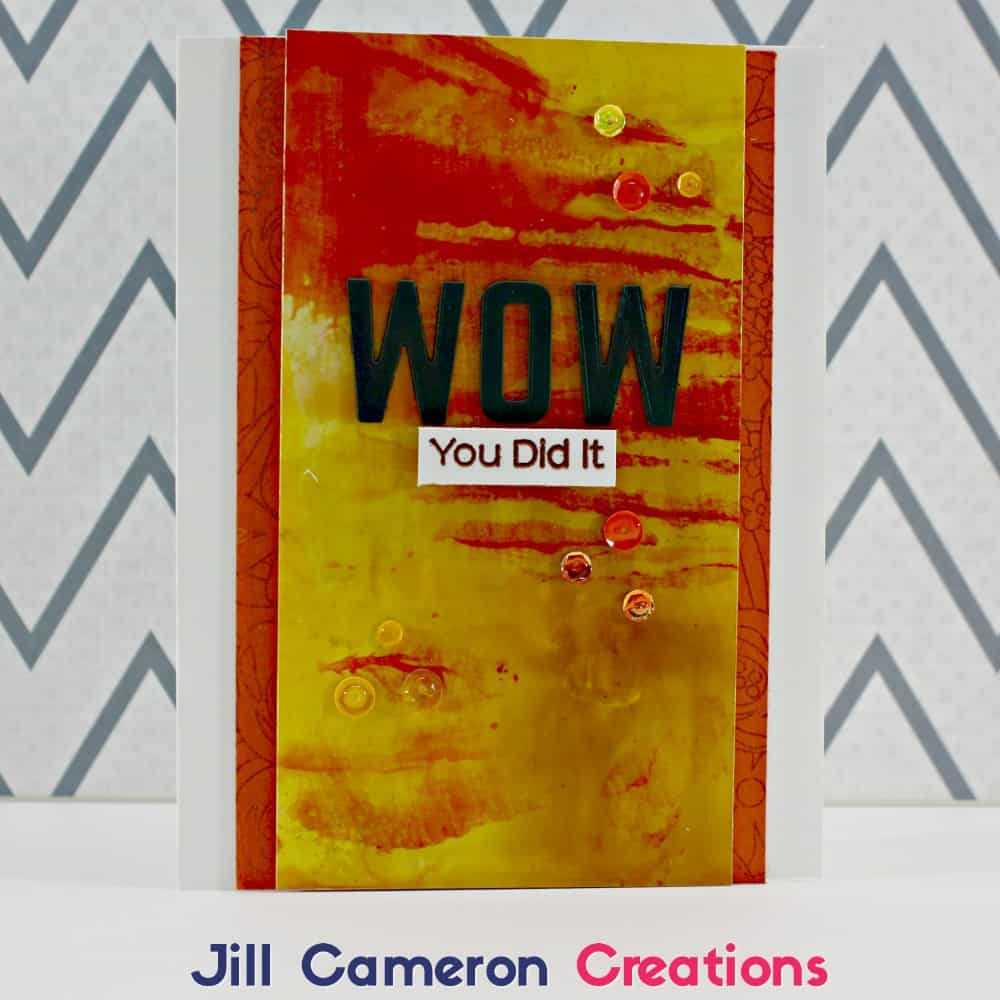
A few things to note
If you do not wipe off the oxidation between each layer the oxidation will be trapped between layers of ink colors. This can cause cloudiness in the final results. Also, this method doesn’t dirty up the mini ink blending tool.
For more details about this process and to see how each of these cards came together, watch my video below!!


In your experience, is the Micro-Glaze any different than Vaseline? If so, how?
The Micro-Glaze is a sealant. It dries and makes the project waterproof and smudge-proof. While Vaseline will repeal the water I don’t believe it will actually dry and be smudge-proof.
I didn’t quite understand the explanation of cleaning difference on the rubber stamps versus acrylic stamps from using Staz on..