5 Cards 1 Background Die
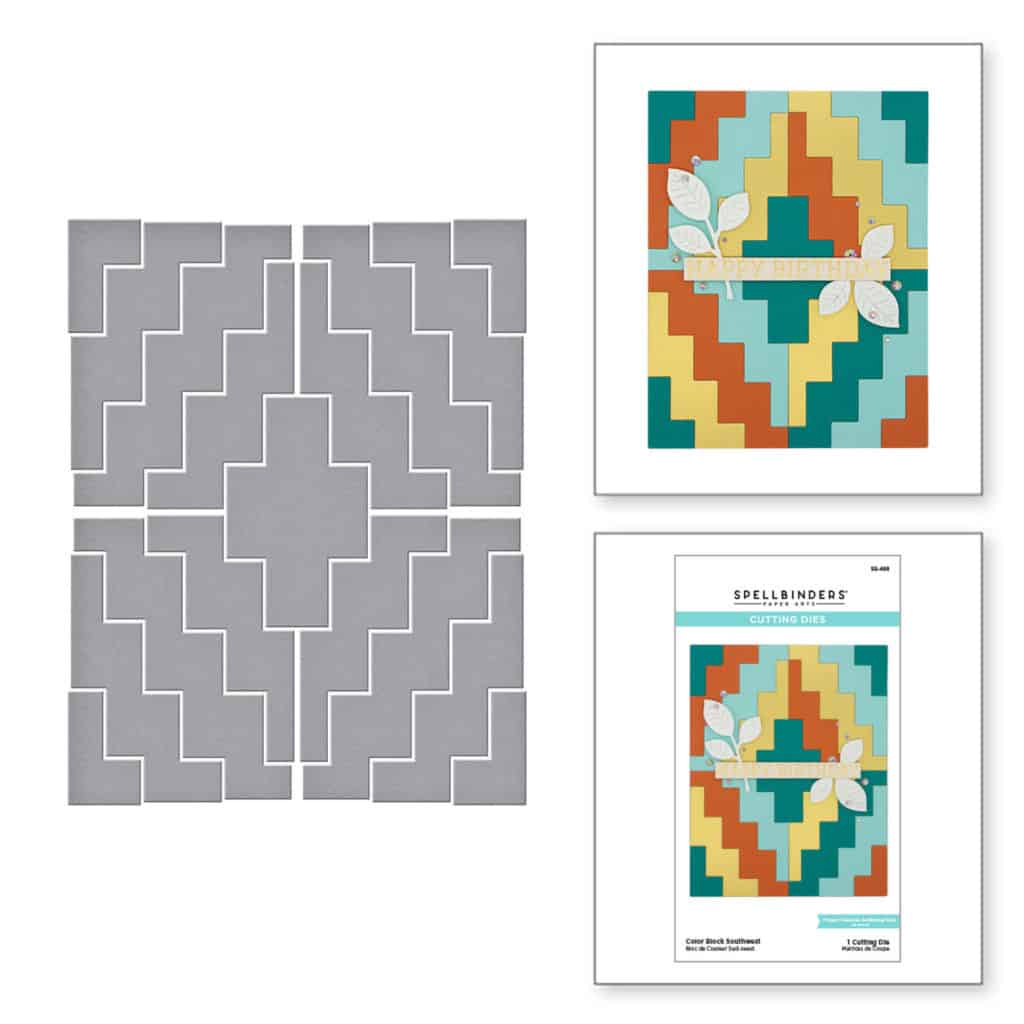
Hey hey! Today I have a BUNCH of cards for you. I’m using the new Spellbinders Color Block Southwest Background die. This die has bold lines and was super fun to work with. And well that’s why you’re getting a ton of cards with it.
This post contains affiliate links for your convenience. This means if you make a purchase after clicking a link, I will get a small commission with no additional cost to you as the consumer. I participate in the Amazon Services LLC Associates Program, an affiliate advertising program designed to provide a means for sites to earn advertising fees by advertising and linking to Amazon.com. For full disclosure policy click here.
Supplies Used
Spellbinders Color Block Southwest Background Die
Spellbinders Color Block Glimmer Foil Plate Circle
Spellbinder Platinum 6 Die Cutting Machine
Embossing Mat and Plate
Spellbinders Matte Gold Foil
My Favorite Things – More Essential Sentiments Stamps
Hugs Sentiments SVG
Silhouette Cameo
Cardstock colors: navy, brown, turquoise, deep yellow, natural linen, terra cotta
Black and Platinum embossing powder
Foam Tape
Catherine Pooler Desert Diamonds Background
Finger Tip Daubers
Distress Oxide Walnut Stain and Ground Espresso
Nuvo Deluxe Adhesive
Different ways to use the Spellbinders Color Block Southwest Background

Embossing on the edges! First, I embossed the background onto a piece of white cardstock using an rubber embossing mat. Then I die cut the background from the white cardstock too.
The embossing part is much easier than it looks and there’s more than one way to do it. I used an embossing ink pen. I think it was from Michael’s (a big box crafting store). But if you don’t have one of those, use a finger dauber or small sponge to ink around the edges of the pieces. I didn’t use all of the pieces.
I used the embossed background to align the pieces around the background so they fitted correctly. This made it easy to add foam tape to pop up those pieces. Finally, I popped on a sentiment. (I used the same sentiment on almost all of the cards to keep it simple.)

The next few cards are the same colors but all different. I die cut brown, deep yellow, terra cotta, turquoise, and linen colored cardstocks then just mixed and matched for these cards.
The first one, I glued all of the pieces flat to a piece of thin black cardstock. Then I used an A2 rectangle die to trim out the entire panel.
Next, I splattered the panel with black, white, and gold glitter watercolors and mists. Finally for this card, I added it to a solid black cardstock panel for the front of the card.

This card has a ton of texture to it. I glued the pieces to a white panel. Then I covered the entire panel with anti static powder so embossing powder doesn’t get stuck where we don’t want it. I stamped the background in embossing ink and coated the panel in clear embossing powder. I used the same sentiment but cut into little strips and stacked up on the front of the card.

This slimline card was simple to create with the help of washi tape! I put all of the pieces together and taped them together on the backside. Then I butted the cards together on a slimline card front and glued everything down. I used my paper trimmer to trim all of the edges flush with the card panel. I added some gold glitter washi tape across the middle and added the sentiment on top.

This card is my favorite of this set. It’s not easy to see in this picture but the turquoise, yellow, and terra cotta are popped up with foam tape. I inked the edges of all the pieces with Distress Oxide Walnut Stain and Ground Espresso.

This is my favorite card of all of them. I didn’t use all of the pieces as you can see. The background is die cut from navy cardstock. But before I die cut it, I used the new Glimmer Color Block Circle. I foiled it in matte gold.
The center has a double layer of foam tape behind it. The next layer out from the center has one layer of foam tape and the outer most layer is glued down to the white panel.
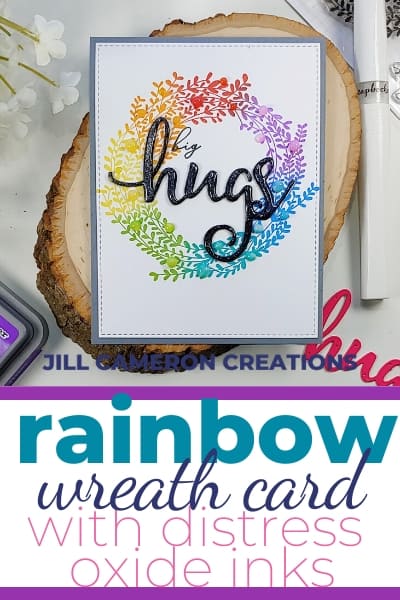
The sentiment is from my Hugs SVG Sentiment collection in my Etsy shop.
Well that’s all of the card! I hope you enjoyed these cards and got a bunch of ideas on how to use this background die.
