How-to: Basic & Pop-Up Z-Fold Card
Hello! Today we are looking at basic and pop-up z-fold cards. Z-fold cards have been around for a long time. I love a z-fold card because it doesn’t require any special dies. The only tools you need for a z-fold card are a paper trimmer and a bone folder. That’s it! Seriously!
The basic z-fold card is super cool. You can add pattern papers and die cuts or make a little scene. The pop-up z-fold card just adds to that same idea and allow you to add a little surprise to the card.
Links to the products used are below. Some links are affiliate links which means I get a small commission from your purchase at no additional cost to you. This is how I pay for my stamps, inks, and tools for content on my website. Full disclosure here. Thank you for your support.
How-to: Basic & Pop-Up Z-Fold Card
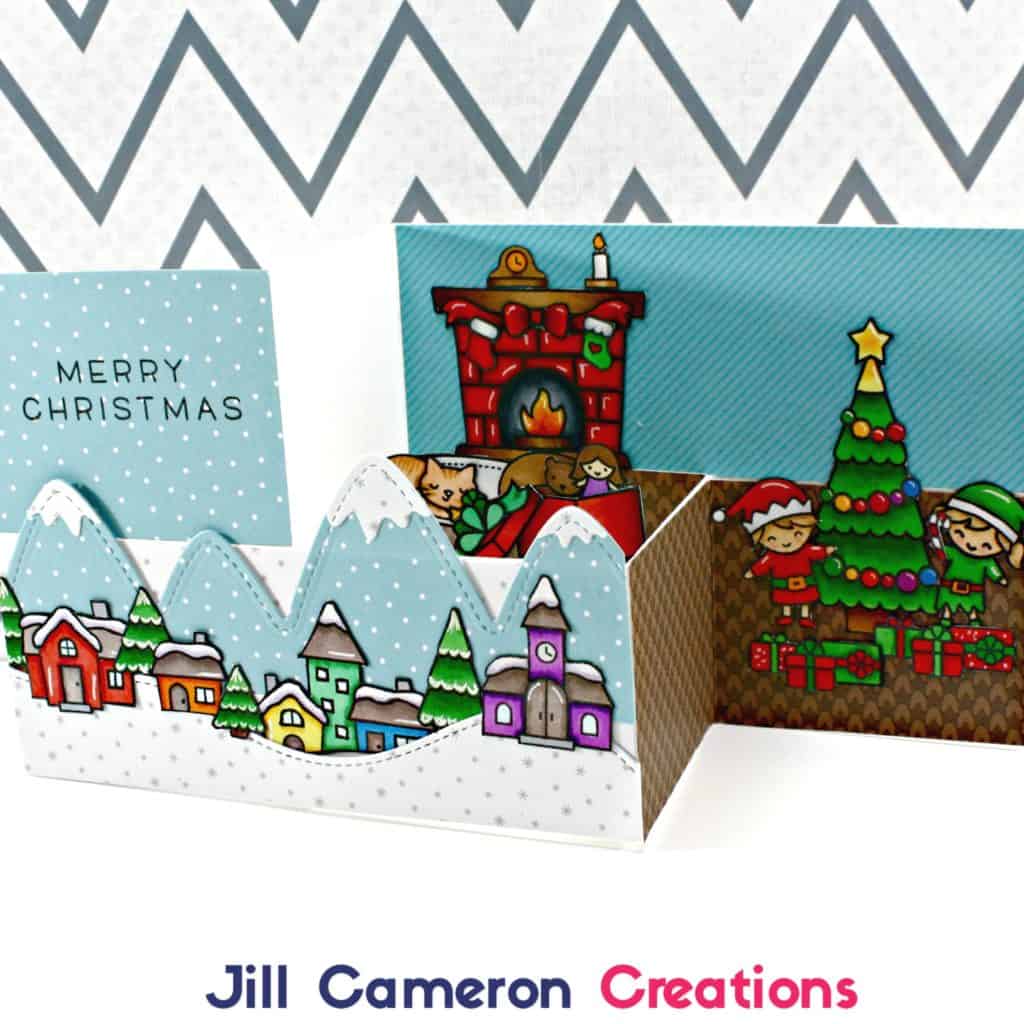

The only difference between the basic z-fold card and the pop-up z-fold card is three strips of cardstock 1/2″ wide x 3 1/4″ long. Those strips fit down inside of the square that forms when you adhere the two pieces of cardstock together.
A few tips for your z-fold cards:
- I used 100lb Neenah Solar White Cardstock and I should have used the 80lb version. It was a little too heavy after I added all of the various papers. A nice heavy weight colored cardstock would work really well for these cards too.
- Be sure to really crease your score lines with the bone folder.
- Leave a few places to write notes and sign your card.
- For the pop-up z-fold card, use heavy weight acetate to attach your elements.
Be sure to check out my post and video on How-to Gate Fold Cards. There’s a measurement printable for that card too! 🙂 Happy Card Making!

