Use Silhouette Studio with Digital Stamps
Hello! Today, we’re going to learn how to use Silhouette Studio with digital stamps. This tutorial will make digital stamps easier to use and combine. And the best part is you don’t have to have a Silhouette cutting machine to use the software.

During this unprecedented time in our world, more stamp companies are releasing totally awesome digital stamp sets. Manufacturing facilities are closed or pretty far behind in production so this is a way to get new stamp options out there for us crafty types.
Before we get started there are a few things I want to mention about printing digital stamps.
- If you are planning to color in digital stamps with alcohol markers (Copic/Altenew) do NOT print using a laser printer. The toner will ruin the marker tips.
- Does your printer have an ink saver option in the print settings? Use it. This option puts less ink on the paper. It’s less likely the digital stamp will run or bleed when colored.
- After printing your image, let the ink dry for at least 15 minutes or heat set it.
What printer do I use to print digital stamps? My printer is a Canon Pixma iP8720. It’s a wide format printer that’s several years old. I also use generic ink refills. I print on Neenah Solar White Classic Crest 80lb cardstock.
Using Silhouette Studio with Digital Stamps
Okay, you’ll need Silhouette Studio. Just the basic version will work just fine for this. You don’t need fancy software to print and use digital stamps (or even digital papers). Download the latest version here.
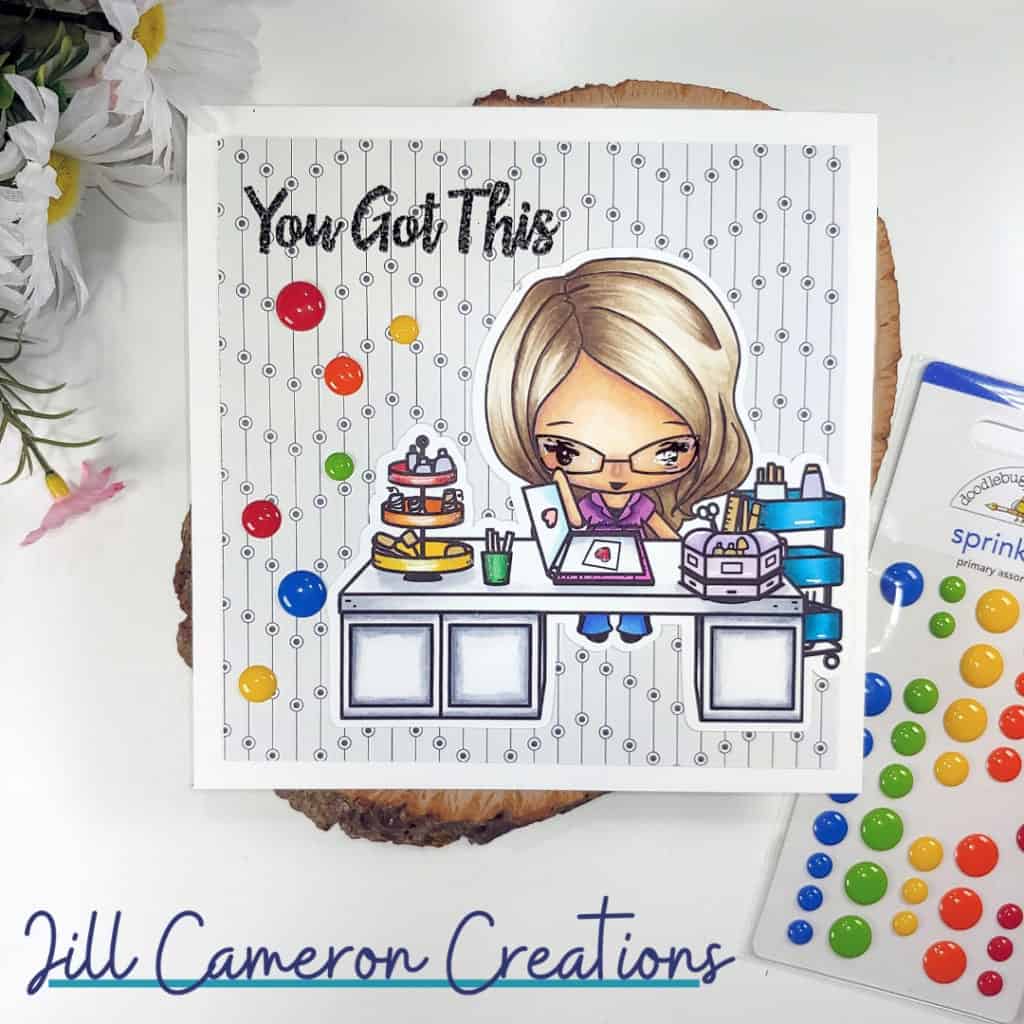
Most all of digital stamps are in two file types, JPG and PNG. We’ll be using the PNG version of the files. PNG files have transparent backgrounds which mean no white around the stamp image. I’m demonstrating how to compose a scene using The Greeting Farm’s Build-A-Craftroom Digi Set.

When you open Silhouette Studio, the document will be a blank document. Change the page size to 8 1/2″ x 11″. The mat really doesn’t matter right now.
Open each of the digital stamp files from the File menu. Each image will open in a different tab. It is important that you do not resize any of the images…yet. The set of digital stamps are sized to fit together.
One by one, copy each image over to the blank canvas. Then, arrange the images how you want them. Right-click on images to move them to the front and back of each other.
Next, select all of the digital stamps and group them together. This will allow you to resize all of the images together so the proportions aren’t lost.
Finally, print your project. That’s it. It really is easy to create a unique arrangement of digital stamps images in Silhouette Studio.
Affiliate Disclosure Policy
This post contains affiliate links for your convenience. This means if you make a purchase after clicking a link, I will get a small commission with no additional cost to you as the consumer. Jill Cameron Creations/Jill Lipscomb participates in the Amazon Services LLC Associates Program, an affiliate advertising program designed to provide a means for sites to earn advertising fees by advertising and linking to Amazon.com. For full disclosure policy click here.

See more Silhouette Projects
Silhouette Cut Settings – Overcut
First Cut with Silhouette Cameo 3
Alternative Cutting Blades and Mats for Silhouette Cameo



One Comment
Comments are closed.