Tips & Tricks for Amazing Shaker Cards
Hey y’all! The other day I popped in a Facebook group for card makers and saw a thread about frustration with creating shaker cards. So, today we’re making shaker cards and I’m sharing some tips and tricks to make them amazing.
Okay! All shaker cards are amazing no matter what. Who doesn’t love sparkly things shaking around? The video below includes all of the steps to create a shaker card with a shaker element and and entire card front is a shaker card. All of the products used to create both of these cards are linked at the bottom of this post.
Shaker cards are beautiful…buuuut they can be time consuming and frustrating. We’re going to eliminate the frustration part. I wish I could fix the time part but I’m not a Time Lord or I would. 🙂
Shaker Card with Element
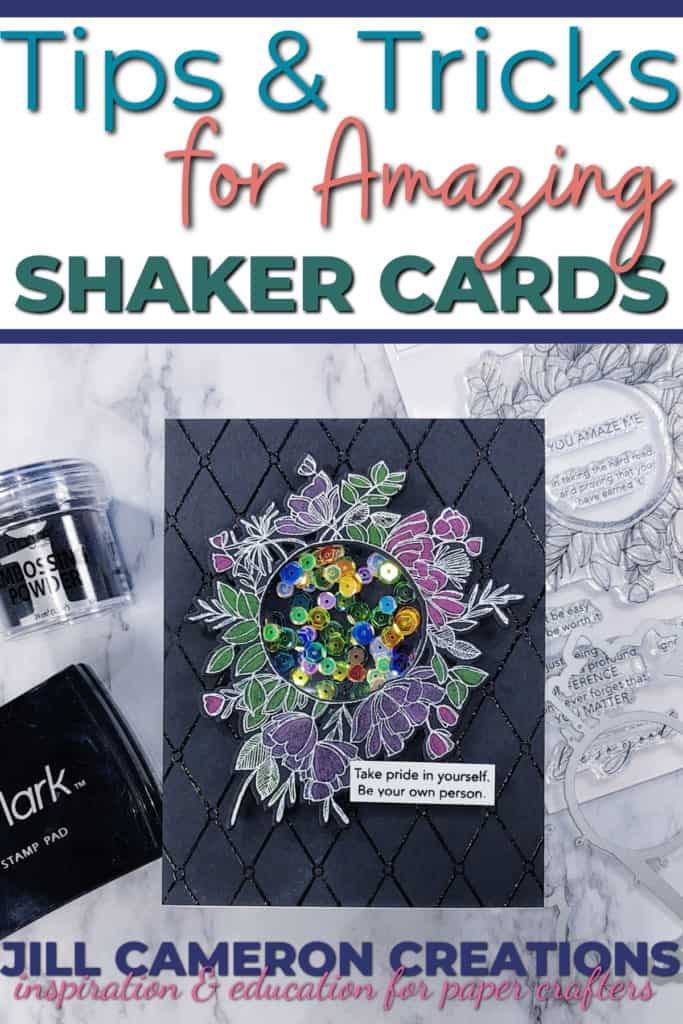
The first card we’re creating is a shaker card but the element on the card front is the shaker. It’s popped up off the front of the card and is really simple to create. The stamp and die is perfect for this design. It has an open center to feature the shaker bits.
First, stamp the image on black cardstock in Versamark ink and coat it with white detail embossing powder. Color the image with colored pencil then die cut with the coordinating die. Go ahead and die cut two more and glue the layers together.
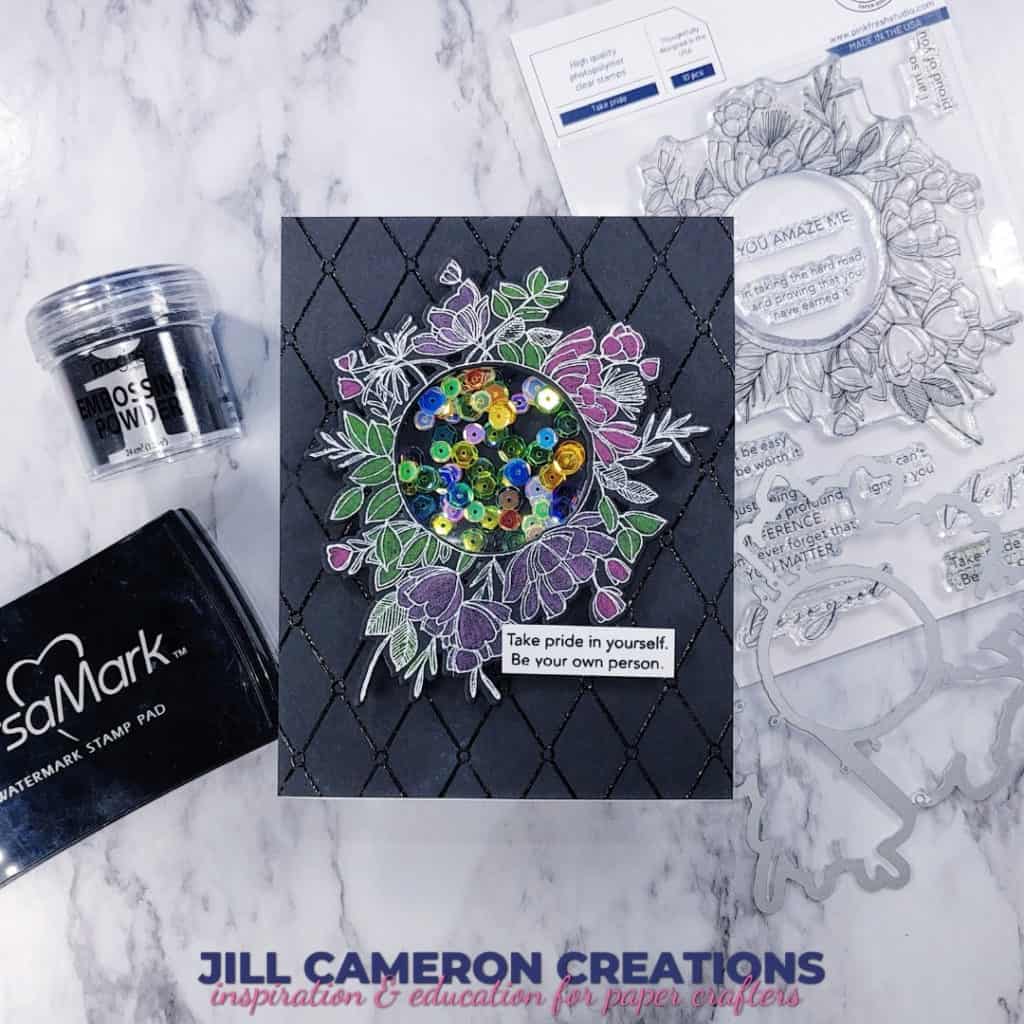
Next, cut a piece of acetate to size and glue into the opening. Add foam strips to around the opening on the backside of the element.

In the video, I show you how to add the card front panel to the element using the grid on the cutting mat. You can of course use the other method. Pile the shaker bits in the area on the card panel where you want your element to go. Then adhere the element over the shaker bits. The issue with this method is the risk of catching shaker bits in the adhesive under the edge of the foam tape.

A popped up shaker element on the card front is so simple and doesn’t require extra foam all over the place. Really easy to make too.
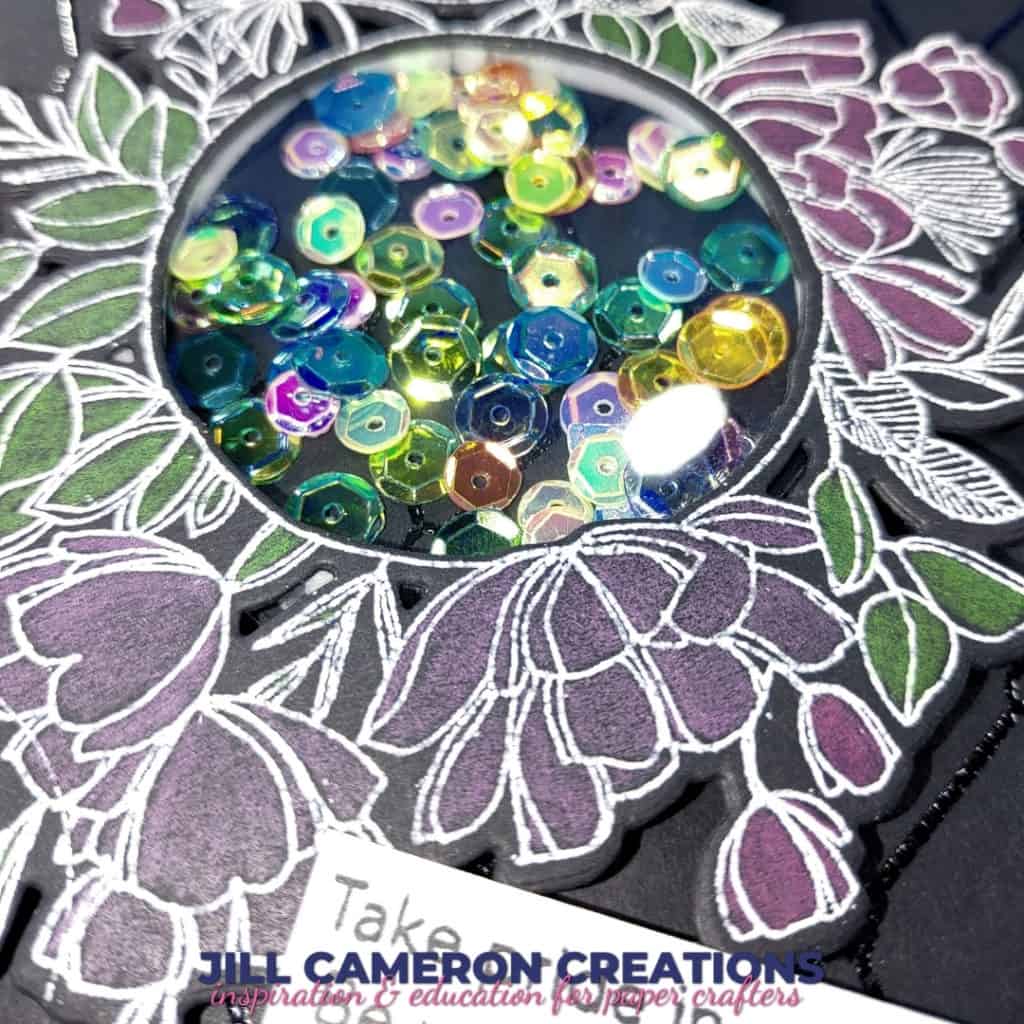
Shake Card Card Front
When you say shaker card this is more along the lines of what you think of. The entire card front is the shaker. There are many ways to make this and we’re going for simple and fun.

The acetate for this card is heat resistant so it can be heat embossed. I used pigment ink and clear embossing powder. The other option is to use Staz-On ink to stamp in what ever color you want.
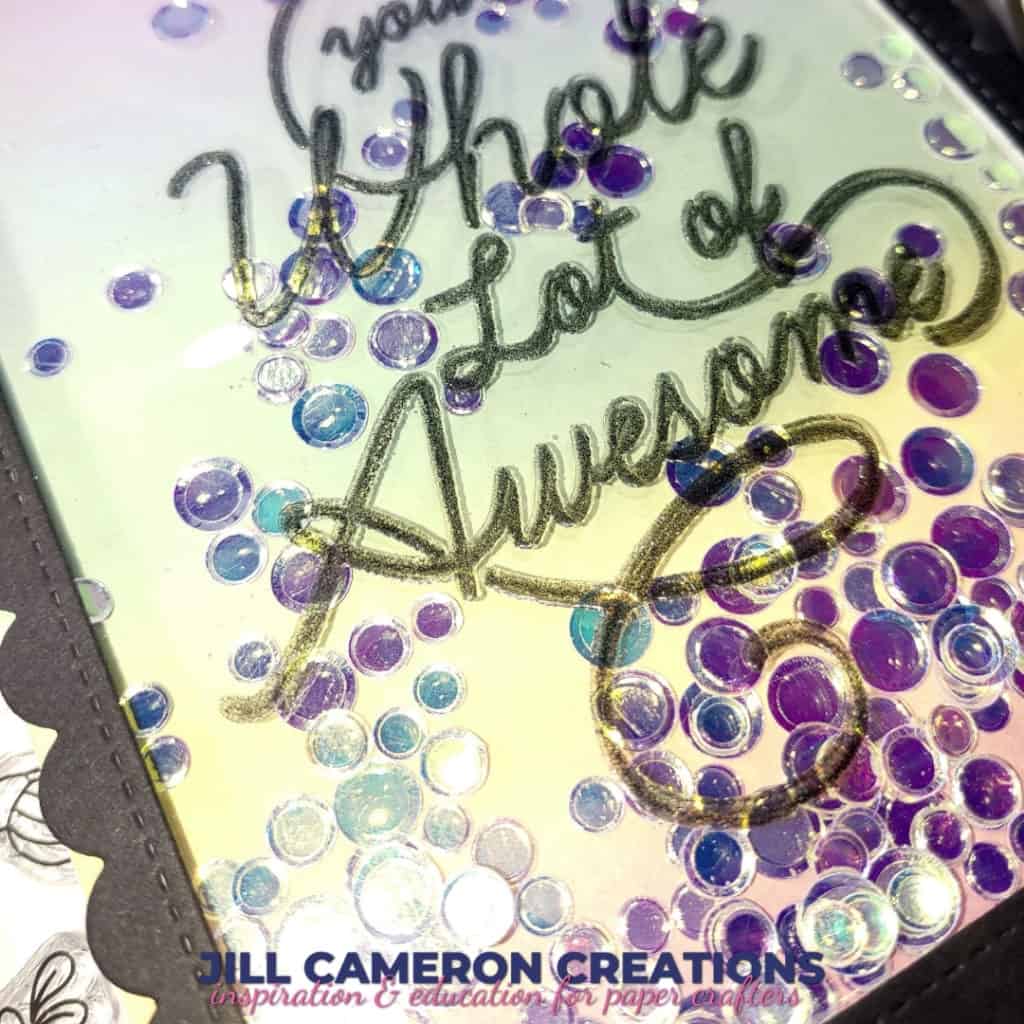
The background panel is ink blended using various inks by Stampin’ Up! I randomly glued some of the confetti pieces to the background so that not all of the shaker bits fall down to the bottom.

I cut a frame and added the acetate to the opening of the frame. The foam tape is the same strips used in the previous card. I dumped all of the confetti in the middle of the ink blending panel and attached the frame.
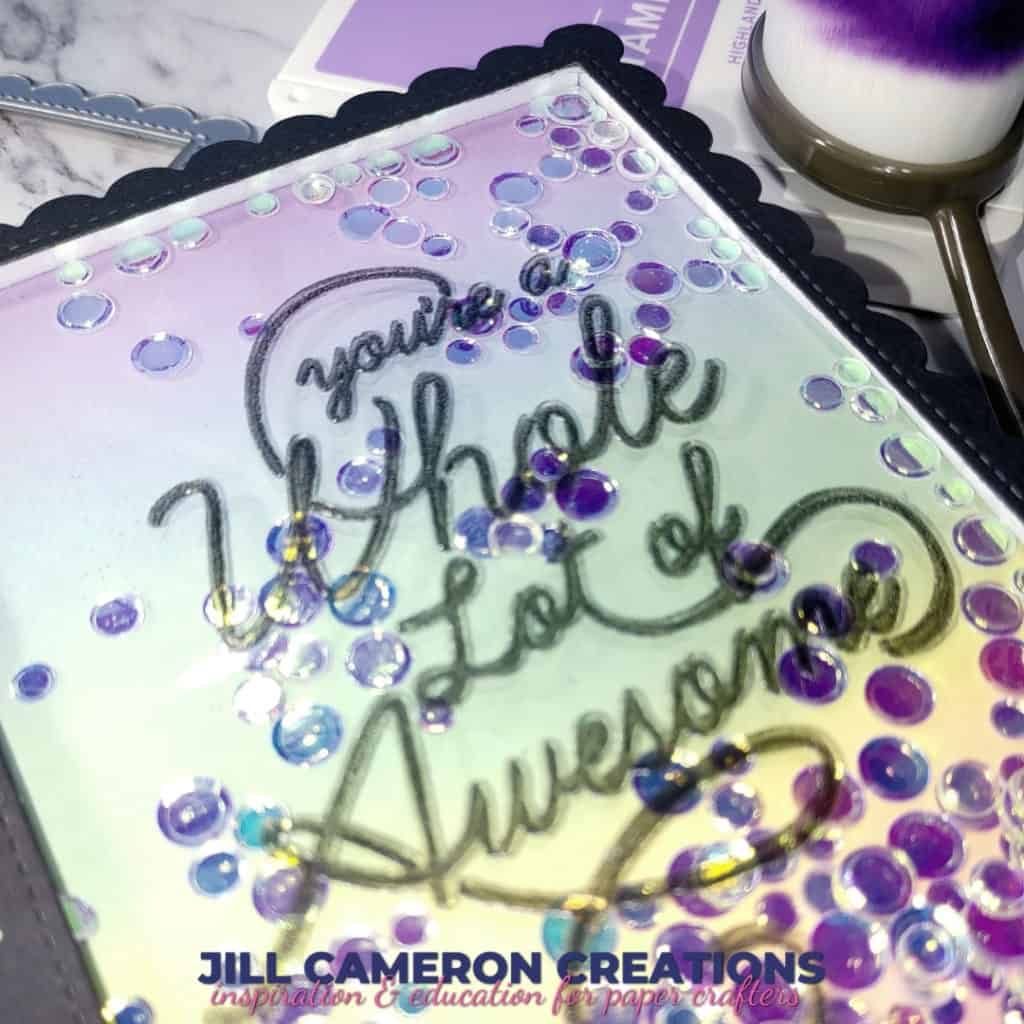
Shaker Card Tips & Tricks
This is a big thing to understand when you make shaker cards. The shaker bits and the acetate will always create static between the paper and the acetate. This is going to cause the bits to stick in some places. There’s just not much you can do about that.
Here are some other tips and tricks for creating amazing shaker cards.
- Use foam tape strips that are size appropriate instead of cutting down foam tape. You’ll have less exposed adhesive randomly exposed. If you do have exposed adhesive, use and antistatic powder tool to destick it.
- Use various sizes of bits in your shaker to add interest.
- If a shaker bit gets caught under the foam tape slide a needle between the foam tape and the card panel and see if you can push the shaker bit away from the tape. Then make sure the foam tape is pressed down firmly to the card panel.
- You can try using antistatic powder on the shake bits to prevent them from sticking however the powder will make the acetate look cloudy.
- Glue shaker bits to the background so not all of the shaker bits are at the bottom of the card.
- Another big one is make sure there’s enough space between the background and the acetate for the bits to shake around.
I hope these tips and tricks help you to create the most amazing shaker cards!
Affiliate Disclosure Policy
This post contains affiliate links for your convenience. This means if you make a purchase after clicking a link, I will get a small commission with no additional cost to you as the consumer. Jill Cameron Creations/Jill Lipscomb participates in the Amazon Services LLC Associates Program, an affiliate advertising program designed to provide a means for sites to earn advertising fees by advertising and linking to Amazon.com. For full disclosure policy click here.

