Spellbinders Glimmer Edge Butterflies
Hello! Today I’m sharing a super sweet card that’s covered in pretty butterflies! And I’m doing some more foiling. It’s just addictive at this point.
Check out the video to see how I created this card. If you’ve never done hot foiling before, check out this post for tips and there’s a how-to tutorial.
This post contains affiliate links for your convenience. This means if you make a purchase after clicking a link, I will get a small commission with no additional cost to you as the consumer. I participate in the Amazon Services LLC Associates Program, an affiliate advertising program designed to provide a means for sites to earn advertising fees by advertising and linking to Amazon.com. For full disclosure policy click here.
Supplies Used
Spellbinders Glimmer Edge Butterflies Plates and Dies
Spellbinders Glimmer Edge Banner
Spellbinders Essential Glimmer Rectangles
Spellbinders Embossing Folder Loops
Spellbinders Glimmer Hot Foil System
Spellbinder Platinum 6 Die Cutting Machine
Foam Tape
Pink Cardstock
White Cardstock
Gold Foil
Opal Foil
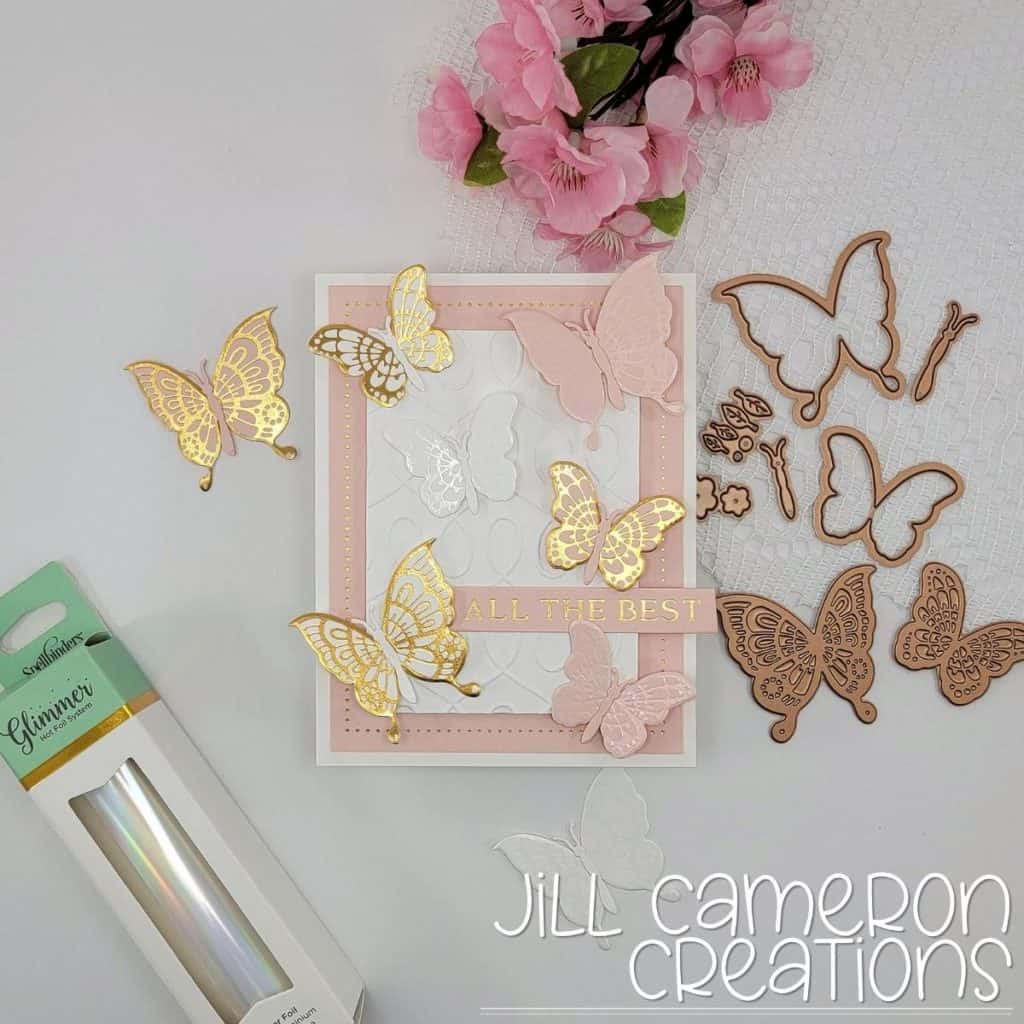
First, I foiled all the thing. I foiled the background first and then used a die to trim it down to size. It’s pink cardstock with a gold dotted frame.
Next, I foiled the butterflies. I foiled a set of pink with gold, white with gold, pink with opal, and white with opal. These dies will take off a touch of the foil so the butterflies are foiled right up the edge.
The last of the foiling was the sentiment.
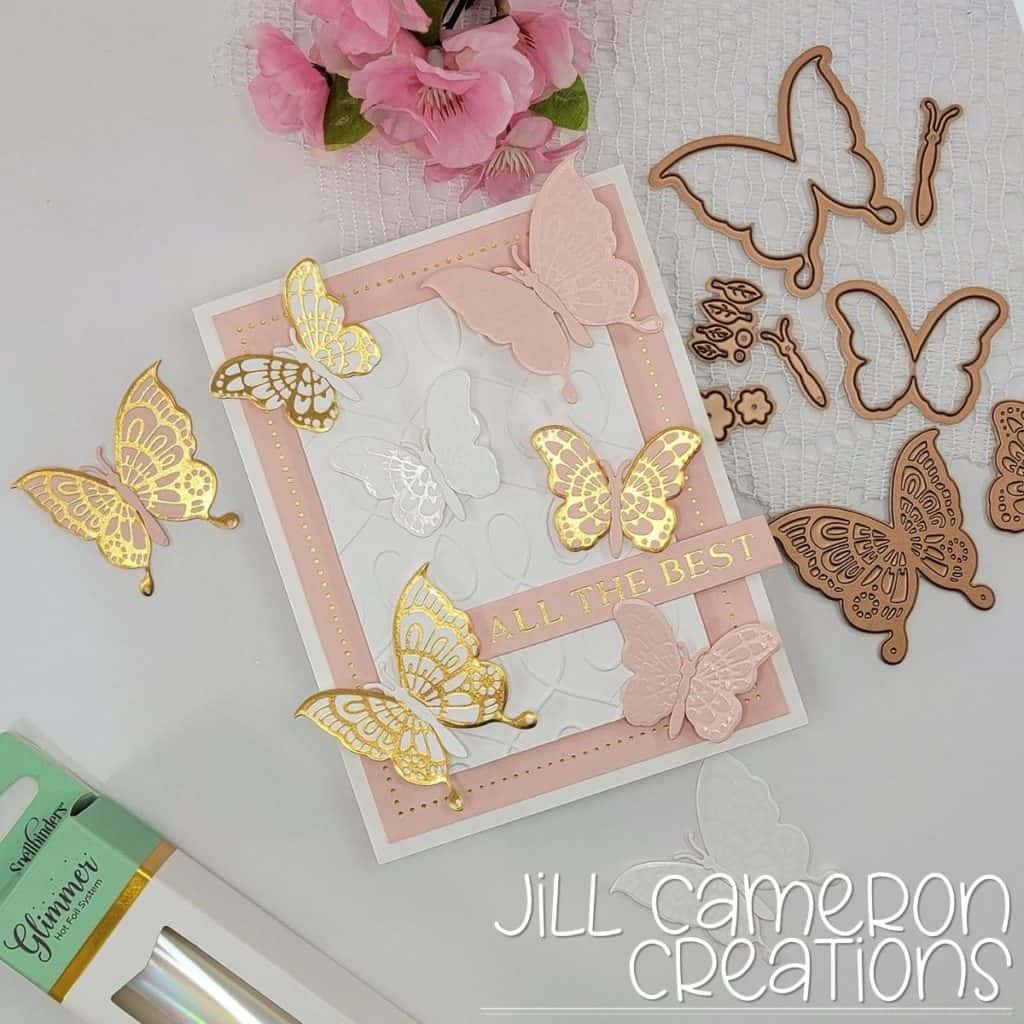
I set all of the hot stuff off to the side to cool off and moved on to die cutting all of the pieces and embossing the smaller white piece of cardstock.
I used foam tape behind the white cardstock and behind the wings of the butterflies. Some have two little pieces stacked up to make the wing stay up more.
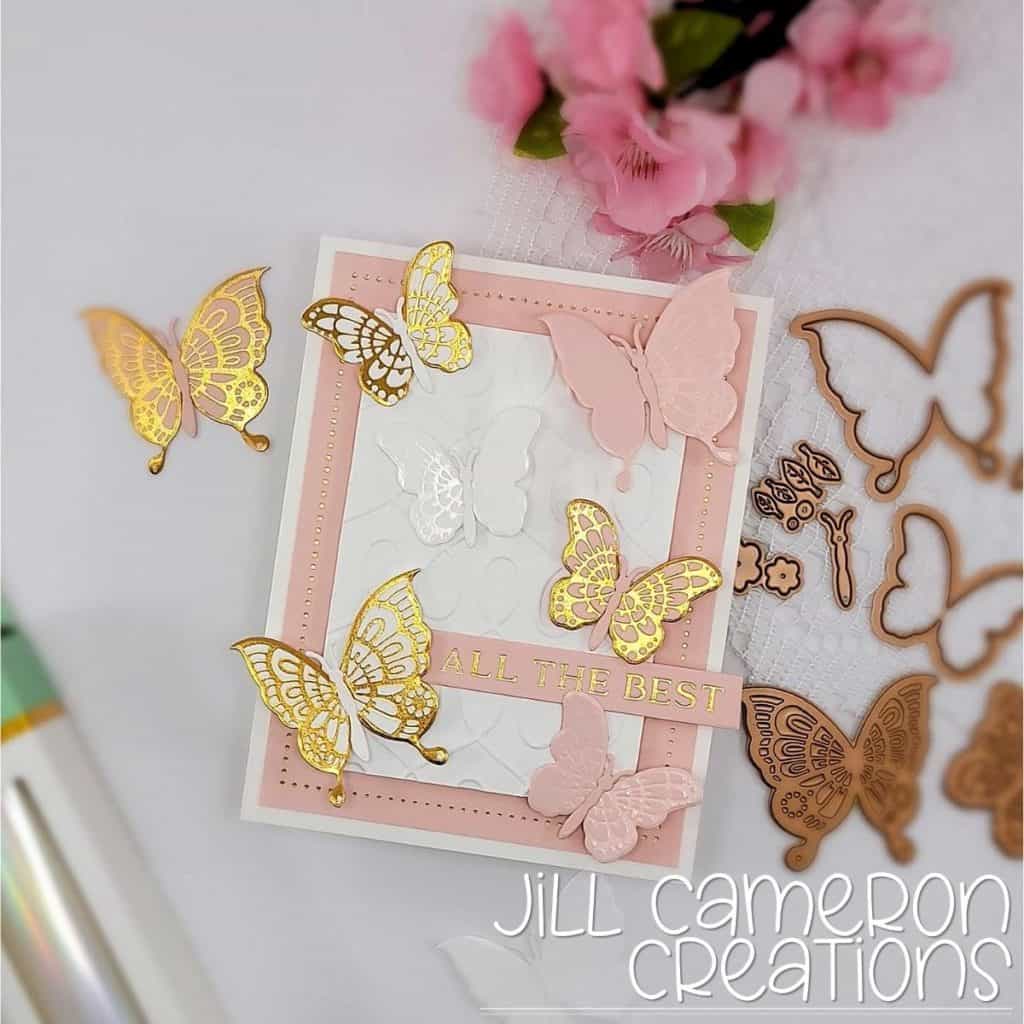
This was a super fun and easy card to create. I have more Glimmer Foiling projects to share with you and I hope you’ll love them all!
