Simply Beautiful Border Stamp Backgrounds
Hello from the Hedgehog Hollow Blog! Do you have a stamp set of boarders that you love, but you aren’t exactly sure what to do with them? Today we are going to look at how to create simply beautiful cards using border stamps from the Borders and Feathers stamp set that is part of this month’s Hedgehog Hollow Subscription box.
Affiliate Disclosure Policy
This post contains affiliate links for your convenience. This means if you make a purchase after clicking a link, I will get a small commission with no additional cost to you as the consumer. Jill Cameron Creations/Jill Lipscomb participates in the Amazon Services LLC Associates Program, an affiliate advertising program designed to provide a means for sites to earn advertising fees by advertising and linking to Amazon.com. For full disclosure policy click here.
Don’t forget that all of the products used are linked at the bottom of this post.
Border stamps can be a little tricky because they are generally pretty straight or linear images. If these images are even just a little bit off when you stamp them, it can really show up on a card. FEAR NOT! I have several tips to get the best possible stamped image with your border stamps and three beautiful ways to stamp them.
First, let’s look at some tips to stamp using border stamps that won’t make you crazy.
- Don’t overthink it! This is my best advice always. It’s a handmade card; it shouldn’t be perfect.
- Utilize the gridlines on your stamping blocks and the gridlines on your cutting mats to align stamps.
- Use a stamp positioning tool such as a MISTI or another similar tool.
In my video, I demonstrate how I use gridlines on my stamping block and cutting mat to align my stamps and attempt to keep my lines pretty straight. But I don’t overthink it.
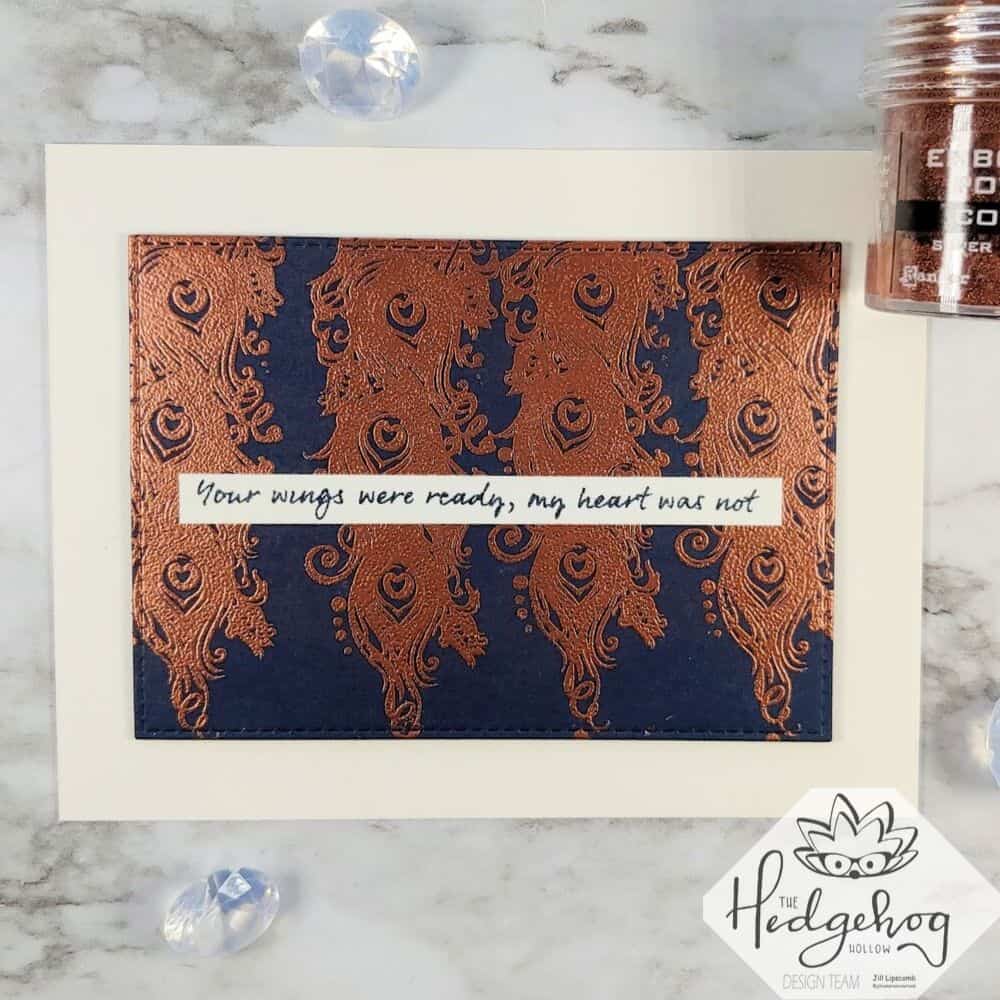
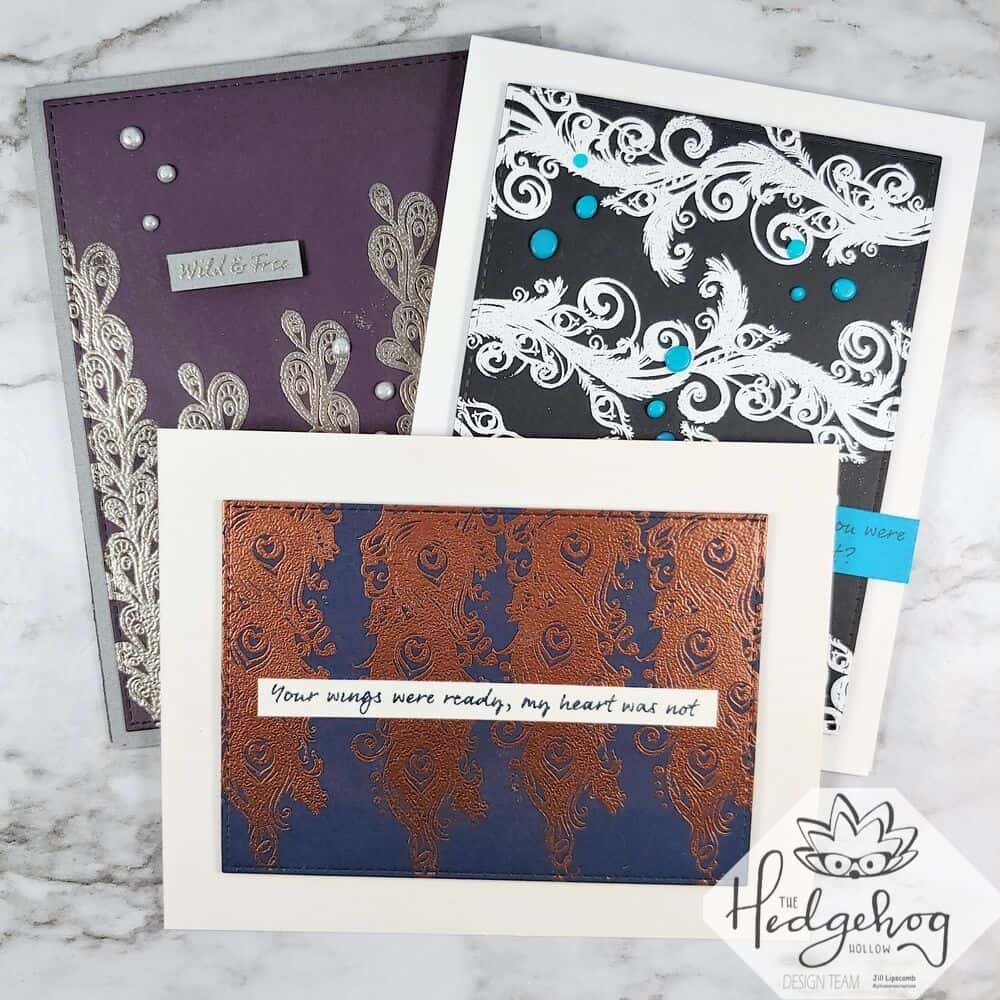
My favorite way to use border stamps is to create a repeated background. I started out with a 4 ¼” x 5 ½” panel of cardstock for each of these backgrounds. Here are the different ways I stamped the backgrounds:
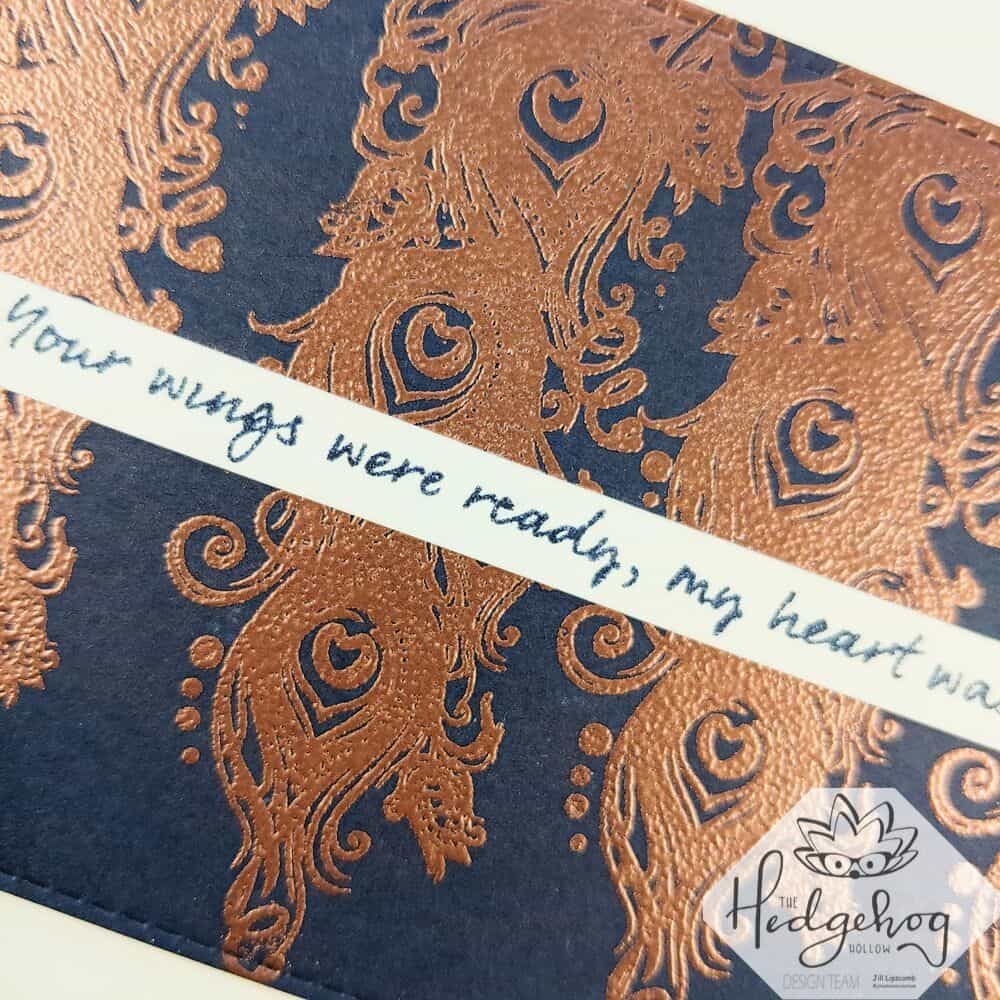
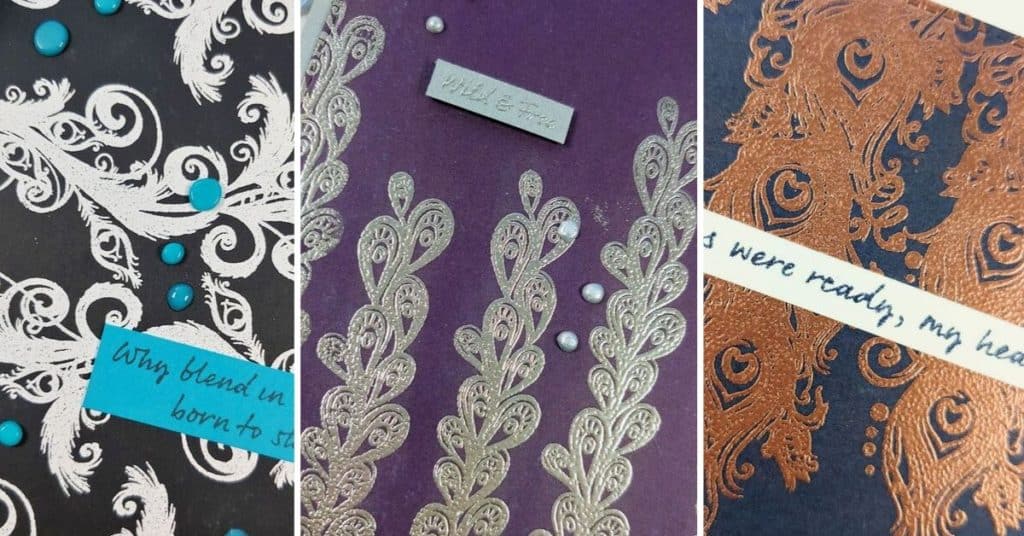
- Copper on navy panel: I stamped the same image in the same direction down one side of the cardstock panel.
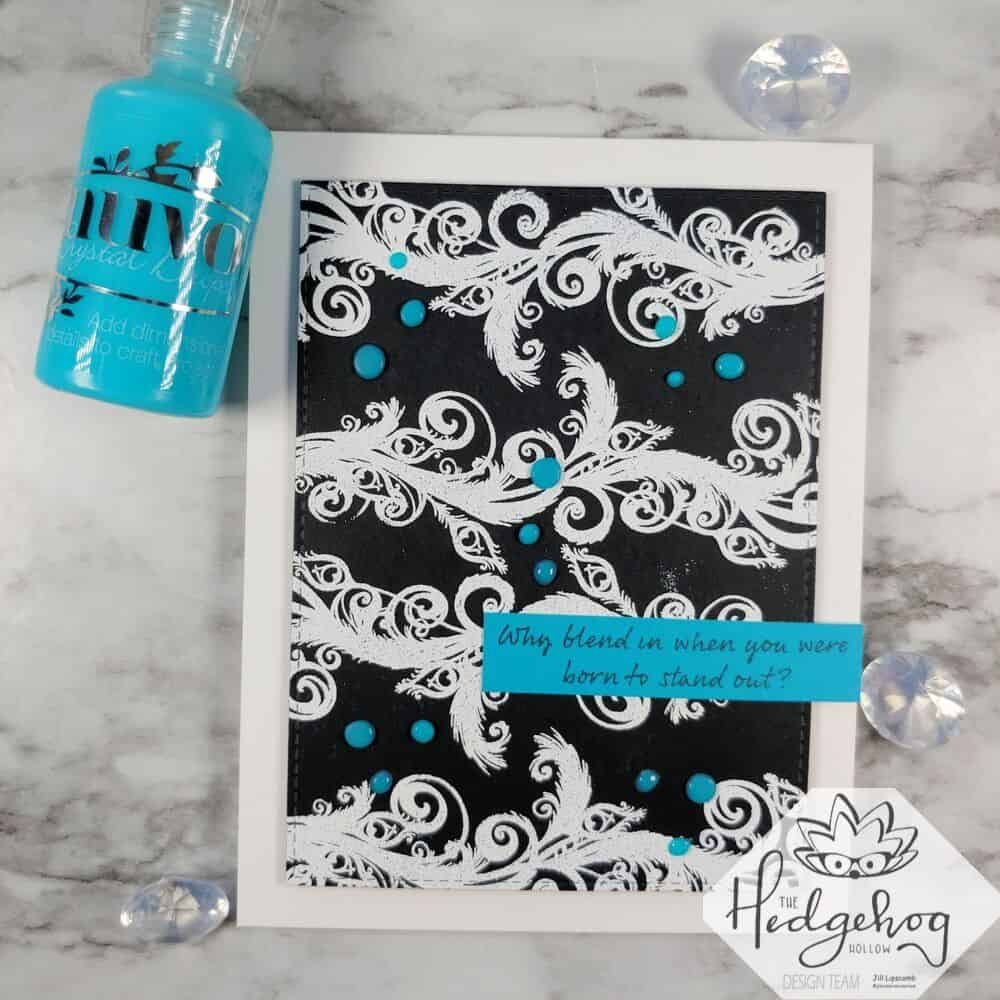
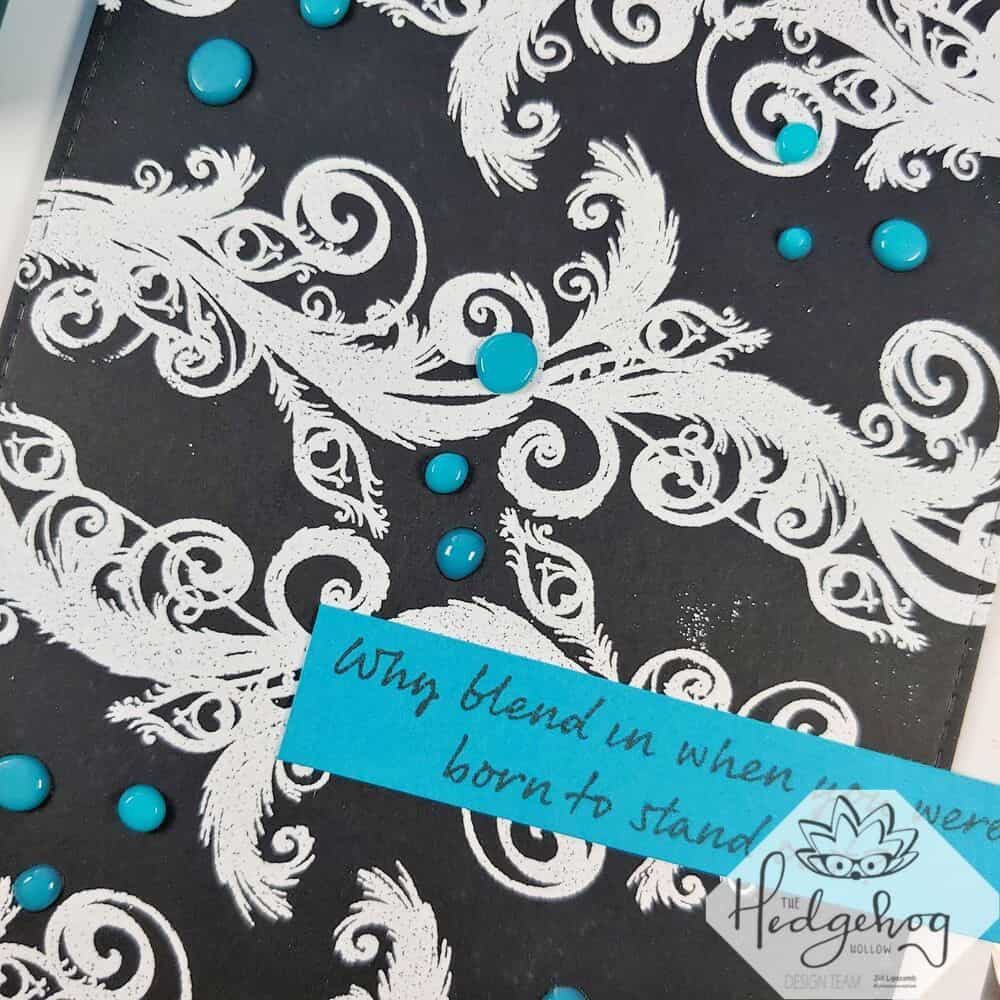
- White on black panel: I stamped the same image in different directions down the middle of the panel.
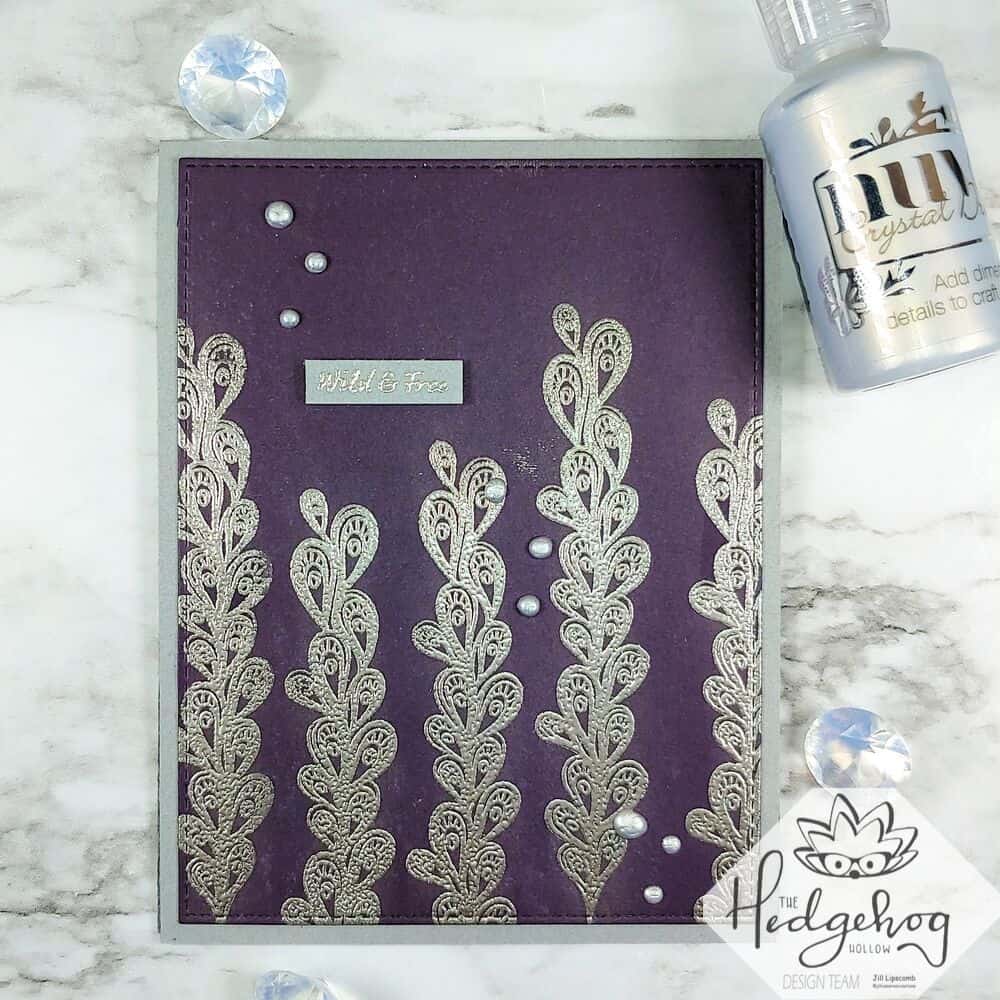
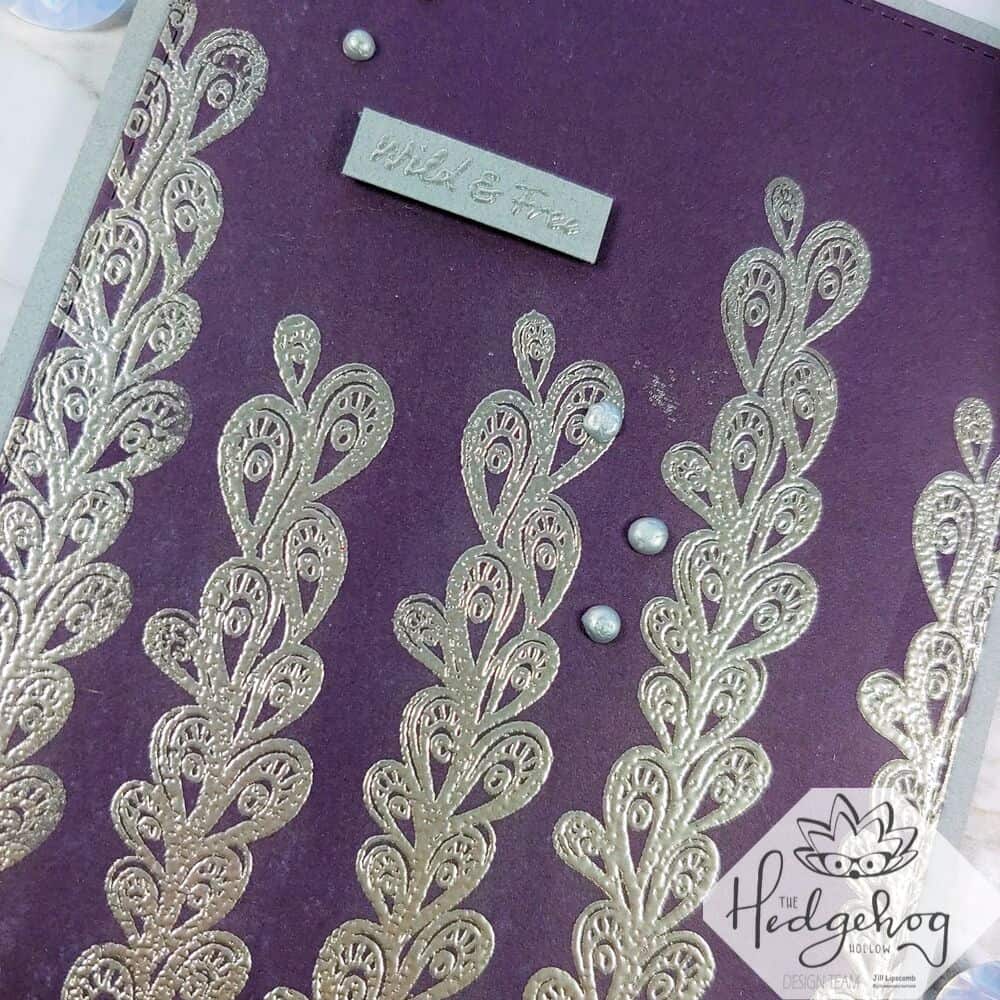
- Pewter on purple panel: I stamped the same image but at different heights along the bottom edge of the panel.
Then I cut down each panel using a stitched rectangle frame die. I kept each card very simple so the heat embossed images are the stars of the show. I matched the sentiment strip cardstock to the cardstock card base on two of the cards but for the white on black card, I opted to use a pop of bright color.
The copper on navy panel and the white on black panel are popped up using foam tape for a little added dimension.
As a finishing touch for two of the cards, I added some Nuvo Crystal drops. This just adds a little extra something to simple cards.
I mentioned in the video about conditioning your stamps. Here’s the link to that article.
Don’t forget to head over to the Hedgehog Hollow Shop and sign-up for your monthly subscription box!

