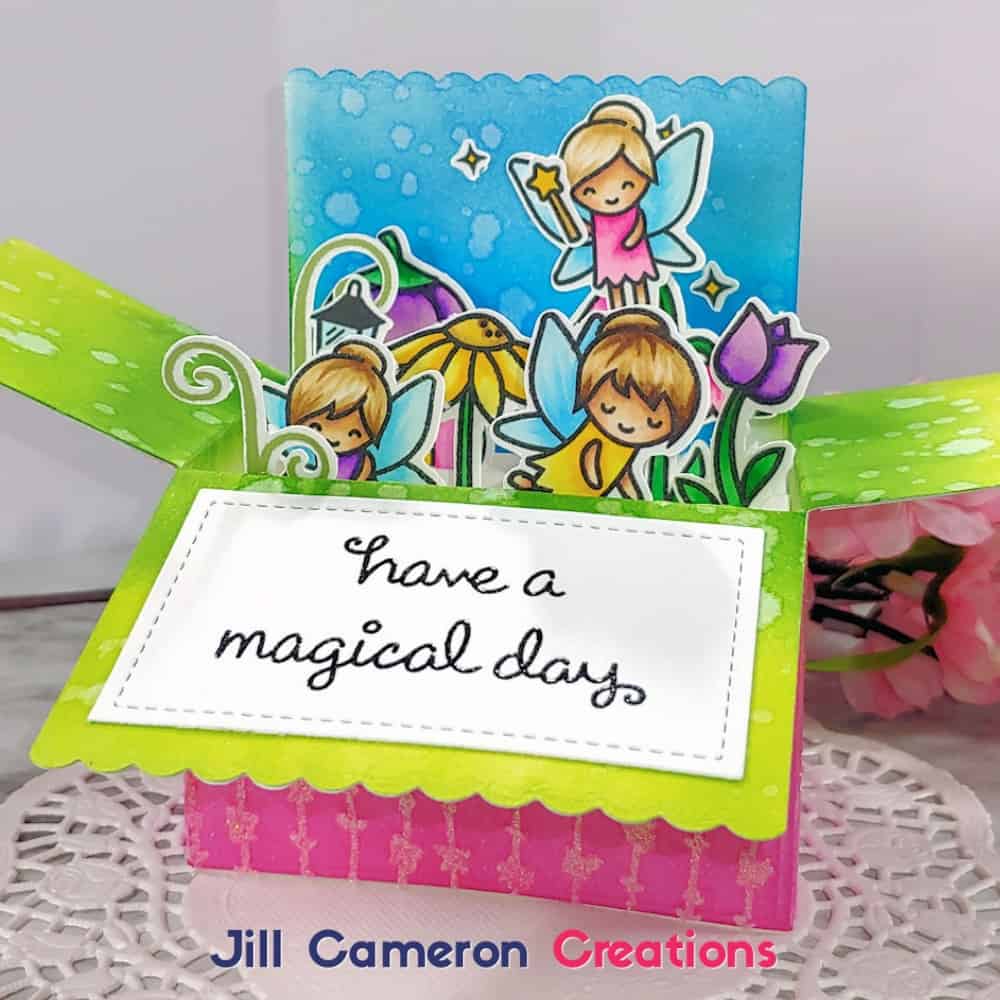
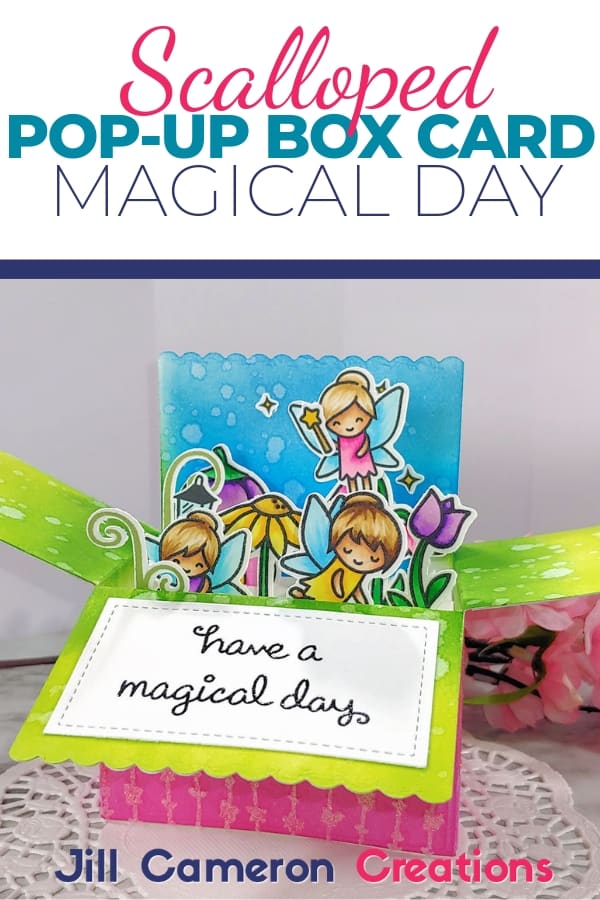
Scalloped Pop-up Box Card Magical Day
Pop-up box cards are probably the most popular interactive card around. In the past, we’ve had to measure and cut out own patterns for pop-up box cards. Lawn Fawn made it soooo easy with their Scalloped Pop-up Box Card die set. It’s been out for a while now and it’s still one of the most popular around. I love what you can do with this die set! Okay so let’s get on with making a Scalloped Pop-up Box Card.
Affiliate Disclosure Policy
This post contains affiliate links for your convenience. This means if you make a purchase after clicking a link, I will get a small commission with no additional cost to you as the consumer. Jill Cameron Creations/Jill Lipscomb participates in the Amazon Services LLC Associates Program, an affiliate advertising program designed to provide a means for sites to earn advertising fees by advertising and linking to Amazon.com. For full disclosure policy click here.
Scalloped Pop-Up Box Card
Let’s look at the parts you’ll need for your card.
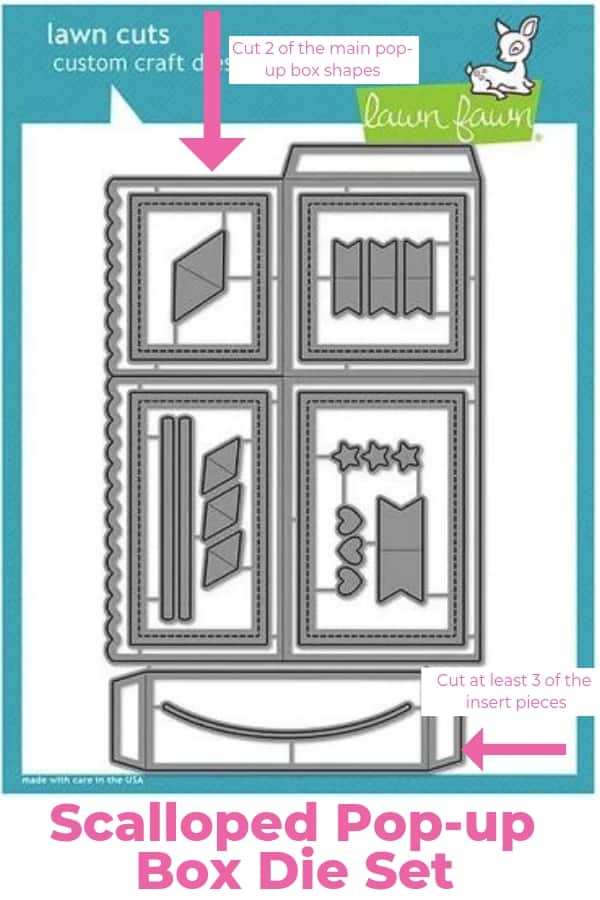
The parts marked on the above picture are all you really need to create the card. The rest are decorative pieces and let’s face it, that’s what we really want! 🙂 There are stitched rectangles that correspond to the various sides of the box. There’s also little banners, hearts, and starts you can use with any of the pop-up box creations.
The best part of this particular pop-up box is that when it is closed, the card fits in a standard A2 size envelope. There’s no need to make a special envelope for it. That’s awesome! One thing to remember about this feature: make sure you’re elements don’t stick out too far or it won’t fit in the envelope.
I have a video that details how to put the Scalloped Pop-up Box Card and that’s linked below.
How-to put the card together
- Die cut all of your pieces. Will you be using patterned papers to decorate the box? If so you’ll need to die cut those pieces too. I don’t recommend using patterned paper to create the box. Use a heavyweight paper for that.
- Stamp and color all of your images. Stamp and color more than what you think you’ll use. Save what you don’t use for another project.
- Decorate the outside of the box. It’s much easier to add inking or patterned papers first then put the box together.
- Go ahead and fold all of the score lines except one of the long box flaps. That will be the back panel for your card.
- Add 1/8″ double-sided tape to the outside of skinny tabs on both of the panels. Line up the panels in a straight line and adhere one end of the panels together. Do NOT adhere the other ends together yet.
- Adhere one end of the cross brace pieces to the inside of one of the short ends of the box. Use the 1/8″ double-sided adhesive for this too. Go ahead and adhere them all side by side from front to back.
- Lay all of the cross brace pieces flat on the inside of the box so that the double-sided adhesive is face up. Fold over the box at the midpoint. The two short sides of the box should now adhere to either end of the cross braces.
- Close up the last tab of the scalloped pop-up box card.
- Finish with the elements on the inside of the box.
I have another Pop-up Box Card post with a back to school theme.
One Comment
Comments are closed.