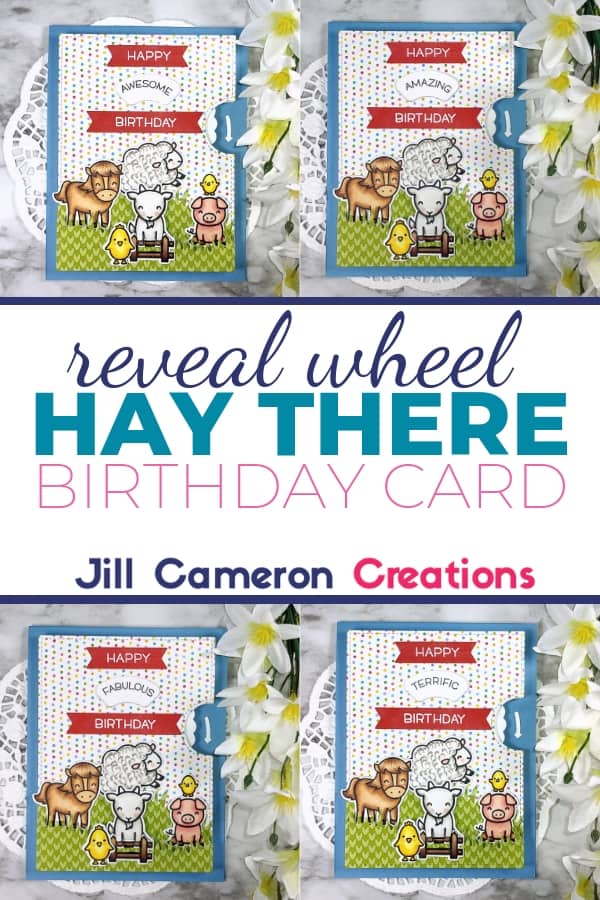
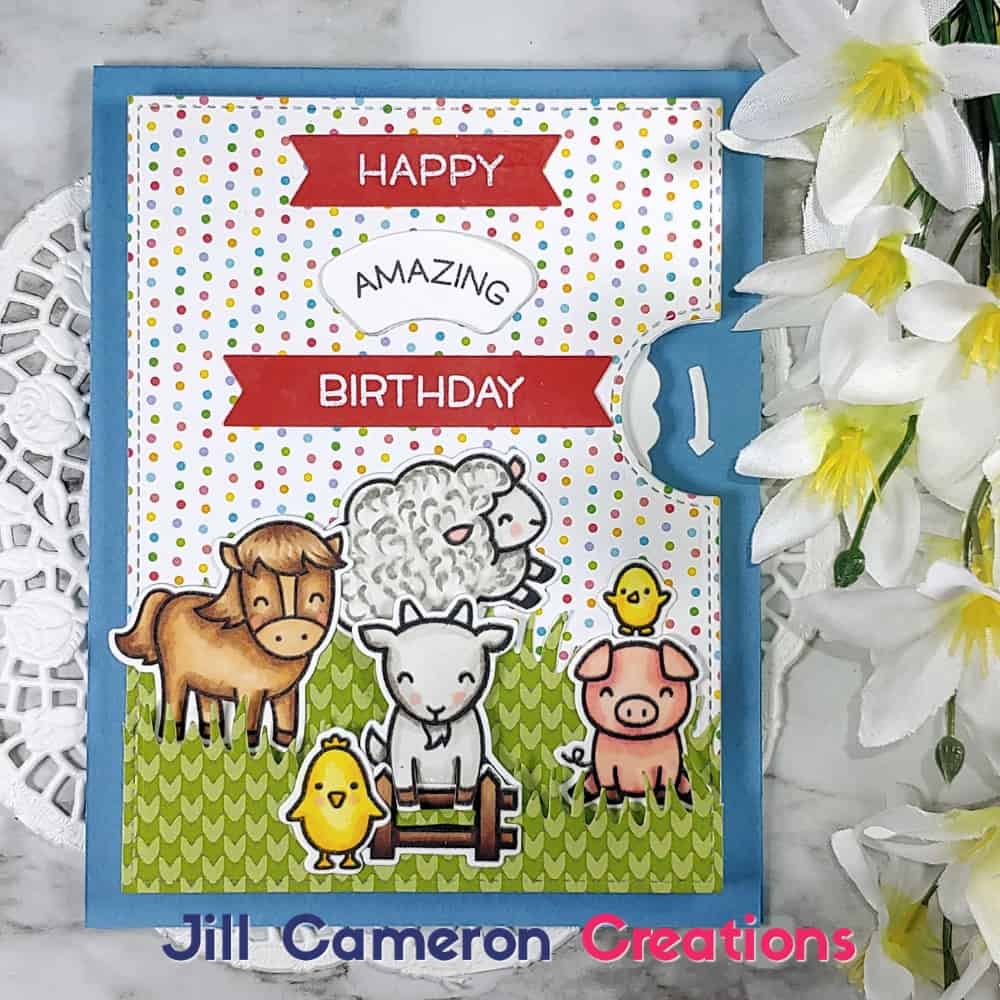
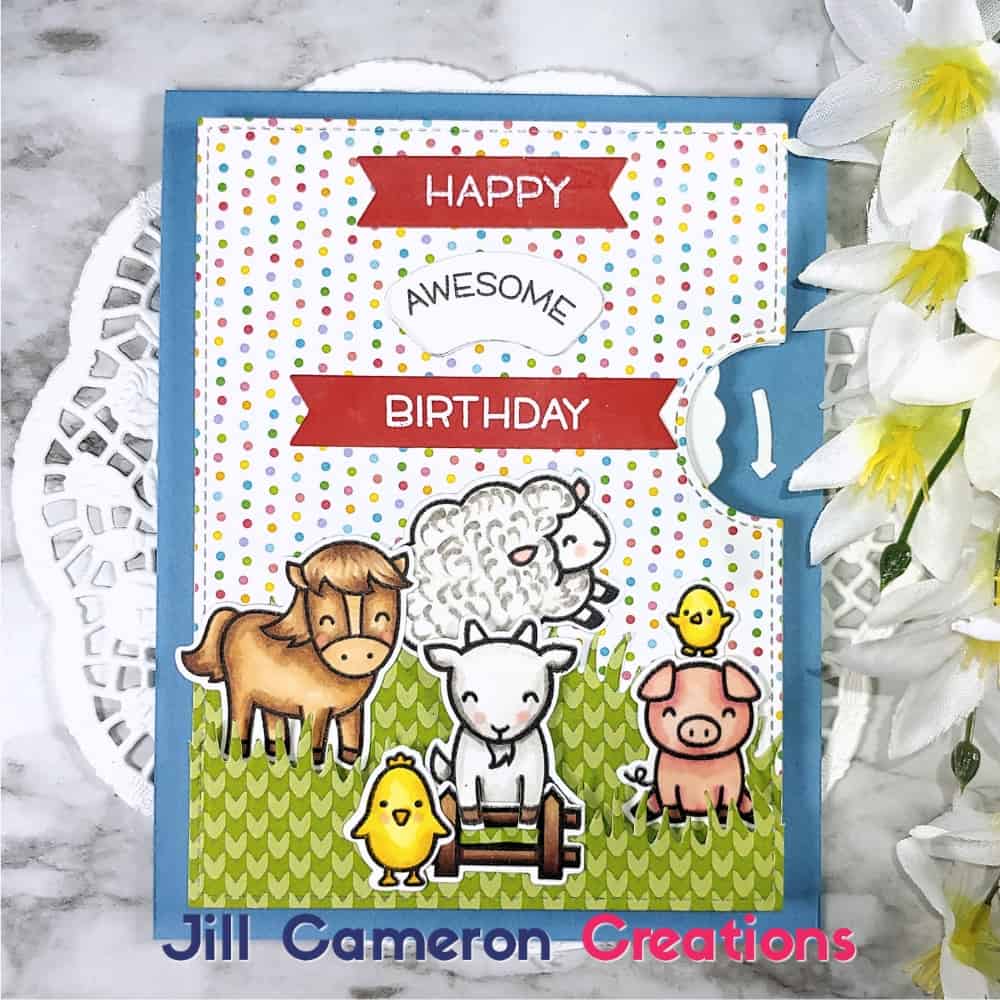
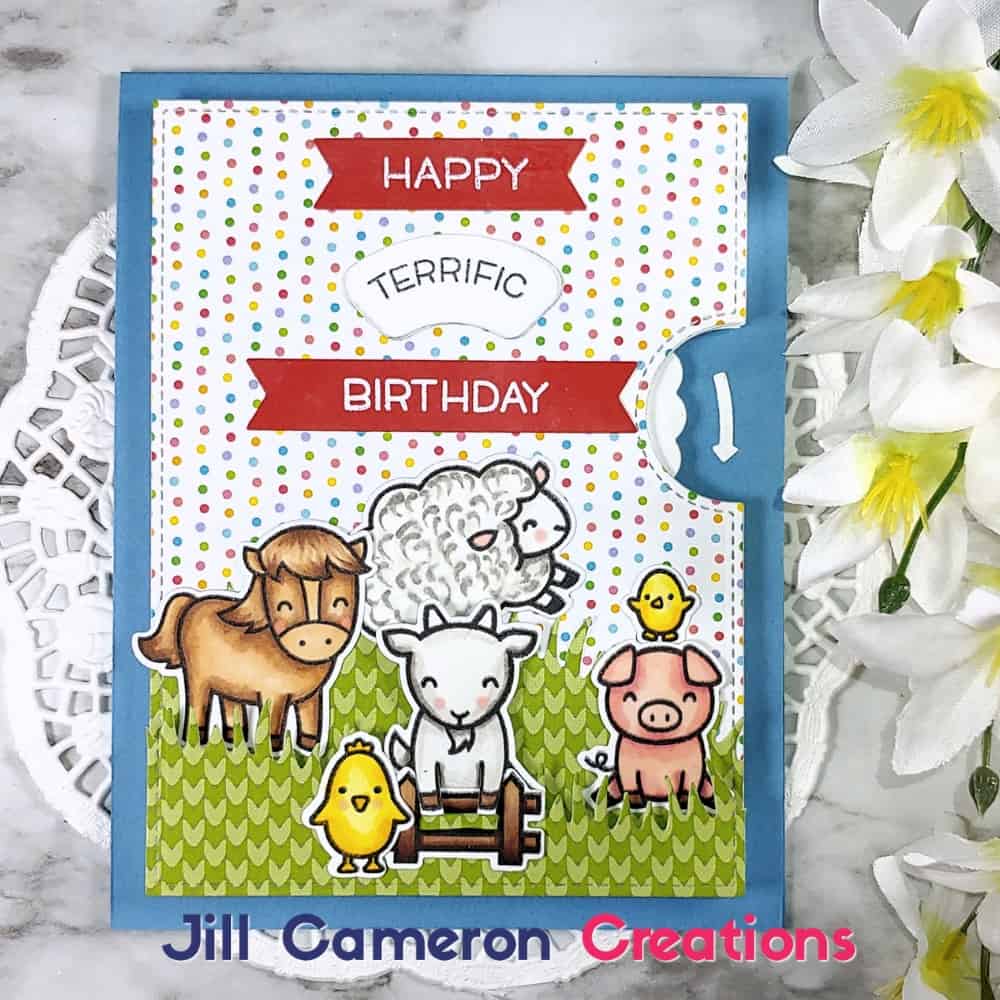
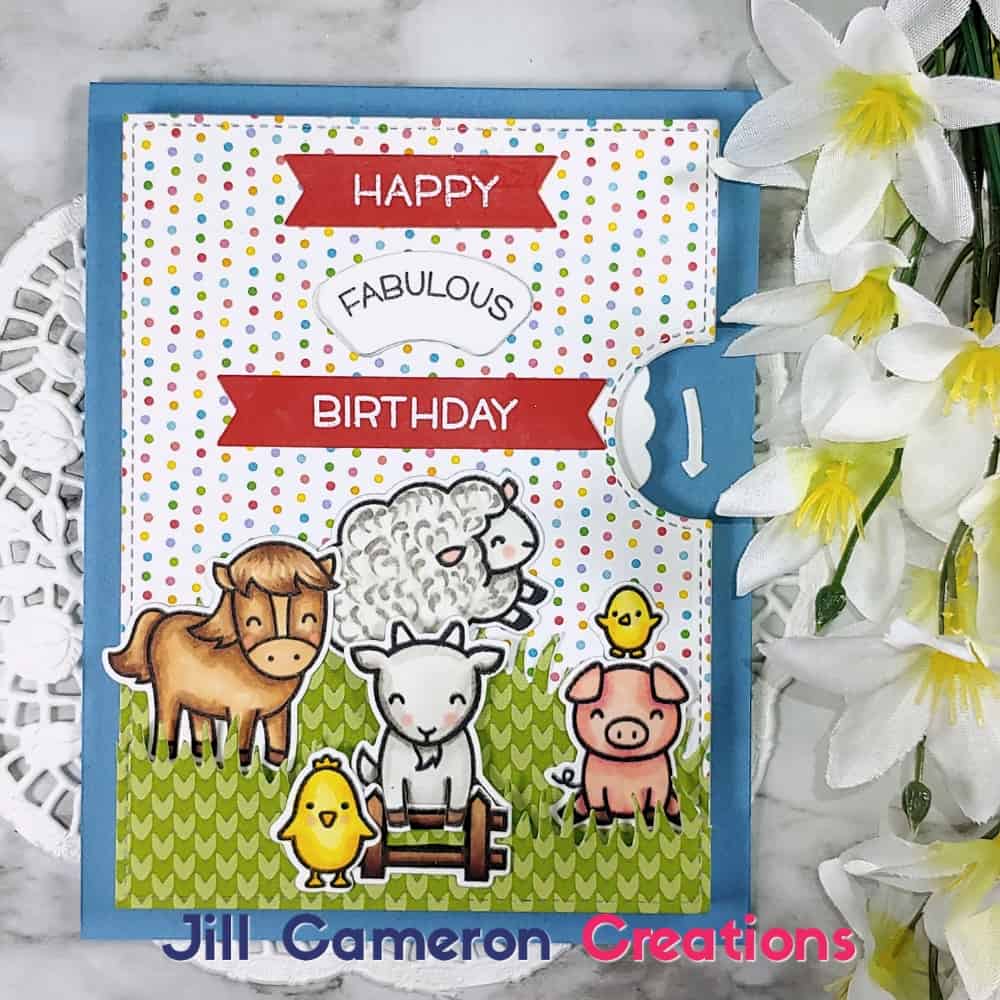
Reveal Wheel Hay There Birthday
Honestly, I refrained from buying the Reveal Wheel die set from Lawn Fawn. I just didn’t see the fun in it. I was wrong! Yes I totally admit I was wrong. At first I thought, it’s just sentiments so who really needs that? But then came all the cute little cut outs that come with it! Today we’re looking at the basic Reveal Wheel to see how it goes together.
All of the products I used are listed at the bottom of this post. Just click a link to find the products you need to make this card!
Affiliate Disclosure Policy
This post contains affiliate links for your convenience. This means if you make a purchase after clicking a link, I will get a small commission with no additional cost to you as the consumer. Jill Cameron Creations/Jill Lipscomb participates in the Amazon Services LLC Associates Program, an affiliate advertising program designed to provide a means for sites to earn advertising fees by advertising and linking to Amazon.com. For full disclosure policy click here.
Reveal Wheel Hay There Birthday
The very first thing I did before I created this card was to create my own template. Why is this important? So you know where to stamp the sentiments. Now, Lawn Fawn does make plastic templates for these and they are linked below but I don’t have them so I made my own. Here are the steps to make your own template if you want.
- Die cut the front panel with the puzzle piece for the hole for the sentiment.
- Die cut the large round piece.
- Draw line through the middle of the large round piece so that there are four equal parts.
- There’s an embossed line around the large round piece. Align the embossed line with the top of the hole on the front panel you cut earlier. Use some washi tape to hold the round piece to the backside of the front panel.
- Fit the puzzle piece (the part that cuts the sentiment hole) back into the same hole. This will allow you to cut out the hole in the correct place on the large round piece.
- Repeat steps 4 and 5 until three more times.
Things to know when putting the card together
First, you’re going to use a lot of foam tape. In my video I complain about using foam squares because of all the stupid release paper. LOL! Can you tell I’m not a fan of foam squares? Use foam tape and save yourself a headache.
Second, don’t put any foam tape/square close to the edge of the largest circle. That is what turns in the card. It can’t turn if the foam is blocking the path. Also, don’t forget to put foam tape/squares on the back of the smallest circle.
Third, you get to use those brads that have been collecting dust in your craft drawer. Use the smallest,
When you go to attach the back panel of the card
- Align the embossed line on the largest circle with the top of the sentiment window.
- Place a small piece of washi tape in the finger hole to hold the large circle in place.
- Put all of your foam
tape on the back of the front panel and the small circle. - Remove the release paper and press the back panel in place.
- Remove the washi tape and ta-da you have a working Reveal Wheel!

