Layered Beach Scene + Waffle Flower’s Sandy Toes
What’s better than going to the beach? The layered beach scene card captured all of those childhood memories of running onto the beach like it was the first time every time. The Waffle Flower Sandy Toes stamp set made pulling this card together a breeze.
Affiliate Disclosure Policy
This post contains affiliate links for your convenience. This means if you make a purchase after clicking a link, I will get a small commission with no additional cost to you as the consumer. Jill Cameron Creations/Jill Lipscomb participates in the Amazon Services LLC Associates Program, an affiliate advertising program designed to provide a means for sites to earn advertising fees by advertising and linking to Amazon.com. For full disclosure policy click here.
PRODUCTS USED
- Waffle Flower – Sandy Toes Stamp Set
- MISTI Original
- MFT Die-namics Clouds
- Distress Resist Spray
- Versafine Onyx Blank
- Clear Embossing Powder
- Distress Inks:
- Ink blending tool
- Neenah Solar White 80lb
- Foam Tape
- Tape Runner
- Lawn Fawn Jet Black Ink
- Copic Sketch – Skin: E04, E11, E21, E00, E000, R21 Hair:E21, E29, E25 Reds: R22, R29, R39, R59 Blues: B23, B26, B29 Yellows: Y00, Y13, Y15, Y19
- Spellbinders Platinum Die Cutting and Embossing Machine
Layered Beach Scene
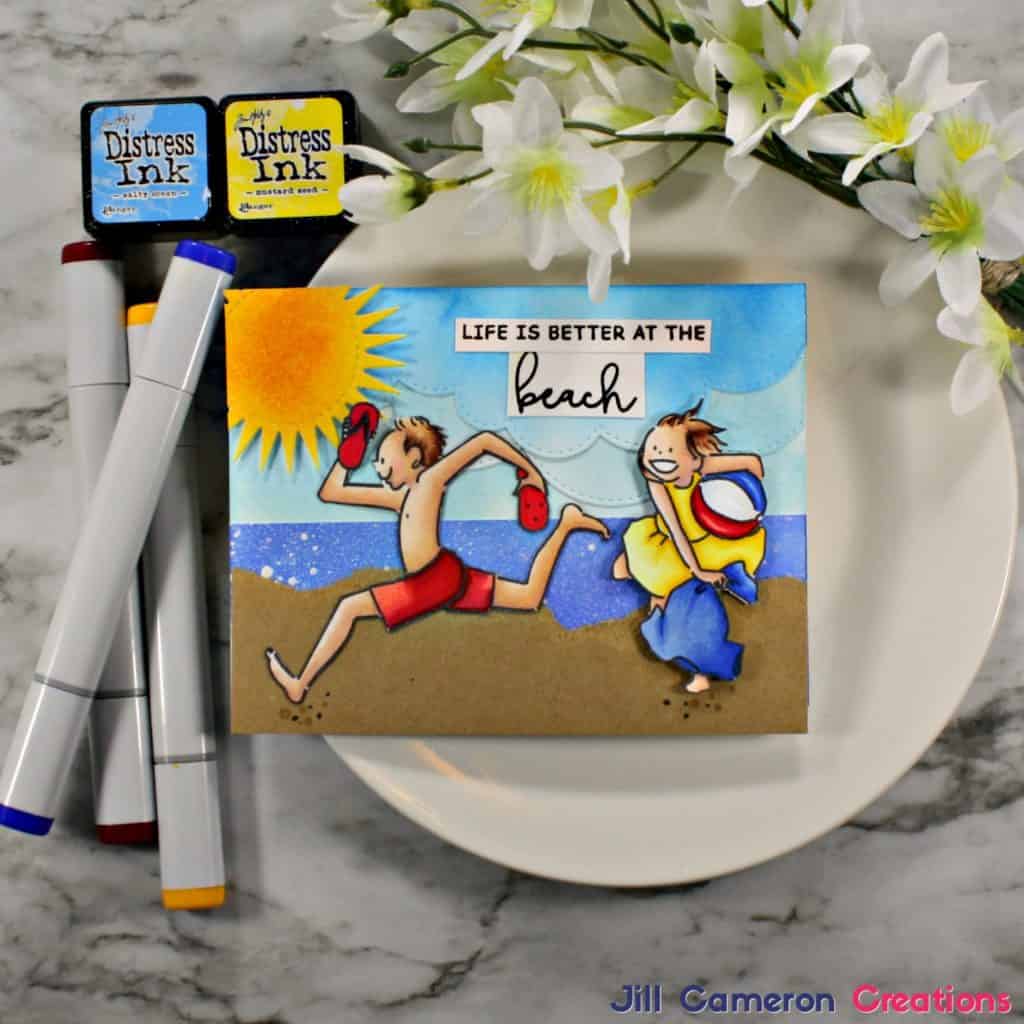
The first thing I did was to season my brand new stamp set, Sandy Toes, by stamping the image several times on some scrap paper. I used my MISTI to stamp two of the images on Neenah 80lb cardstock. The images are colored using Copic markers. The colors used are listed above in the Products Used box. I kept the colors bright and happy to reflect the playful mood of the card.
After I colored the images, I fussy cut the images out. It took me FOREVER to cut them out. Fussy cutting is not one of my strengths, but it definitely made this card.
Next, I worked on the layered beach scene background. To create the look of sand, I tore a piece of kraft paper. This is the kind of kraft paper that feels like a paper bag but a little heavier weight.
I sprayed some white cardstock with Distress Resist spray and then ink blended over it and sprayed some sparkle too. Tip: Distress Spray dries quickly and stays on so be sure to cover your work surface.
Then, I ink blended some different shades of blue to die cut clouds. I also, blended some yellows and oranges so I could die cut a sunshine.
Last, I layered all of the pieces together and mounted the finished panel on a 5 1/2″ x 4 1/4″ side folding card.
Check out the video on some tips on coloring.
See more Copic Coloring:
Happy Friendship Day One Layer Card
Copic Coloring with Concord and 9th
Ink Blended Encouragement Card


One Comment
Comments are closed.