How-to Use Multiple Digi Stamps on a One Layer Card
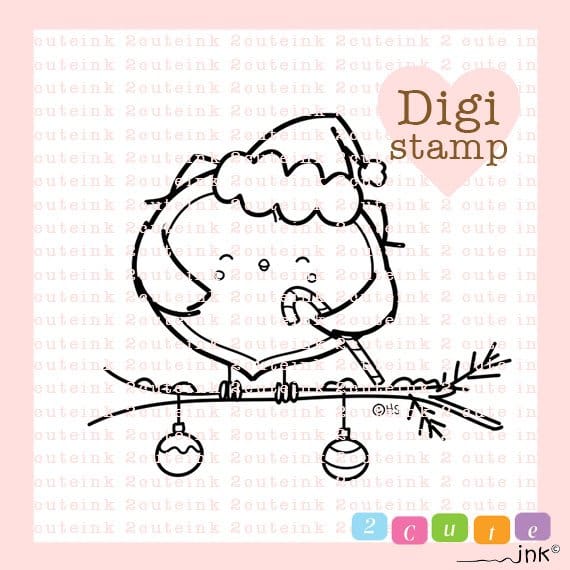
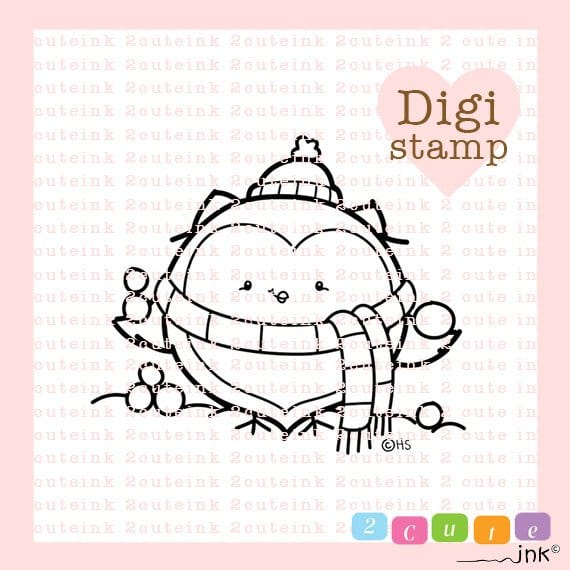
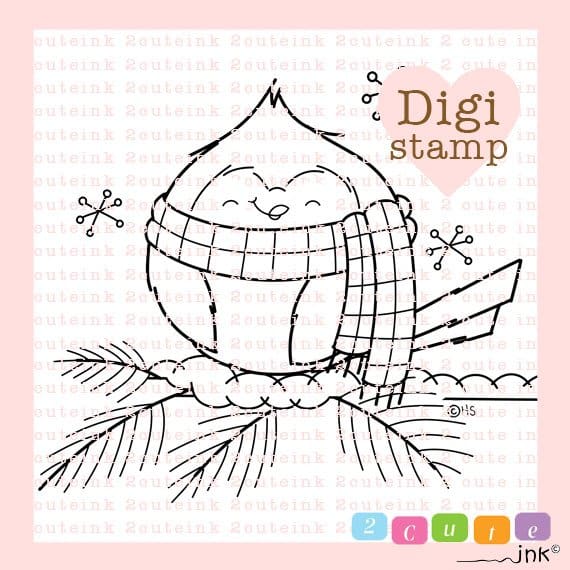
So the other day I was looking through the digi stamps over on 2 Cute Ink’s Etsy shop and saw all these adorable owls. I thought “Now, wouldn’t all of these little guys make the cutest card ever?!” And that’s exactly what I did. I used multiple digi stamps on my one layer card. These are the images I used to create my card:
Affiliate Disclosure Policy
This post contains affiliate links for your convenience. This means if you make a purchase after clicking a link, I will get a small commission with no additional cost to you as the consumer. Jill Cameron Creations/Jill Lipscomb participates in the Amazon Services LLC Associates Program, an affiliate advertising program designed to provide a means for sites to earn advertising fees by advertising and linking to Amazon.com. For full disclosure policy click here.
How-to Use Multiple Digi Stamp on a One Layer Card
Here’s the card I created using the 3 images from 2 Cute Ink…

The first thing I did was to create my panel in Silhouette Studio. Even if you don’t own a Silhouette machine, I highly recommend the software to edit purchased digi stamps. I LOVE it. Check out the video below to how easy it is to edit and create the layout for these little critters.
I printed the images on Neenah Solar White 80lb cardstock. Then, I trimmed down the panel to measure 5″ x 7″.
Next, I created masks using the Hillside Border dies from Lawn Fawn. You can hand draw them too or just cut a wavy line. I used the masks to create a snowy ground for my snowball throwin’ owl as well as clouds in the sky.
The trees I drew my hand. Don’t be afraid to add something like a tree to the background. Trees are easy to draw too. Especially when the tree is mostly off the page. Just drawn squiggly lines in it. Don’t draw it straight up and down. Add subtle curves to it. I just sketched it with a pencil then filled it in with Copics. I didn’t go back and add black outlines to my trees even though I built the trees from the digi stamp. Even though I didn’t feel like it was needed, you can add the black outline if you want. Just be sure to use a Copic safe pen.
After I colored my little critters I used a white gel pen to add snow to the bottom of the trees so they looked like they were back in the snow a bit.
Lastly, I added a Christmas sentiment from Lawn Fawn’s Simply Winter Sentiments. I embossed it in Antique Gold embossing powder.
Additional Copic coloring articles: Use Silhouette Studio with Digital Stamps and How-to Use Multiple Digi Stamps on a One Layer Card.

