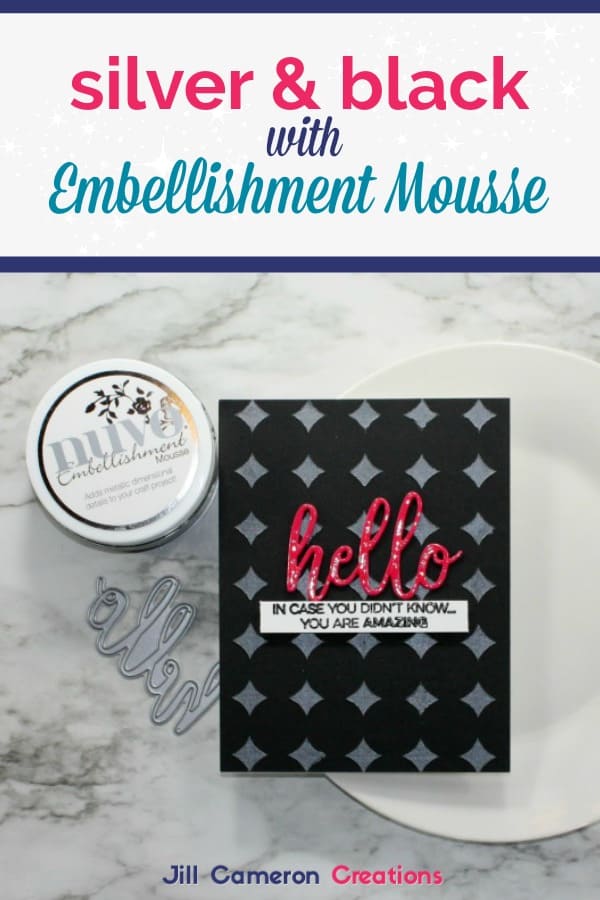
How-to: Silver on Black with Embellishment Mousse
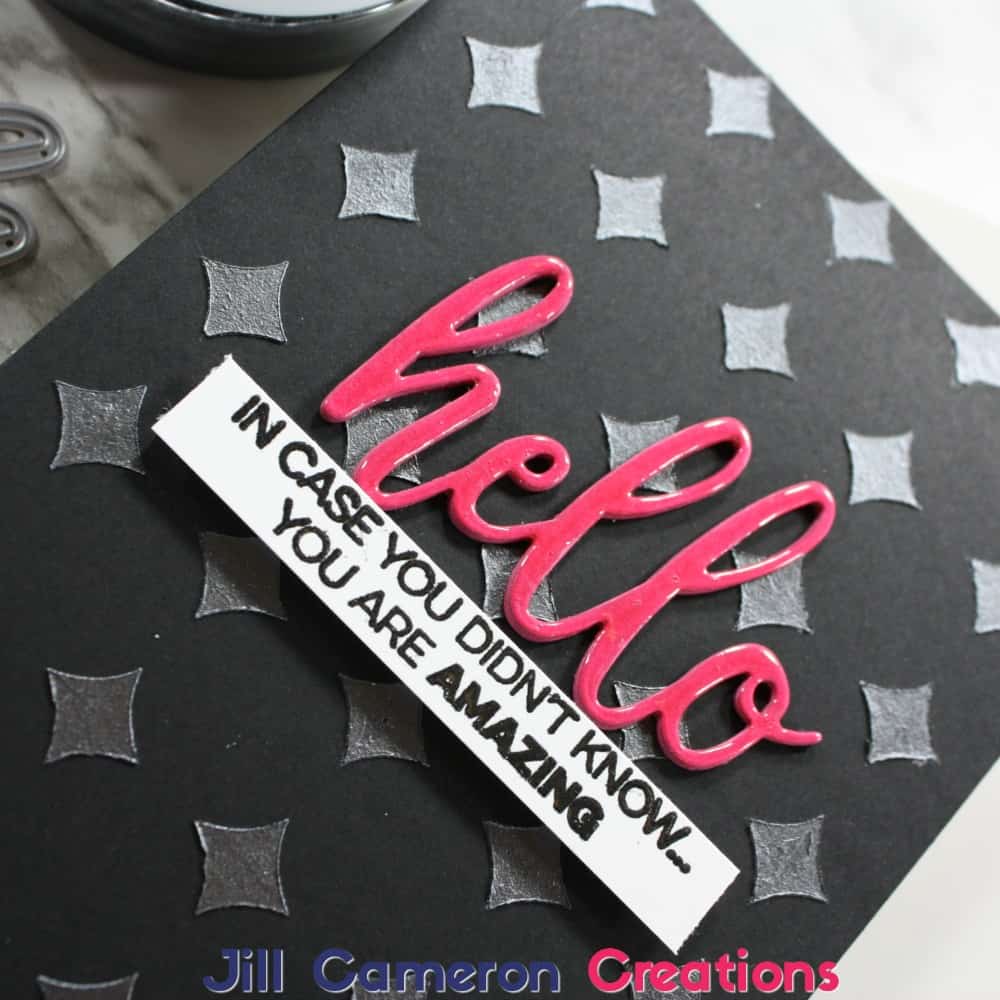
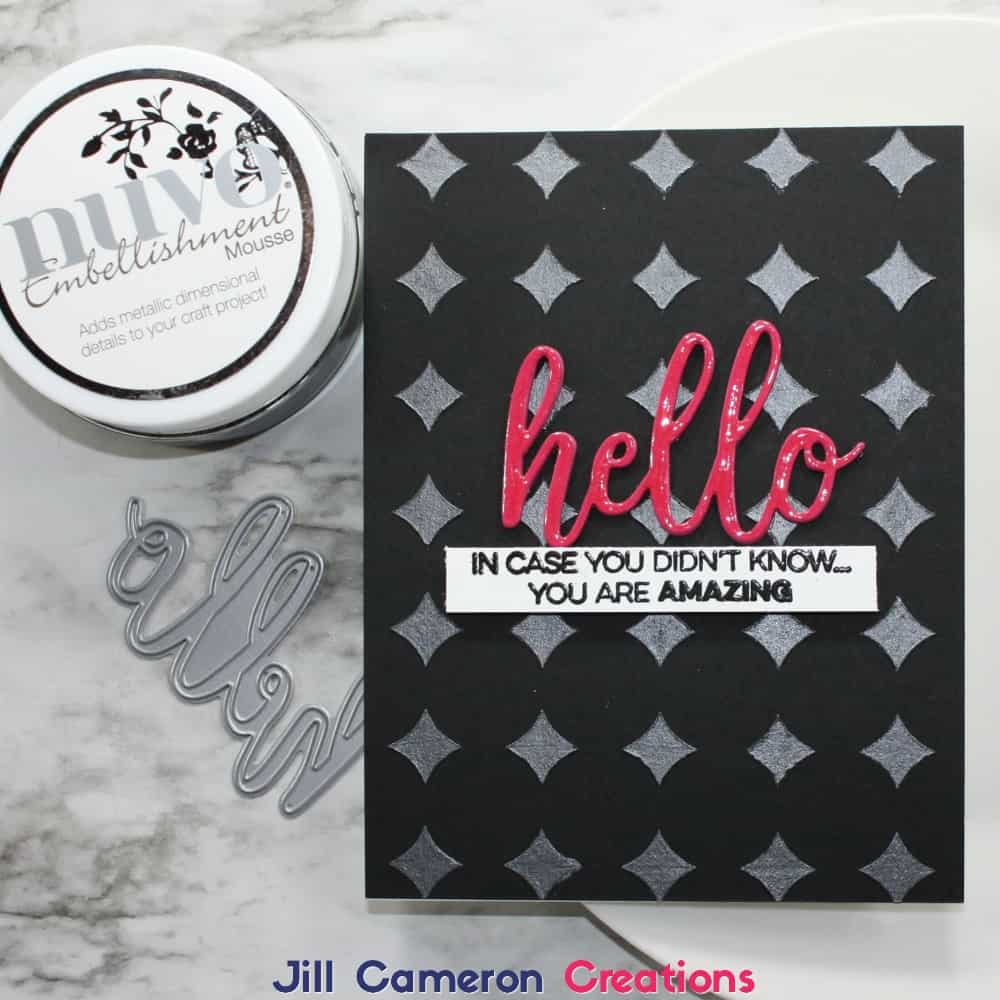
You don’t see many black greeting cards out there but take a look at this silver on black with embellishment mousse!!! It is beautiful! Check out how that sentiment just POPs off the card! And that embellishment mousse provides so much texture in the background. I just LOVE this card! So fun!
Affiliate Disclosure Policy
This post contains affiliate links for your convenience. This means if you make a purchase after clicking a link, I will get a small commission with no additional cost to you as the consumer. Jill Cameron Creations/Jill Lipscomb participates in the Amazon Services LLC Associates Program, an affiliate advertising program designed to provide a means for sites to earn advertising fees by advertising and linking to Amazon.com. For full disclosure policy click here.
How-to: Silver on Black with Embellishment Mousse
This is a super quick card. Embellishment Mousse dries QUICK! Let’s break it down… All products are listed below the instructions.
- Cut down two black cardstock panels to 4 1/4″ x 5 1/2″. Adhere the panels together with a strong adhesive. I used a tape runner. Embellishment mousse is heavy stuff. Doubling up the cardstock is to ensure the card has ample support.
- Center the diamond pattern stencil of the Retro Petals Stencil set by Concord & 9th over the black panel. I used some washi tape to hold the panel in place. Put it on the backside of the stencil to make things easier.
- Over a scrap piece of paper, use a pallet knife to spread the embellishment mousse over the stencil. Embellishment mousse is a little stiff at first so be firm with it. Spread it over every inch of the front of the panel.
- Carefully pull the stencil away from the panel. WASH THE STENCIL! The embellishment mousse dries quickly and gets hard. Just some warm water and your finger is all you need.
- Set the panel aside to dry.
- Next, die cut 4 ‘hello’ sentiments from some Passion Pink cardstock. I use a liquid adhesive to stack my die cut sentiments.
- The sentiment is stamped in Versafine Onyx Black ink coated in clear embossing powder on white cardstock. When you emboss something, be sure to use an antistatic powder tool so your embossing powder goes where it supposed to go.
- That black panel is dry now. Adhere you stacked die cut sentiment with some liquid adhesive. Use foam tape to adhere the sentiment strip.

