How to Create a Rainbow Ink Blended Background Card with Hero Arts Stamps and Dies
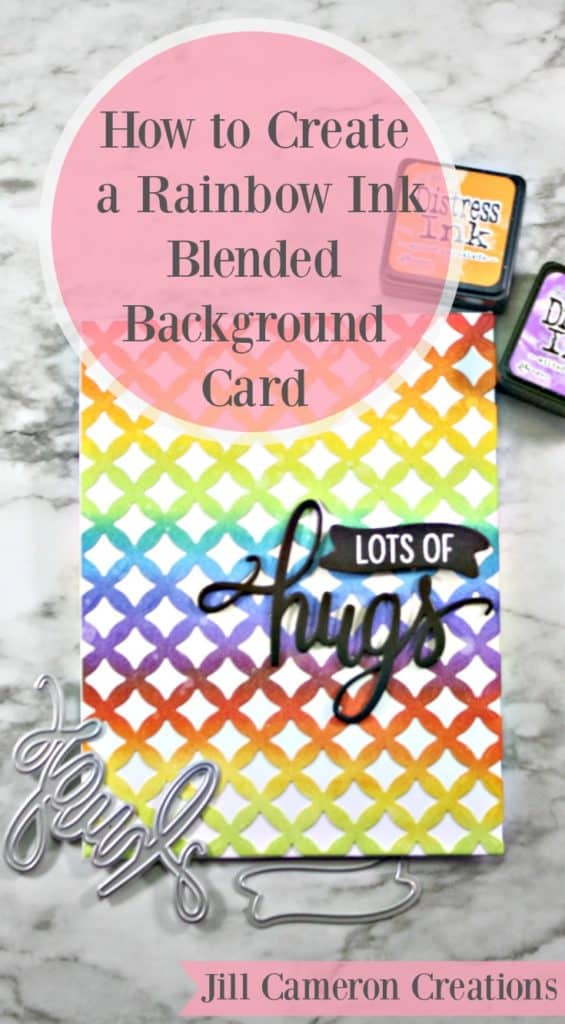
Brightly colored rainbows are the first thing I think of when it’s springtime think it’s because “April showers bring May flowers” and there’s usually a rainbow after the rain in April. Today, we’re going to learn how to create a rainbow ink blended background card with Hero Arts Stamps and Dies. We’ll be using some Distress Inks as well. Ink blended backgrounds are super easy, fun, and a simple way to add some pizzazz to your background.
I got the March My Monthly Hero Kit and all the extras. Each month Hero Arts comes out with a stamp and die kit that’s pretty amazing! Check it out on their website Hero Arts. There’s also a ton of extras that can be purchased separately or as separate bundles of goodies, which I bought too.
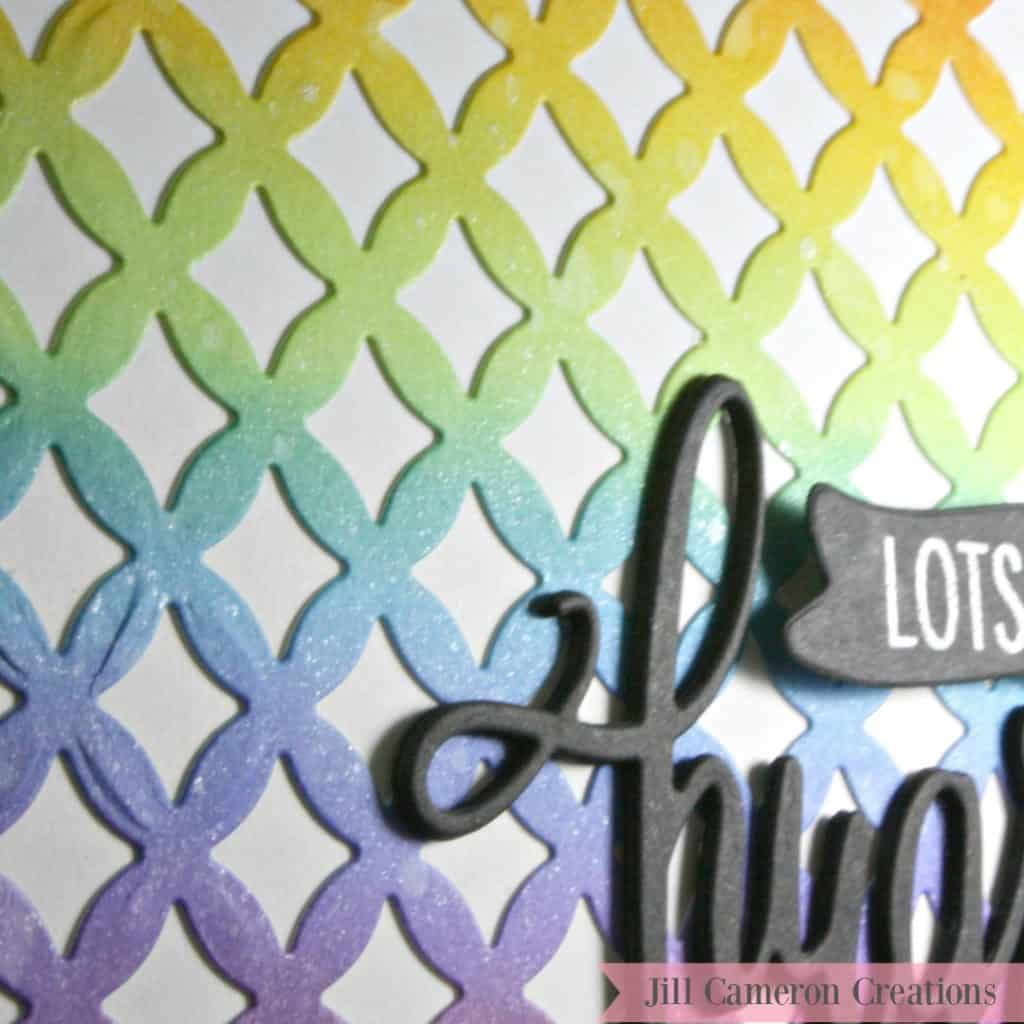
This is a pretty easy card. It can be replicated with any background die you already have in your crafty stash. A rainbow ink blended background is just what you need to end those winter blues!
How to Create a Rainbow Ink Blended Background Card
Now, ink blending on cardstock is a pretty simple process. If you’ve never done this before, practice on a piece of scrap paper. Start by inking up your Mini Ink Blending Tool sponge with your first color. You can take the sponge directly to the ink pad or you can smoosh the ink pad on a slick surface and take the sponge to it. Either way works just fine.

Tilt the ink blending tool slightly and apply even pressure. The pressure you apply will determine how dark the ink will be on the paper. Also, the more layers of ink you apply the smoother the blend will be and the darker your ink will be.
Next, flick some water on your piece of paper to add some interest to your background. I added some Shimmer spray to my background to give it some sparkle too. Be sure the background is completely dry before you move on to die cutting the background. If the background isn’t completely dry it will tear instead of cutting.
While you still have the die cutting machine out, go ahead and cut the main sentiment out of some black cardstock. You’ll want to cut it out three or four times. Glue each of the layers together to create a thicker die cut piece.
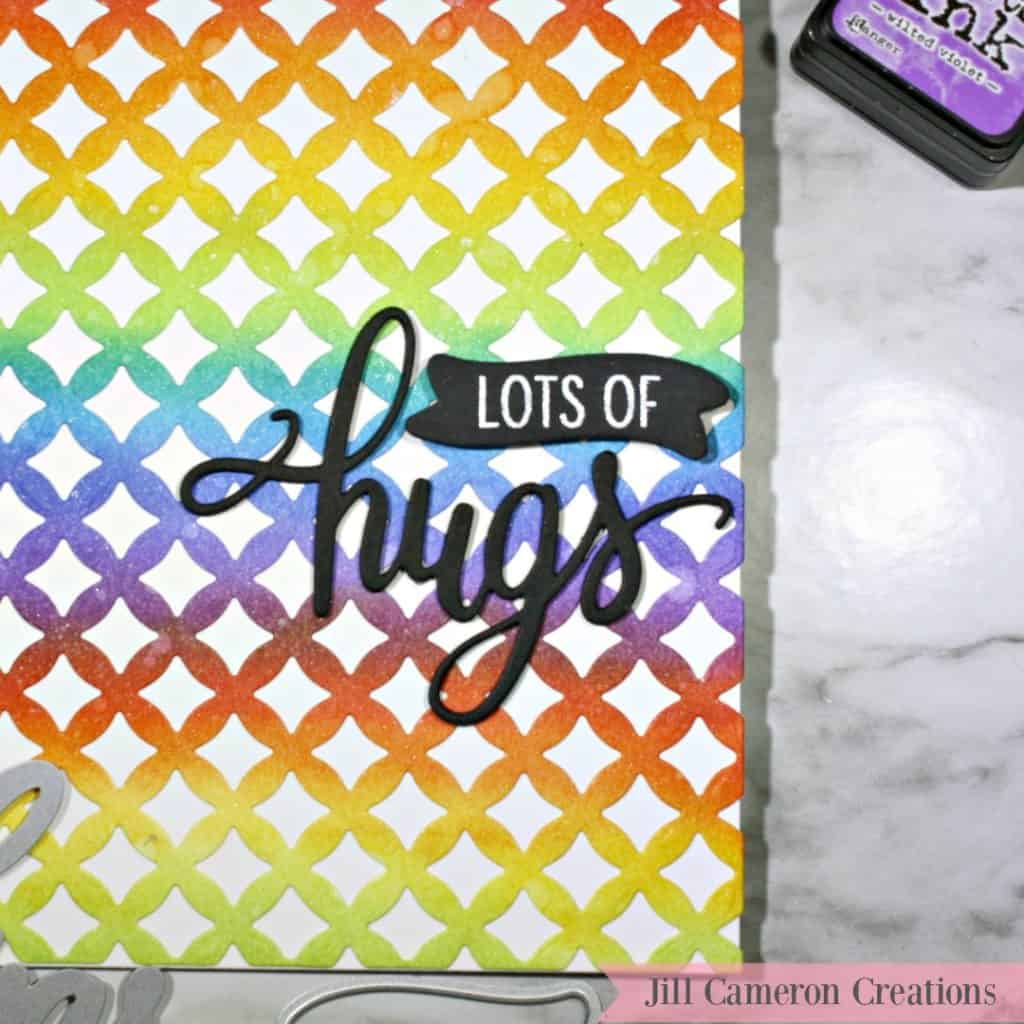
Go ahead and grab your anti-static powder tool and use it on some black cardstock. Stamp the small sentiment with Versamark ink. Add white embossing powder and melt with a heat tool. There is a coordinating banner that goes with the smaller sentiments in this stamp set. Die-cut the small sentiment with the small banner die.
Let’s put it all together
Lastly, you’ll want to assemble the card. I prefer to use liquid glue on background die cuts and sentiment die cuts. Line up the background die with the card base front to adhere. Put little drops of liquid adhesive on the back of the sentiment and place it where you want it on the card. Add little pieces of foam tape on the back of the small banner die cut piece. Adhere it to the card.
The card is all finished! Ink blending is a great way to add depth and interest to a card quickly and easily. Try it next time you need a quick card and want to take your card making up a notch. This rainbow ink blended background was just what the spring ordered. Below are the links to all of the products used for this card.
Affiliate Disclosure Policy
This post contains affiliate links for your convenience. This means if you make a purchase after clicking a link, I will get a small commission with no additional cost to you as the consumer. Jill Cameron Creations/Jill Lipscomb participates in the Amazon Services LLC Associates Program, an affiliate advertising program designed to provide a means for sites to earn advertising fees by advertising and linking to Amazon.com. For full disclosure policy click here.




One Comment
Comments are closed.