Frightfully Sweet One Layer Card
This Frightfully Sweet one layer card is a big step for me in the one layer card world. I’m super proud of this card and it really is simple. Start with your idea and go from there. I wanted to use all of the critter stamps from the My Favorite Things stamp set Frightfully Sweet. All of the critters are all dressed up for Halloween and it reminded me of the kids that show up at my front door. Creating a one layer card doesn’t have to be scary. I did it. I promise you can too! Grab a piece of blank typing paper and a regular ol’ pencil. Let’s take a look at how this card started out.
Affiliate Disclosure Policy
This post contains affiliate links for your convenience. This means if you make a purchase after clicking a link, I will get a small commission with no additional cost to you as the consumer. Jill Cameron Creations/Jill Lipscomb participates in the Amazon Services LLC Associates Program, an affiliate advertising program designed to provide a means for sites to earn advertising fees by advertising and linking to Amazon.com. For full disclosure policy click here.
Frightfully Sweet One Layer Card
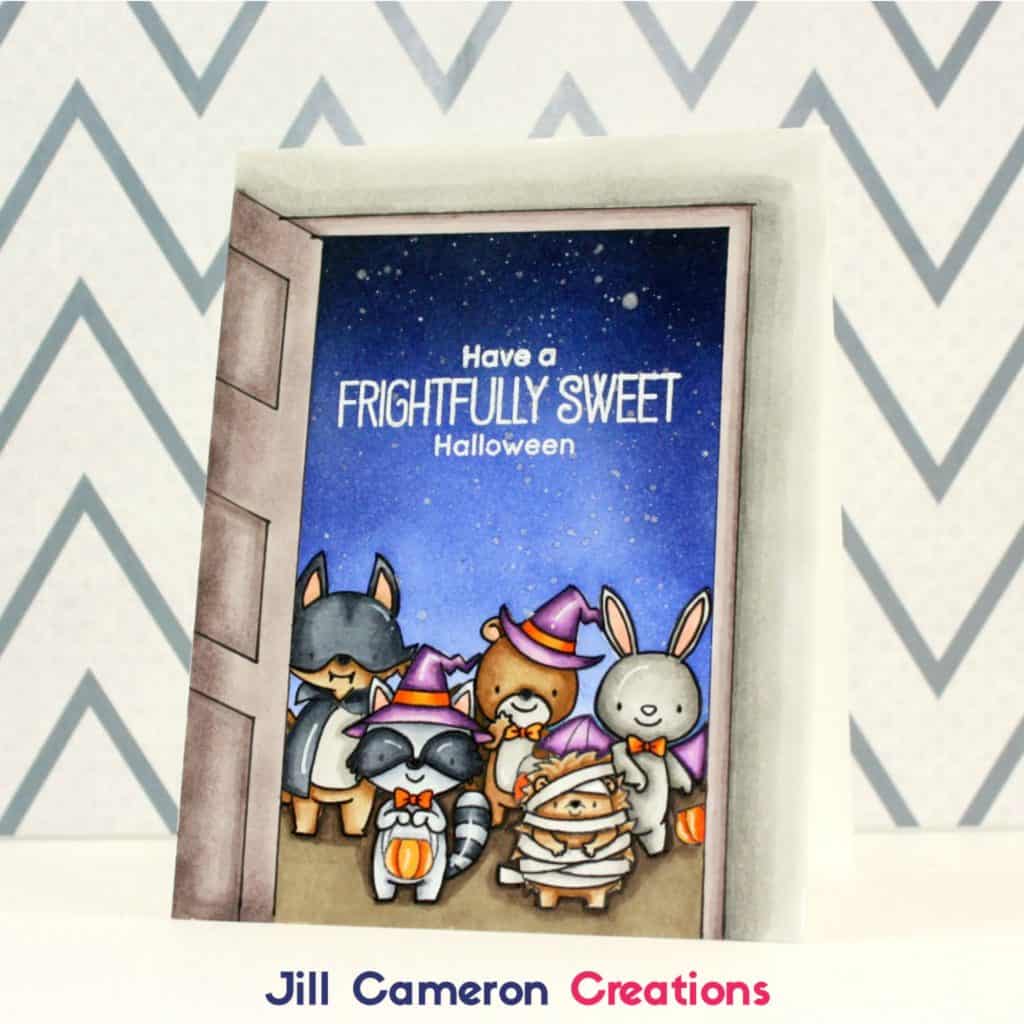
This idea for this card started as a sketch. Just a piece of regular typing paper and a no.2 pencil.
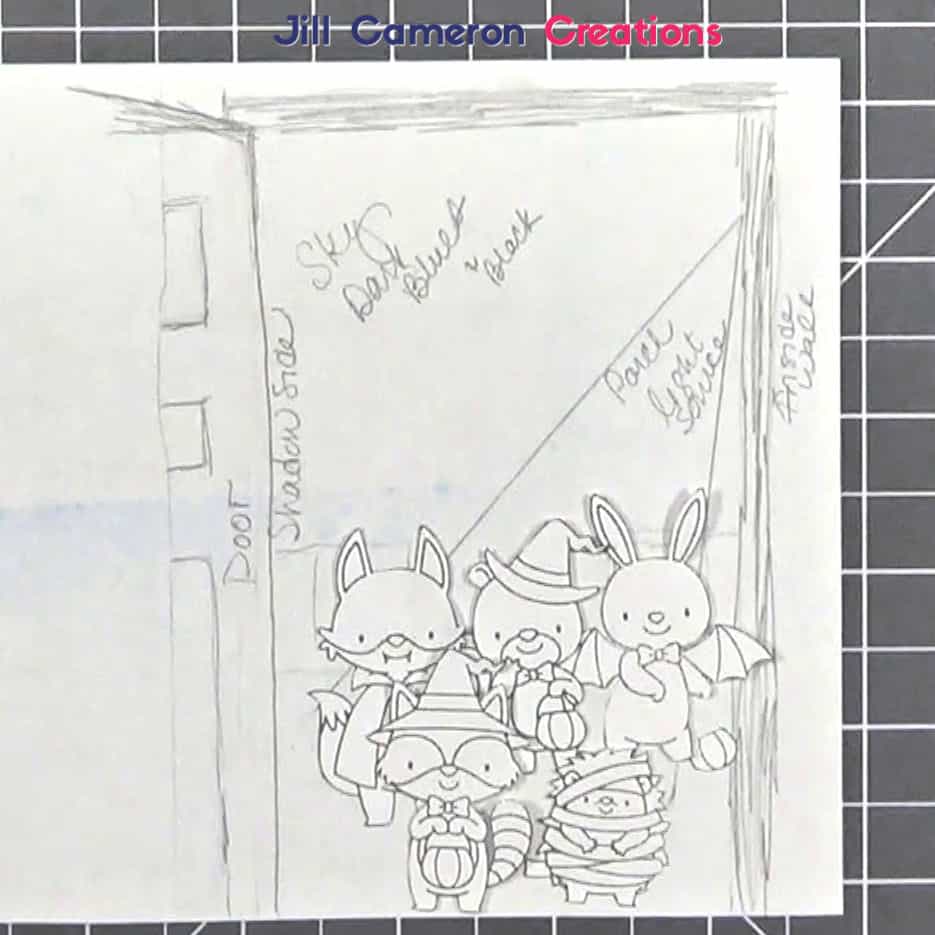
I stamped and cut out masks for all of the critters from the Frightfully Sweet stamp set. Creating masks allows me to place my stamped images in the scene without stamping them. I sketched out the door frame and a door but I didn’t measure a single thing. Then, I just made sure it would fit on a 4 1/4″ x 5 1/2″ card front. If you notice, the finished card doesn’t have the light source coming from the porch. I decided I wanted the critters to have a front light source instead. And changing your mind from your sketch is totally, 100% OKAY!
Check out the video to see how I made the background on the final card using a pencil, a t-square ruler, a black journaling pen, and a metal ruler.

See more Copic Coloring:
You Rock My World Copic Coloring
Mixing Different Brands to Create a Card
Print and Cut Copic Coloring + Save The Crafty YouTuber Video Hop


