Dry Embossing with Folders & Dies
Hey! Embossing folders are popular again! So today we’re dry embossing with folders and dies. We’re looking at ways to use dry embossing in our cards.
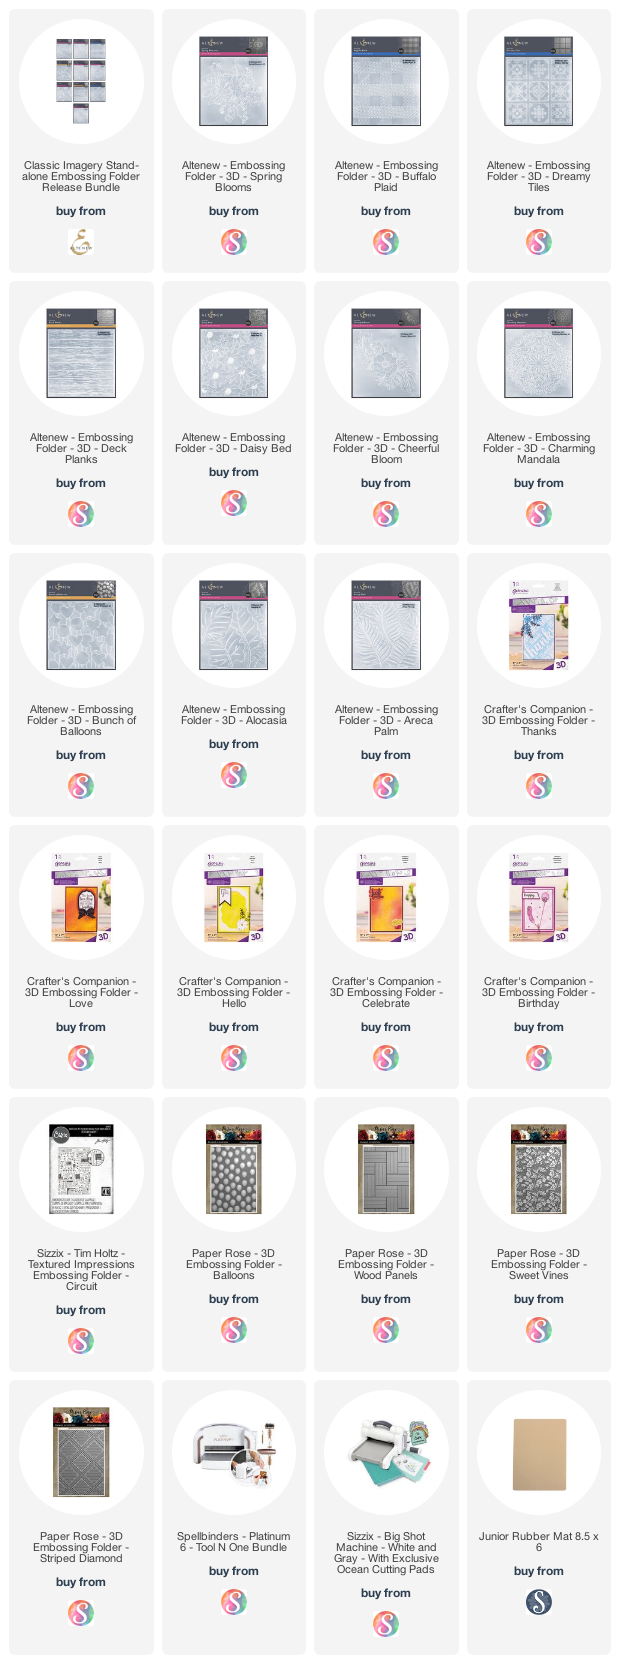
Watch the full video below to see details. Some suggested products are listed at the bottom of this post.
Before we get started with our cards, I have a few tips when using embossing folders.
- Embossing folders are different thicknesses. It’s just the nature of the material and the patterns. You’ll want to keep a shim or two on hand to make sure you get a great impression.
- If you are embossing a really heavy piece of cardstock, mist it with water first and then emboss it. It’ll keep the cardstock from cracking and breaking from the pressure.
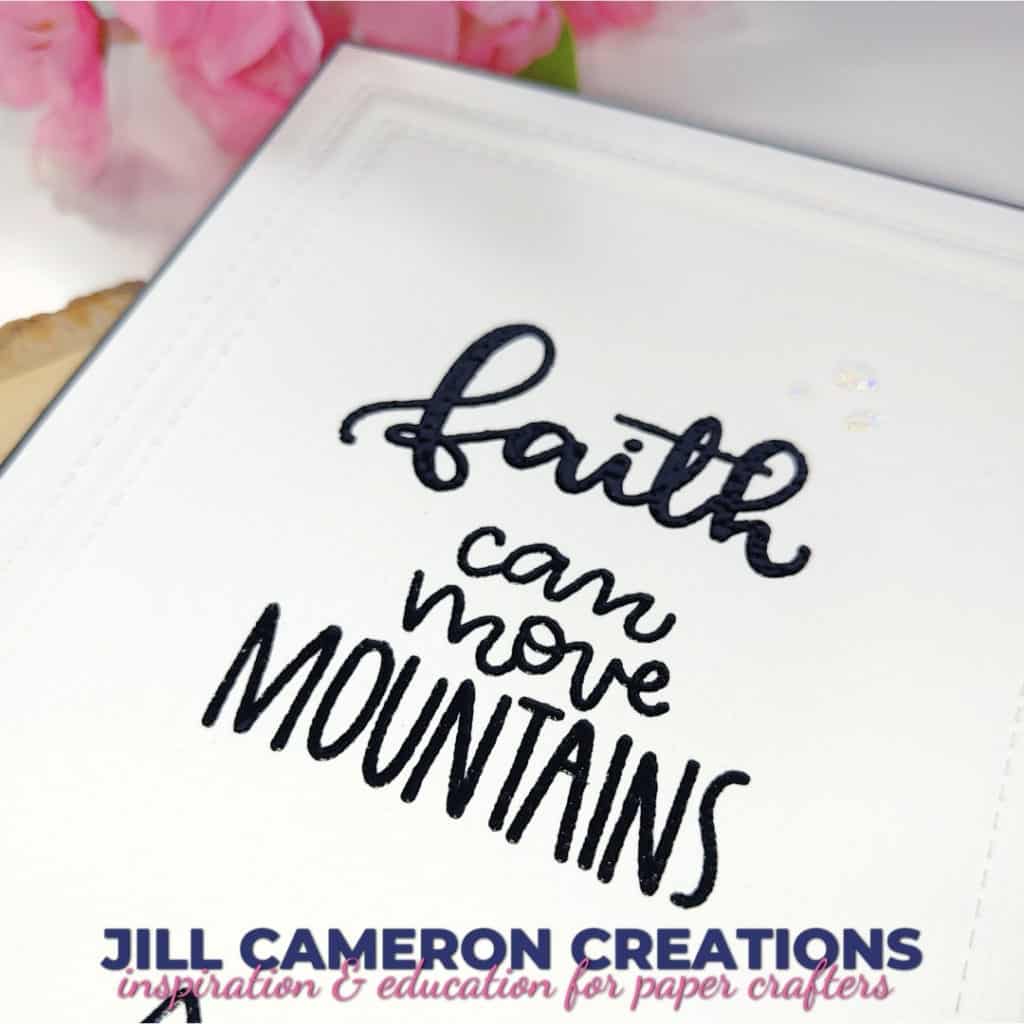
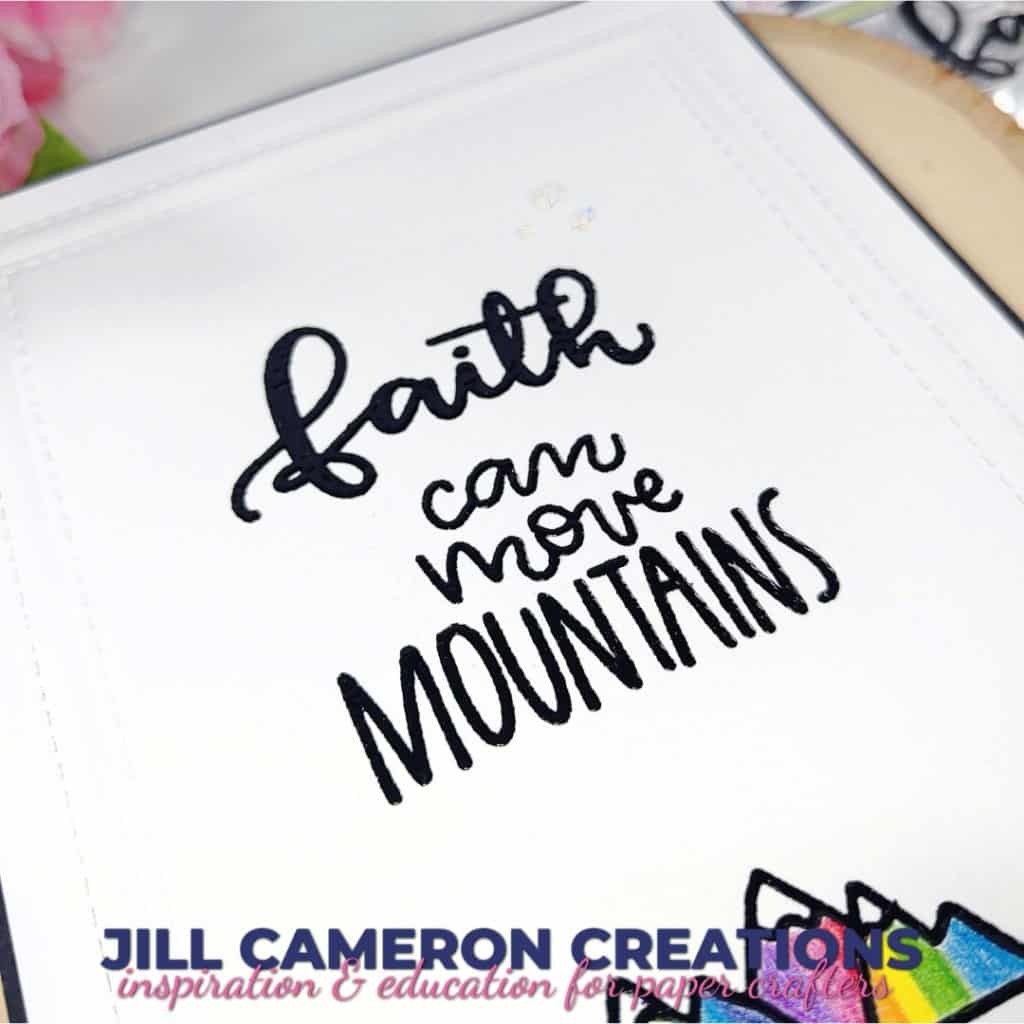
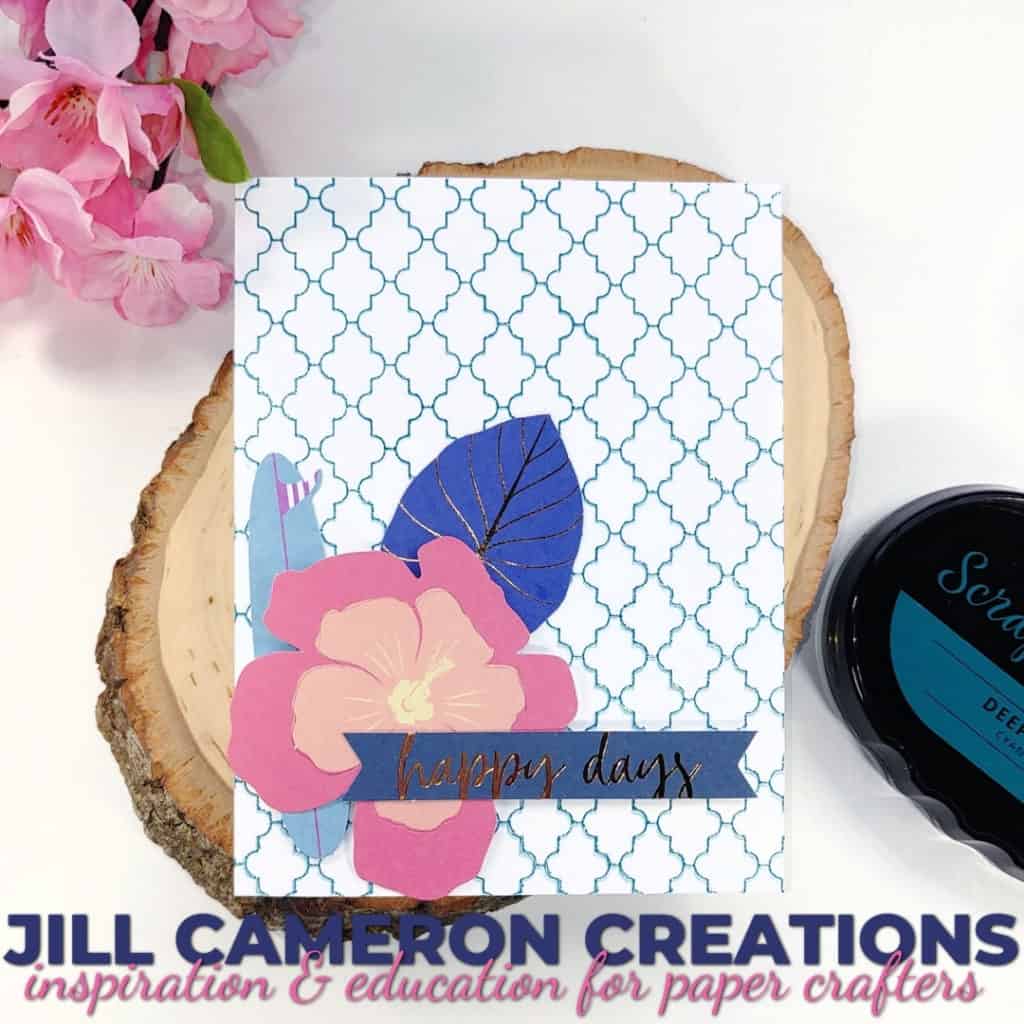
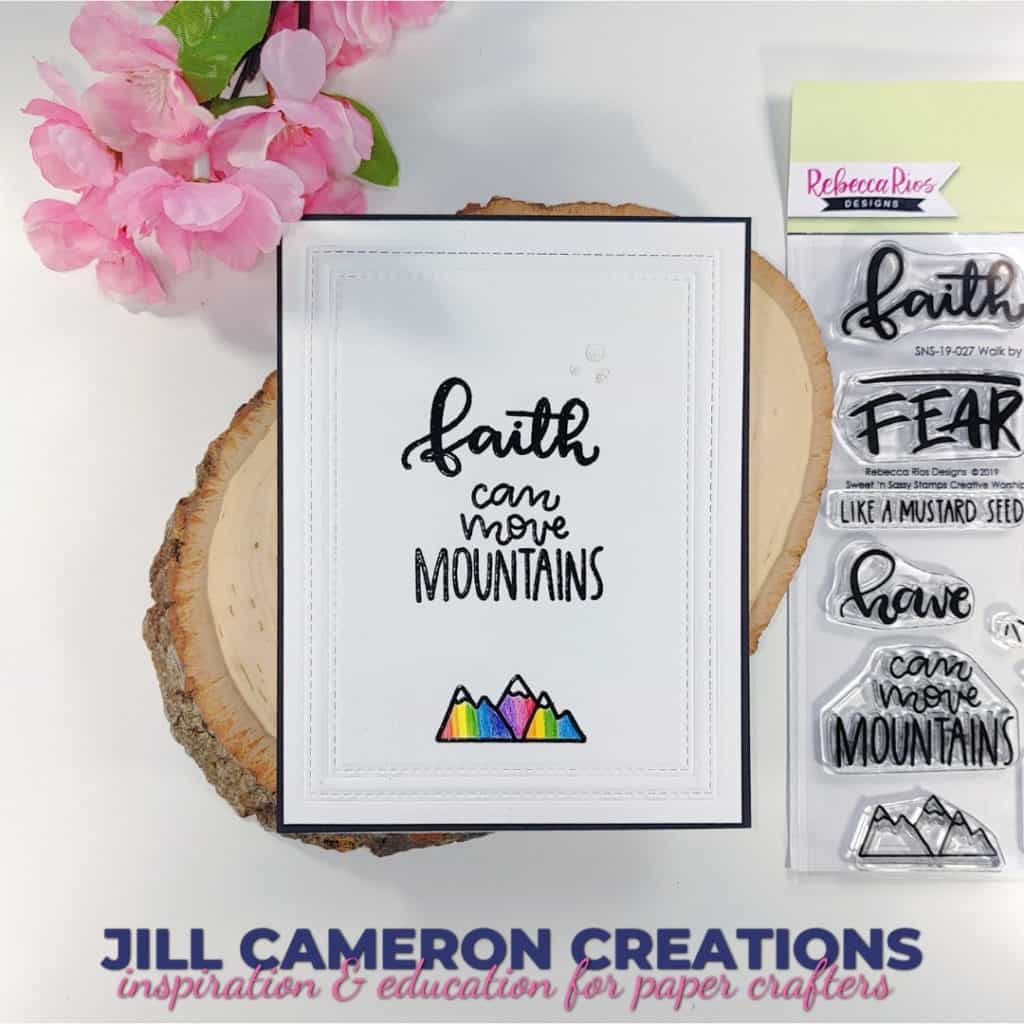
First, we’re going to dry emboss with a die. You can use any die in your collection to dry emboss. You’ll need an embossing mat. It adds great detail to your card and is really simple to do.
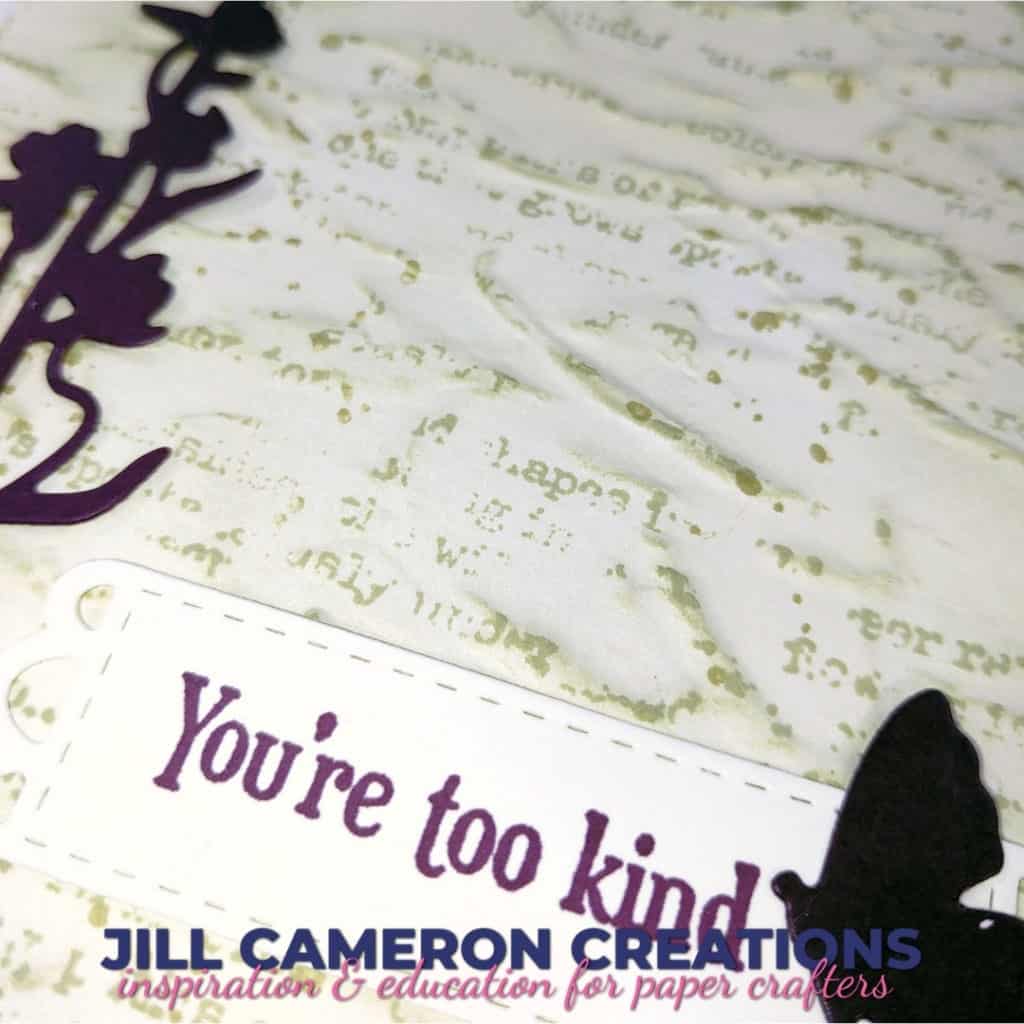
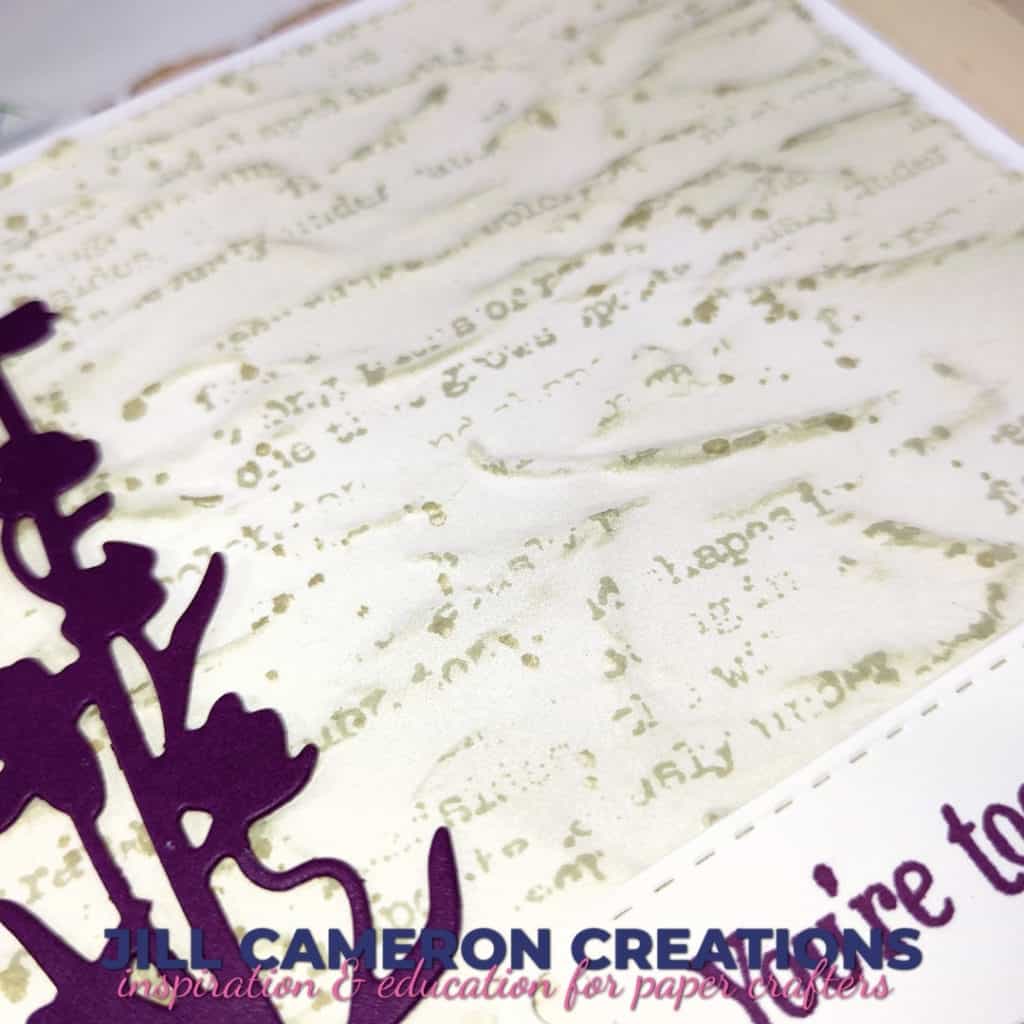
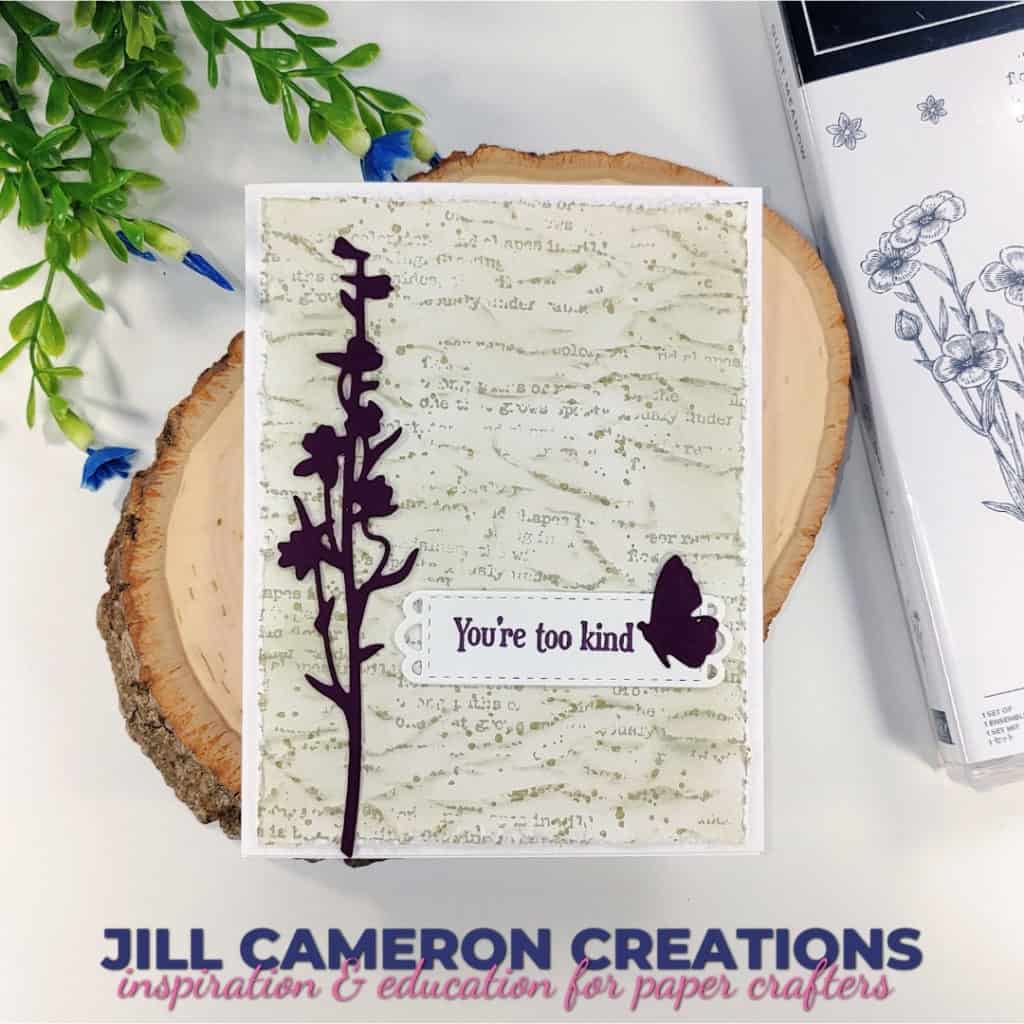
Embossing folders create amazing texture on your cardstock. Make that texture stand out with ink. I used an ink blending brush to create depth in this cardstock panel and added stamping all over it too.
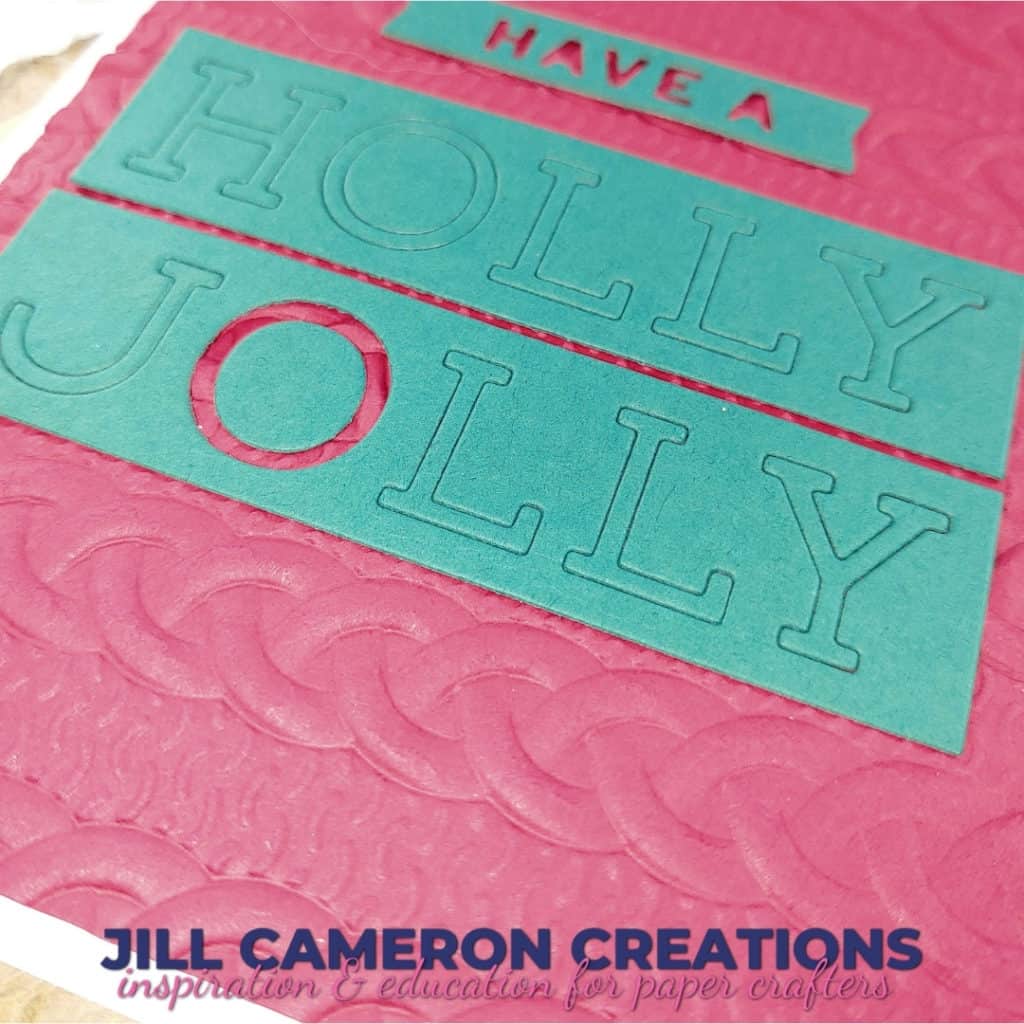
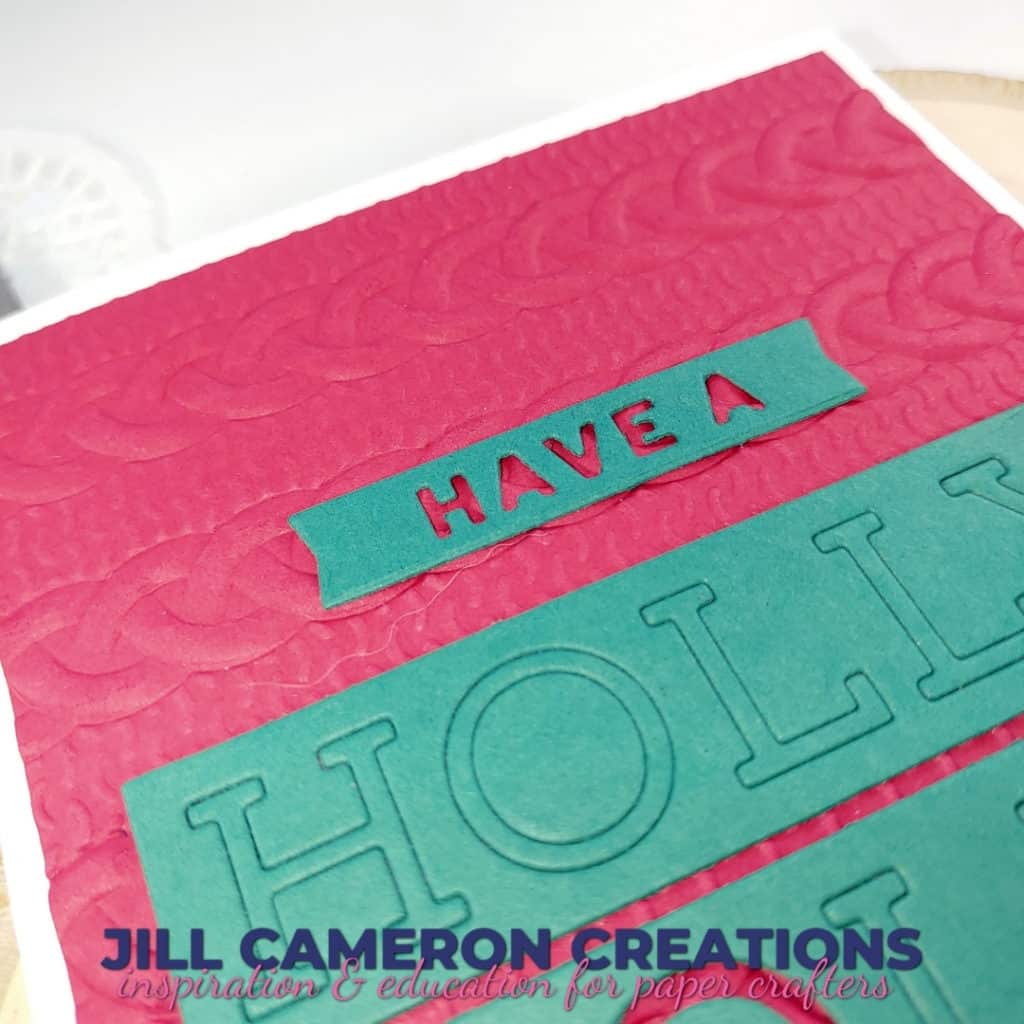
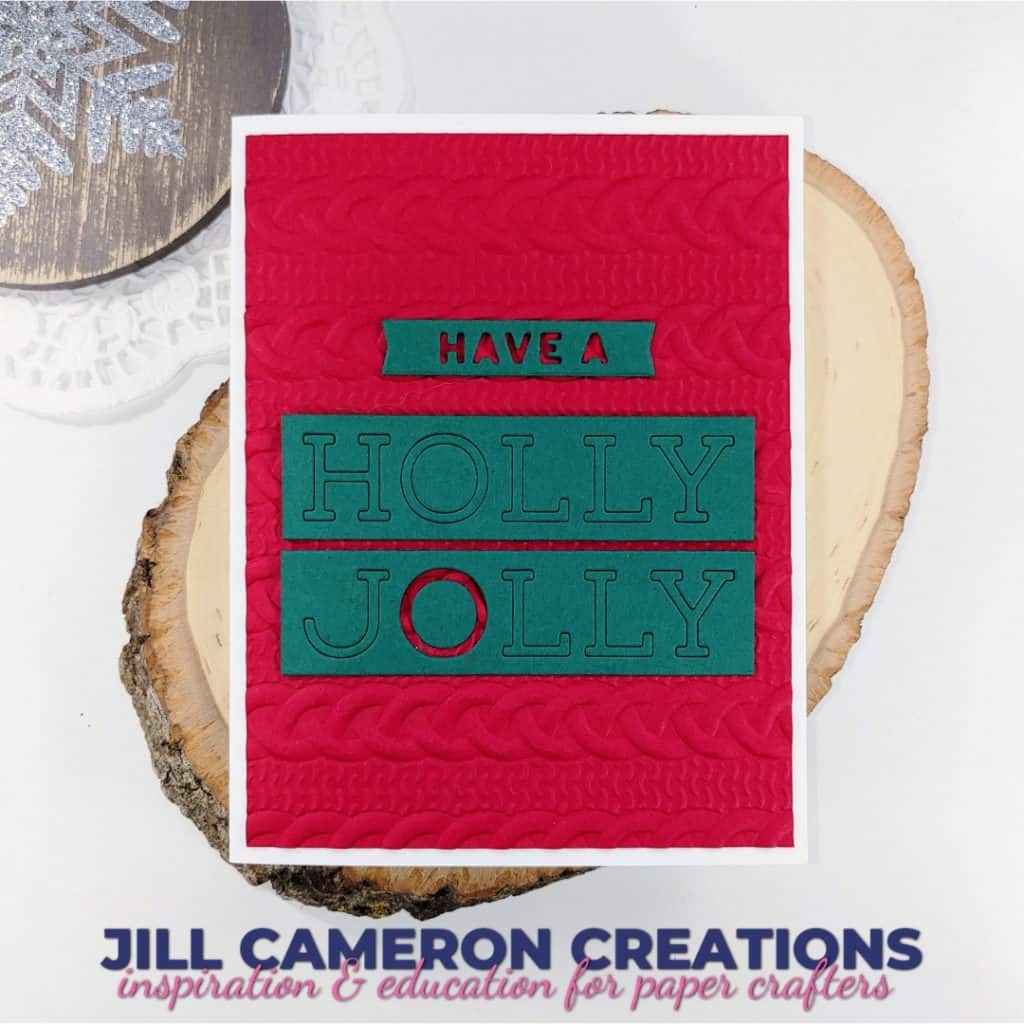
Next, use a 3D embossing folder and let it be the star of the show! It’s a super simple card to create and man is it fun.
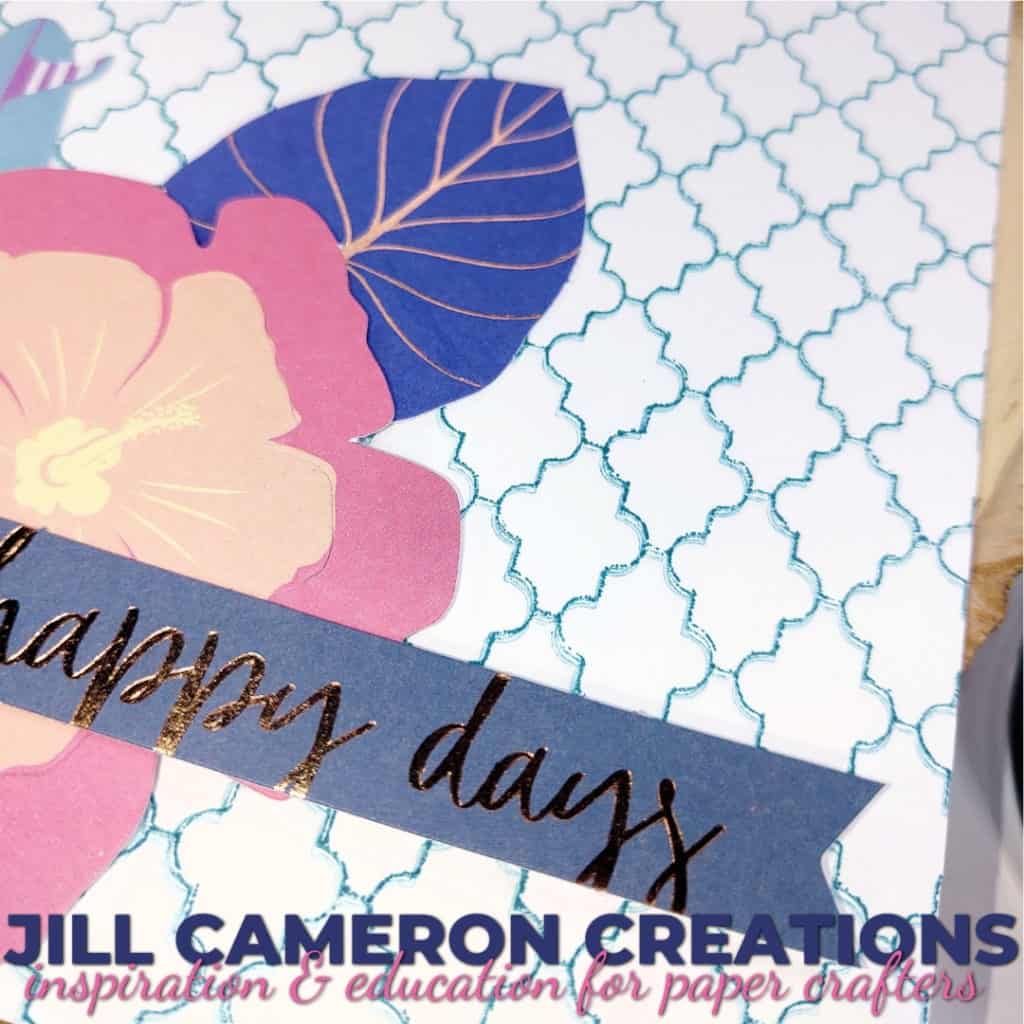
Finally, ink the embossing folder. Yes, you read that correctly! Ink the folder and press the ink into the paper. Below are the differences in how the sides look. Keep in mind you’ll get different results depending on your die cutting machine, the ink, and the paper. That’s the fun of this technique.
Give embossing folders and embossing with dies a try!
This post contains affiliate links for your convenience. This means if you make a purchase after clicking a link, I will get a small commission with no additional cost to you as the consumer. I participate in the Amazon Services LLC Associates Program, an affiliate advertising program designed to provide a means for sites to earn advertising fees by advertising and linking to Amazon.com. For full disclosure policy click here.
