Copic Coloring Fabric Texture
Hey, y’all! Copic coloring fabric texture can be a little bit tricky but I have some tips on how to do it in a snap. We’re coloring this adorable little digital stamp, The Little Witch and Her Dragon, by The Paper Shelter.
Copic Coloring Fabric Texture
What really brings an image to life? Texture and color depth are two of the things that can bring life to a flat black and white image. A witch’s hat is always in black in my head so this little witch’s hat had to be black. Black is not an easy color to get depth in. It either is all flat black or to gray looking. So I have a few tips to get fabric texture with black.
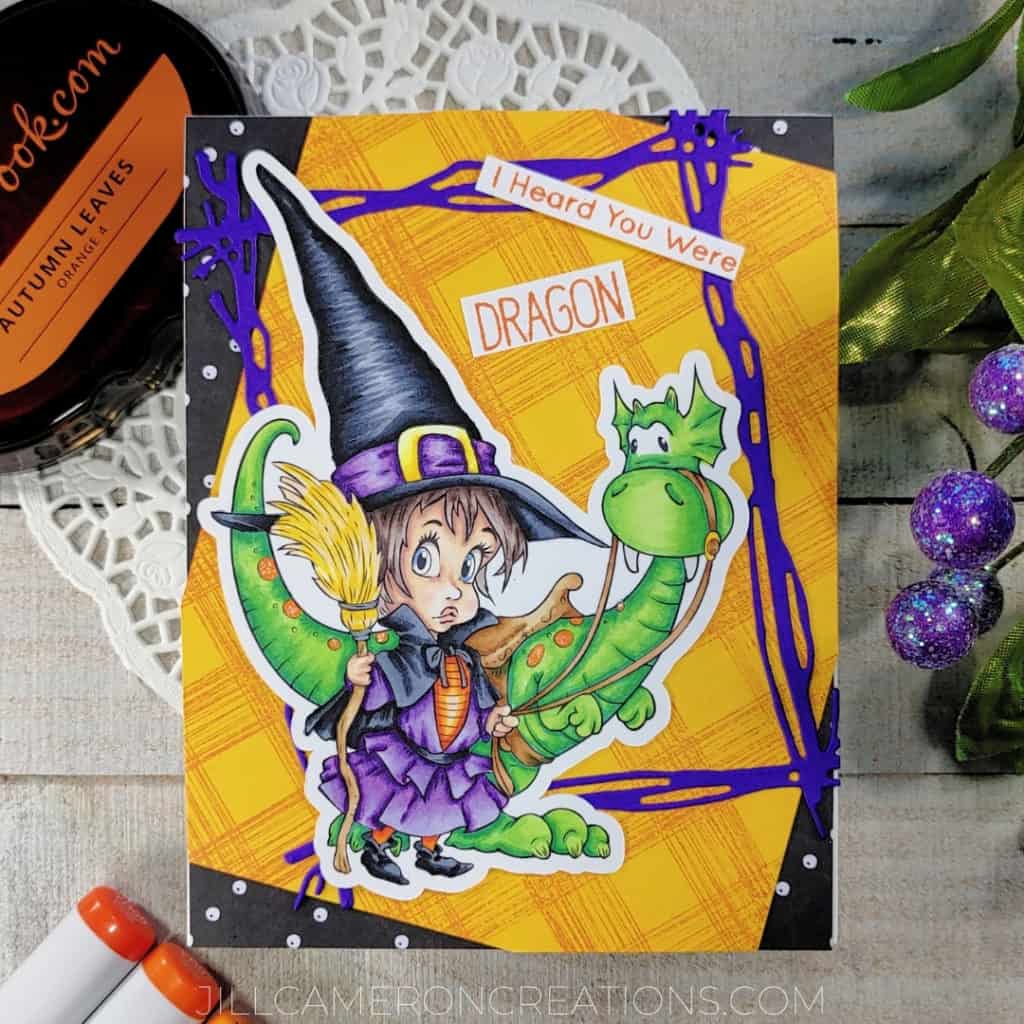
I pictured this witch’s hat as shiny because well that’s how I see the hat in my head. The edges of the image are black, black. Use the darkest of your colors on the edges of the image. You’ll want to feather the edges of the black by using tiny little flicks.
- Are you having trouble with tiny flicks? That’s okay! It does take practice to get those right. I still struggle with them sometimes. Remember two things to master this technique:
- Hold the marker straight up. Don’t hold the marker like you’re writing with it. If you hold it like you’re writing with it then more of the side of the marker will strike the paper but you just want the very tip of the marker on the paper.
- Don’t grip the marker with a death grip. “Just hold on loosely. But don’t let go. If you cling too tightly. You’re gonna lose control.” – 38 Special. I’m sorry I just couldn’t resist that quote from the song. Y’all know I love my music now.

Move to your next color and do the same thing. Flick the color from the outside edge towards the inside middle of the image. Do not blend out the lines. That will take out the texture we’re trying to go for here.
Repeat with your next color. Don’t go back into the darkest edge color. You’re just coloring over the last color. Again don’t over blend the colors.
When you get to the lightest color, you’ll seriously want to color over and blend the colors smooth. Don’t do it. Fight that urge. Just color in the area that is left white.
- If you want a really bright highlight, don’t color in the entire image. Leave part of it the white of the paper.
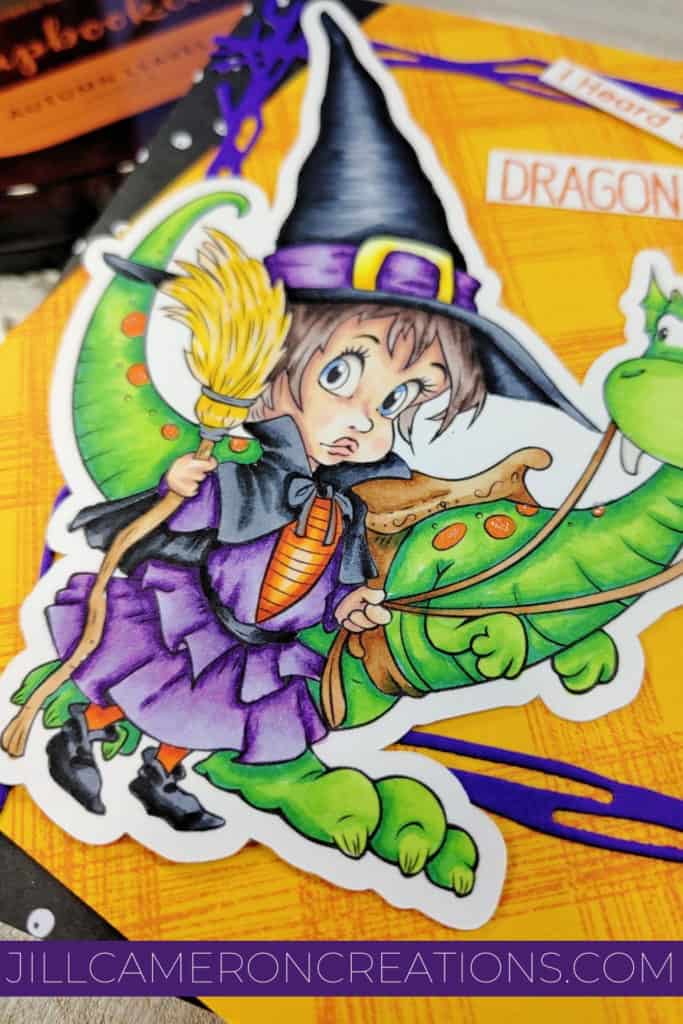
Let’s talk about this adorable little ruffled dress for Copic coloring fabric texture. I allowed the markers to create the texture. I colored in the darkest areas of the dress such as the dips in the ruffles and under the layers. Then, I colored out further and further with lighter colors. Then I colored over the entire thing with the lightest color. This blended all of the layers together but created texture at the same time.
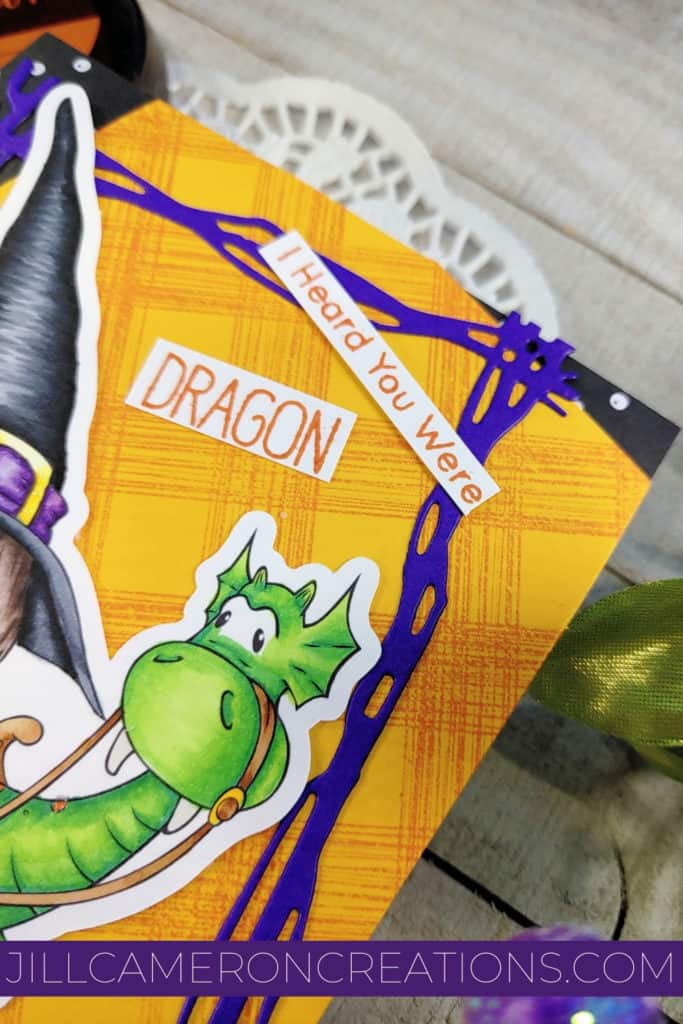
I colored the rest of the image a little more simple because the witch is the star of the show here. I hope you enjoyed this adorable card and learned something about Copic coloring fabric texture.
Affiliate Disclosure Policy
This post contains affiliate links for your convenience. This means if you make a purchase after clicking a link, I will get a small commission with no additional cost to you as the consumer. Jill Cameron Creations/Jill Lipscomb participates in the Amazon Services LLC Associates Program, an affiliate advertising program designed to provide a means for sites to earn advertising fees by advertising and linking to Amazon.com. For full disclosure policy click here.


