Compare Various Embossing Pastes
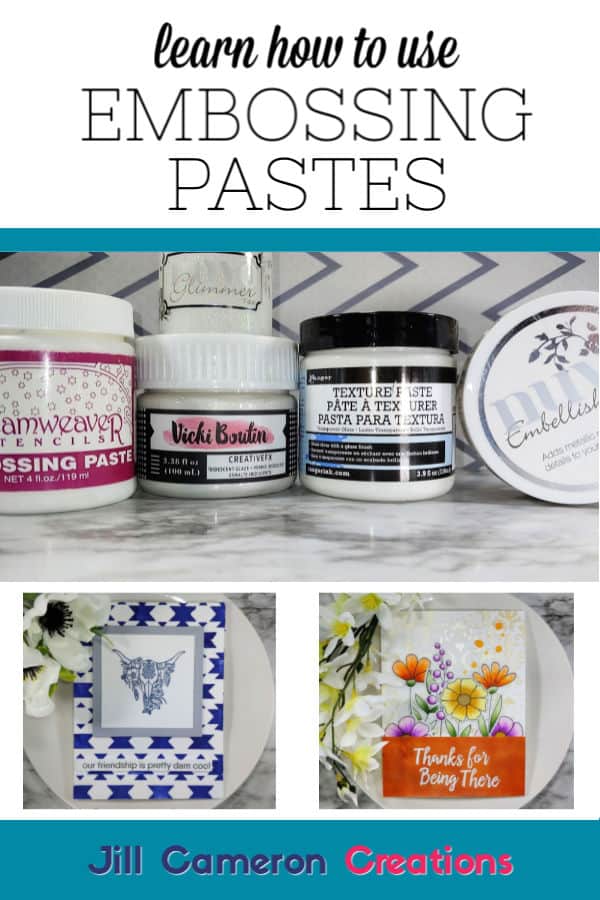
Today we’re going to compare various embossing pastes in conjunction with stencils. Embossing pastes are an amazing way to add texture to backgrounds on handmade cards. There are tons of options out there. And I’m here to make it a little easier to decide which one is best for you. I’m going to discuss four pretty popular embossing pastes and one that’s new to me (but totally LOVE).
This post is a little different from my normal posts in that the main focus of the post is about the various embossing pastes and not about the card creation process. I have some tips and tricks along the way and there are photos of the cards I created with each of the finished backgrounds.
I have several product lists linked below. All of the embossing pastes are linked at the very end of the article. The products used to make the cards are linked in the caption of the each picture.
Here’s the video demonstrating each of the embossing pastes and I talk about each of them as I work.
Affiliate Disclosure Policy
This post contains affiliate links for your convenience. This means if you make a purchase after clicking a link, I will get a small commission with no additional cost to you as the consumer. Jill Cameron Creations/Jill Lipscomb participates in the Amazon Services LLC Associates Program, an affiliate advertising program designed to provide a means for sites to earn advertising fees by advertising and linking to Amazon.com. For full disclosure policy click here.
Compare Various Embossing Pastes
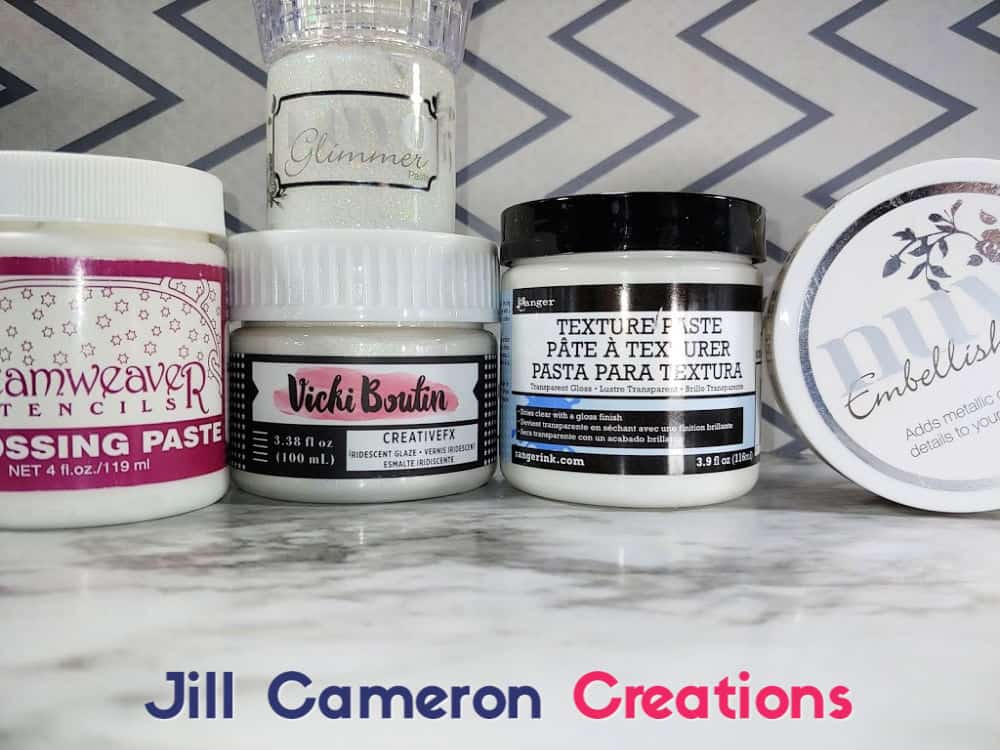
Let’s talk about a few things that are common across all embossing pastes.
- Always clean your stencil and pallet knife right after use. NEVER let it sit. It’ll ruin the stencil because removing the embossing paste after it dries is nearly impossible.
- Scrap away as much of the material as possible so you’ll have a smooth finish.
- You can use an expired credit card, a shoppers card, or a pallet knife to smooth out embossing paste. It doesn’t need to be anything fancy.
- Let it dry for at least an hour. You don’t want to ruin all that “hard” work.
- Be sure you are working with a heavyweight paper. I’m using at least an 80lb cardstock.
Ranger Texture Paste Glossy Finish
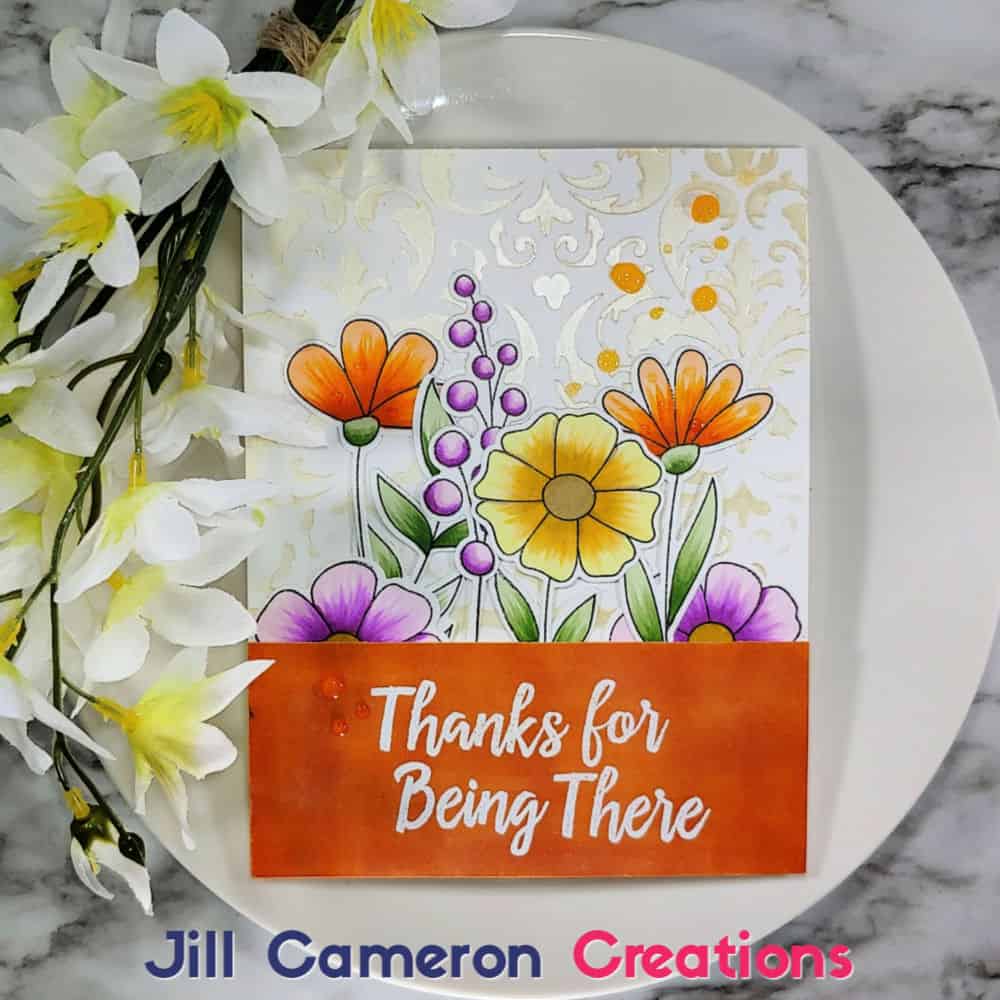
Ranger Texture Paste (aka embossing paste) in the glossy finish is the consistency of the melted sugar icing on sticky buns. It’s clear. This product has no color to it. So, it’s amazing on whatever color cardstock you want to use. When applied, it creates this beautifully raised glossy image (from your stencil). I have found if the stencil is really detailed (like the one in my video) then the image kind of softens but it’s still really amazing.
This embossing paste can be tinted using your dye ink to make it whatever color you want. Just put some of the product on a media mat and put a drop or two of ink into the embossing paste and mix it up. Then use it as you normally would.
Also, You can ink blend over Ranger Texture Paste once it is completely dry. This is very similar to an ink resist with traditional heat embossing.
Nuvo Embellishment Mousse
Now, Nuvo Embellishment Mousse is a little different in that it doesn’t provide a ton of texture. It is the consistency of traditional lipstick. It’s super creamy and goes on like a dream. Instead of a pallet knife to apply this, I like to use a blending tool. You know just like the kind you use to ink blend.
You can use a pallet knife to apply Embellishment Mousse but I’m not sure of the results and to
Nuvo Glimmer Paste
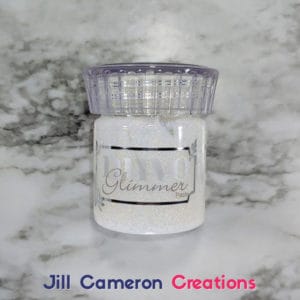
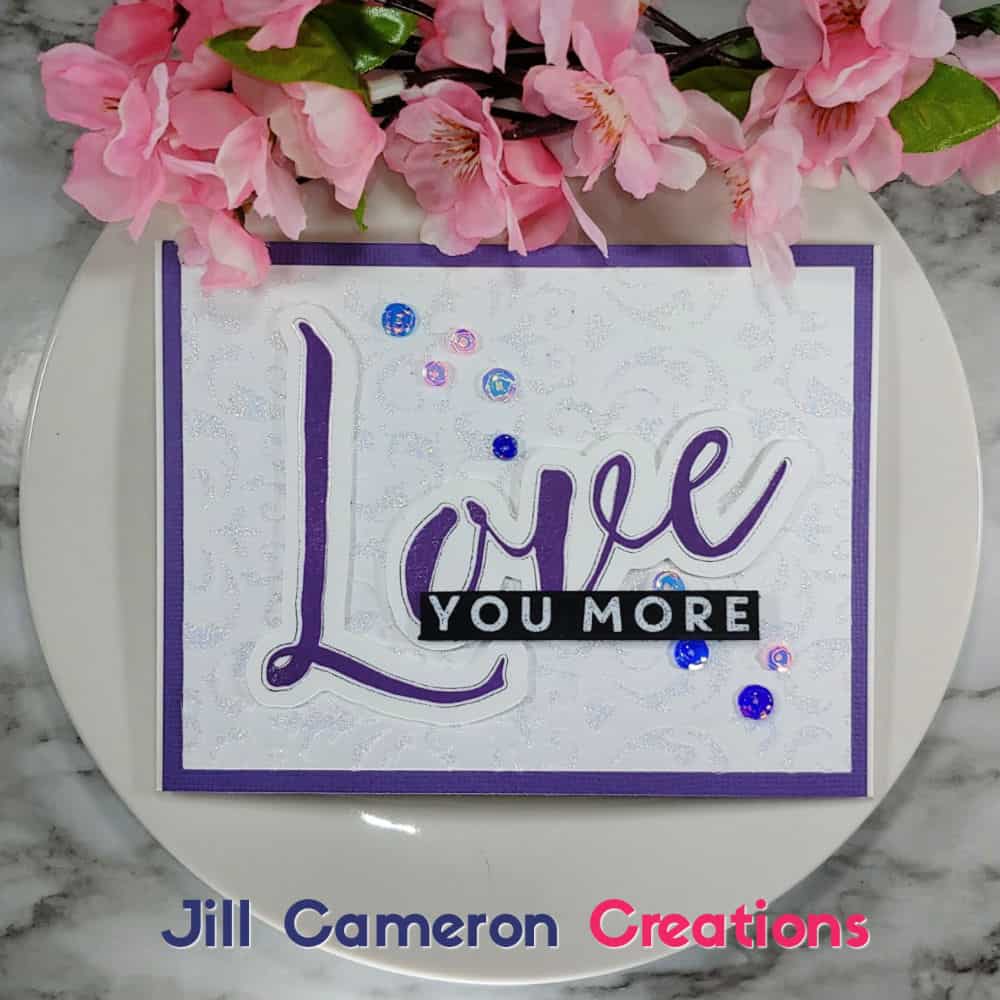
Nuvo Glimmer Paste is basically glitter glue only better. Personally, I’m not a huge fan of glitter (I know I should be ashamed as a crafter) but this product is pretty awesome. This product dries VERY quickly. Clean up as soon as you are done! If you plan to do multiple backgrounds with Glimmer Paste, clean your stencil and pallet knife between each background. I know that sounds like a hassle but trust me this stuff doesn’t come off once it’s dry.
I do really like the clear Glimmer Paste because it picks up the color of whatever cardstock it’s on. But it comes in a wide range of colors so you can create whatever glittery thing you want.
Vicki Boutin Creativefx Iridescent Glaze
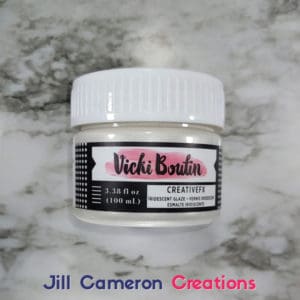
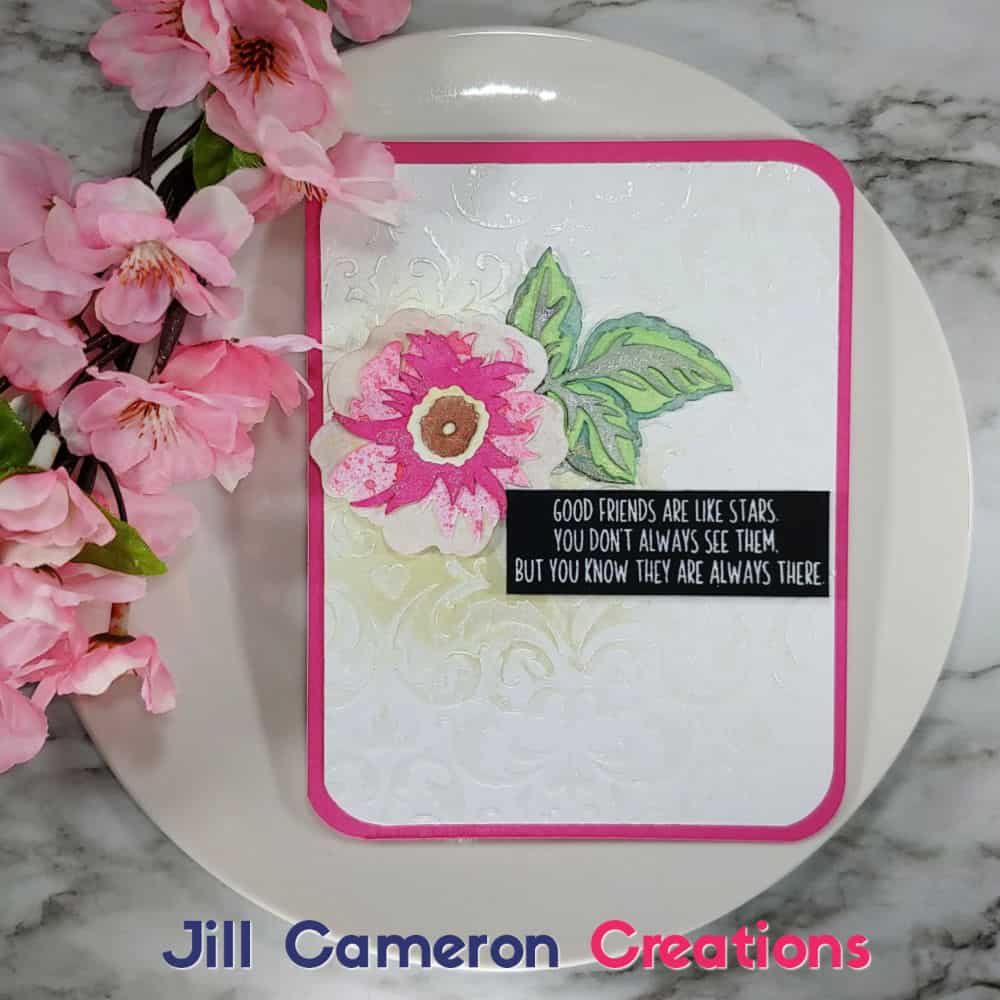
This product is new to me and I am totally in love with it! It’s a similar consistency as the Range Texture Paste but it’s this beautiful champagne color. Oh it’s dreamy! This product cleans up so easy too. I just used a baby wipe and poof it was gone. The Creativefx Iridescent Glaze retained much of the details of the stencil and had some very nice texture. It wasn’t super high but it was just right.
Since this product is already a color, you can’t tint it. Also, the color doesn’t change with a different color of cardstock.
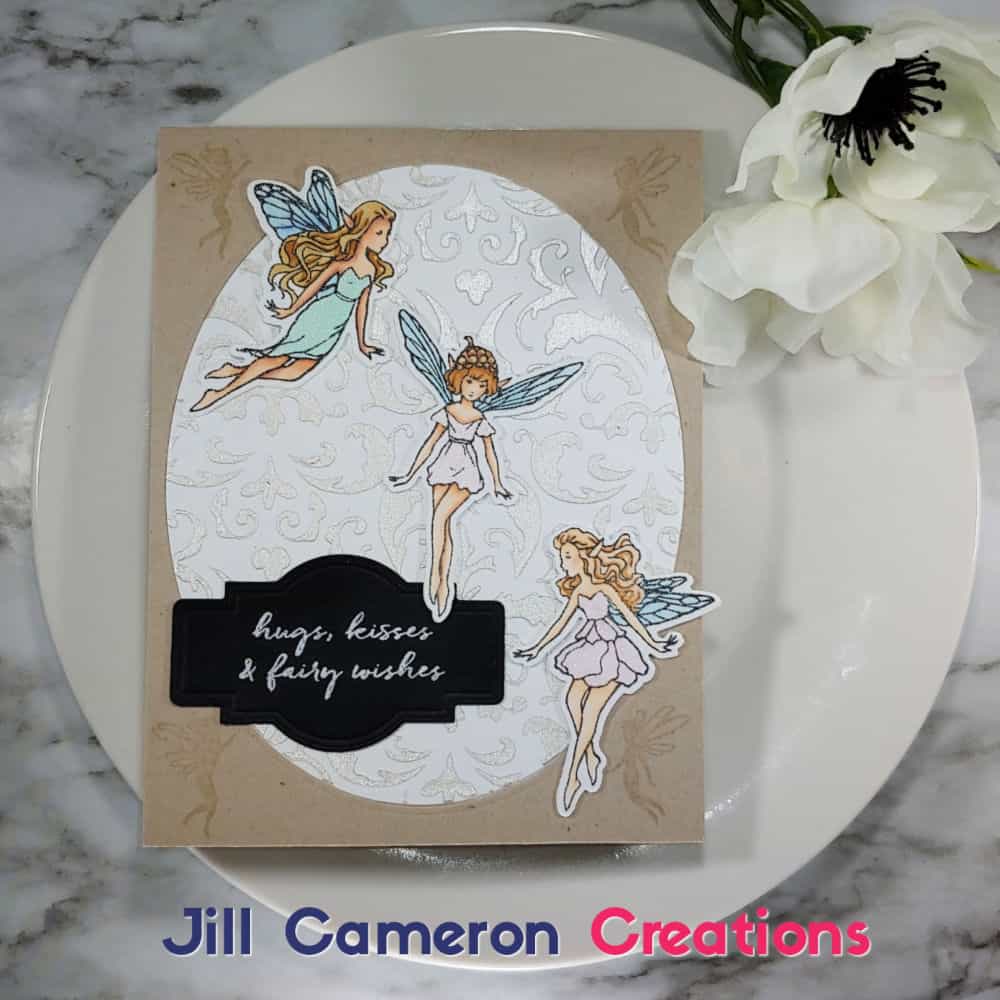
Dreamweaver Embossing Paste
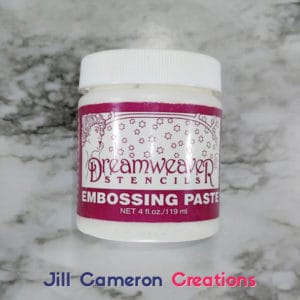
Dreamweaver Embossing Paste is a truly a paste. It is the consistency of toothpaste with baking soda that has been wiped. It’s gritty and fluffy all at the same time. This product creates tons of texture. And I mean tons. I don’t recommend ink blending over it because it is so much texture.
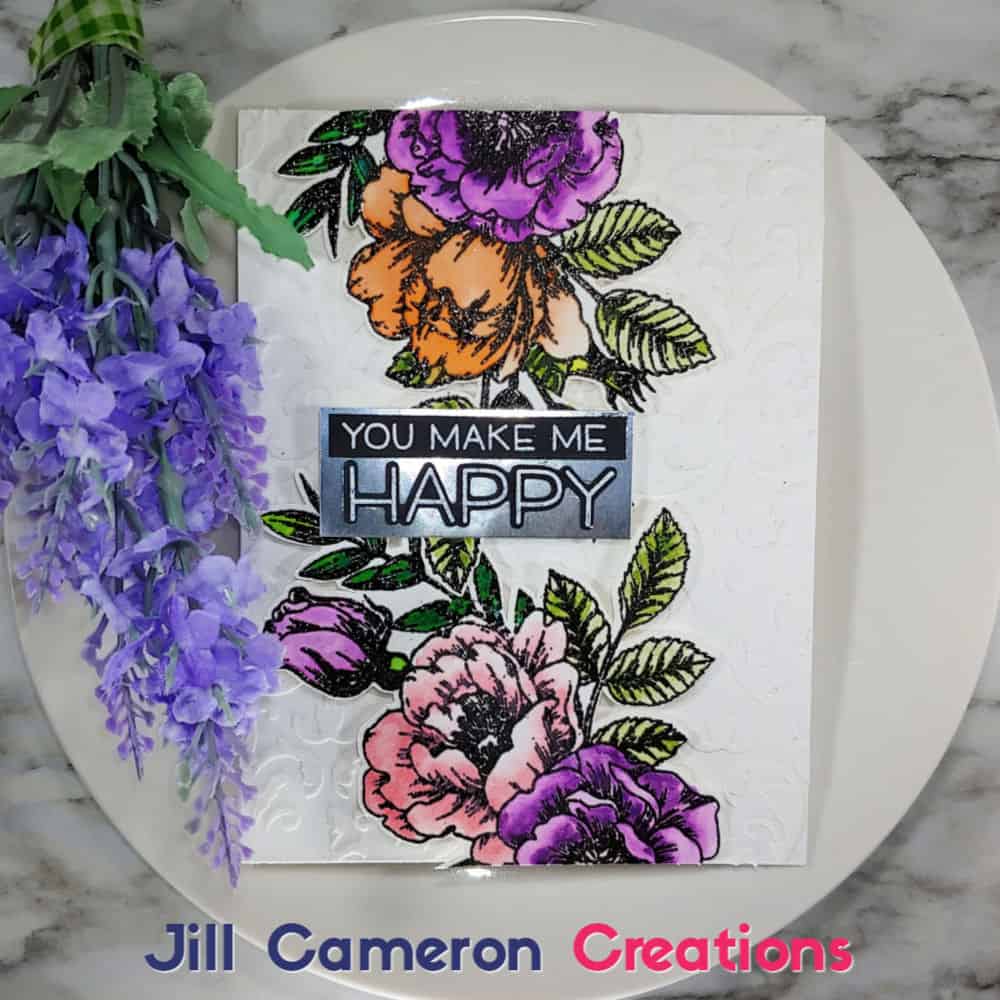
Dreamweaver Embossing Paste can be tinted using dye ink pad refills. I demonstrate this in the video linked above. It’s a super simple and fun way to add whatever color texture you want to your backgrounds.
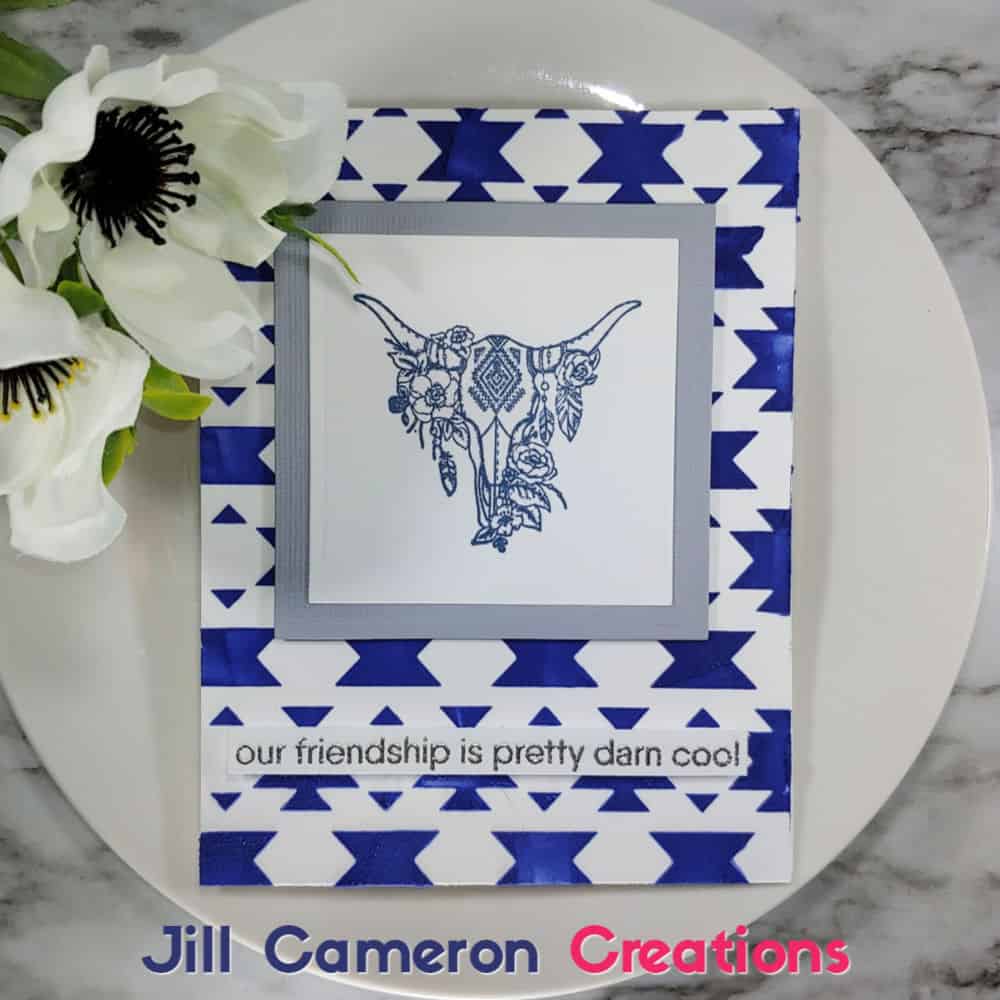
Click Here for the Products Used to make this card.
So which embossing paste is best for you?
That answer depends on the results you want. It’s just that simple. All of the products I’ve shared with you today are great for card makers. The price points for all of them are great and will last a really long time. If you really like the results for all of them then go for it and get one of each. Embossing pastes are so much fun to play with and create gorgeous backgrounds for cards! Try some out today!
Products Used- Embossing Pastes


One Comment
Comments are closed.