Bold Backgrounds with Catherine Pooler Stamps and Dies
Save the Crafty YouTuber Video Hop
Hi! Today we are using Catherine Pooler stamps and dies to create bold backgrounds! I’ve never used Cathrine Pooler products before and I have to say I totally in love.😍 The florals are beautiful and the background images and dies are perfect. I also love how the background stamps have their own backboard in the package.
The video that goes along with this post is part of the Save the Crafty YouTuber Video Hop. This is the third time I’ve participated in the hop. It’s to support small card makers such as myself with growing their YouTube followers and help to monetize their YouTube channel. YouTube has made it slightly more difficult for smaller timers like myself. So as usual in the crafting community, we are supporting each other and having a HUGE video hop!
The best part for you is there are prizes! 🎉 This video goes live on March 25th. You have until April 5th. Winners will be announced on April 10th. Check Justine Hovey’s blog for the entire list of participants and the winners.
Now let’s get on with the cards!
Rainbow Mountains Bold Background with Catherine Pooler
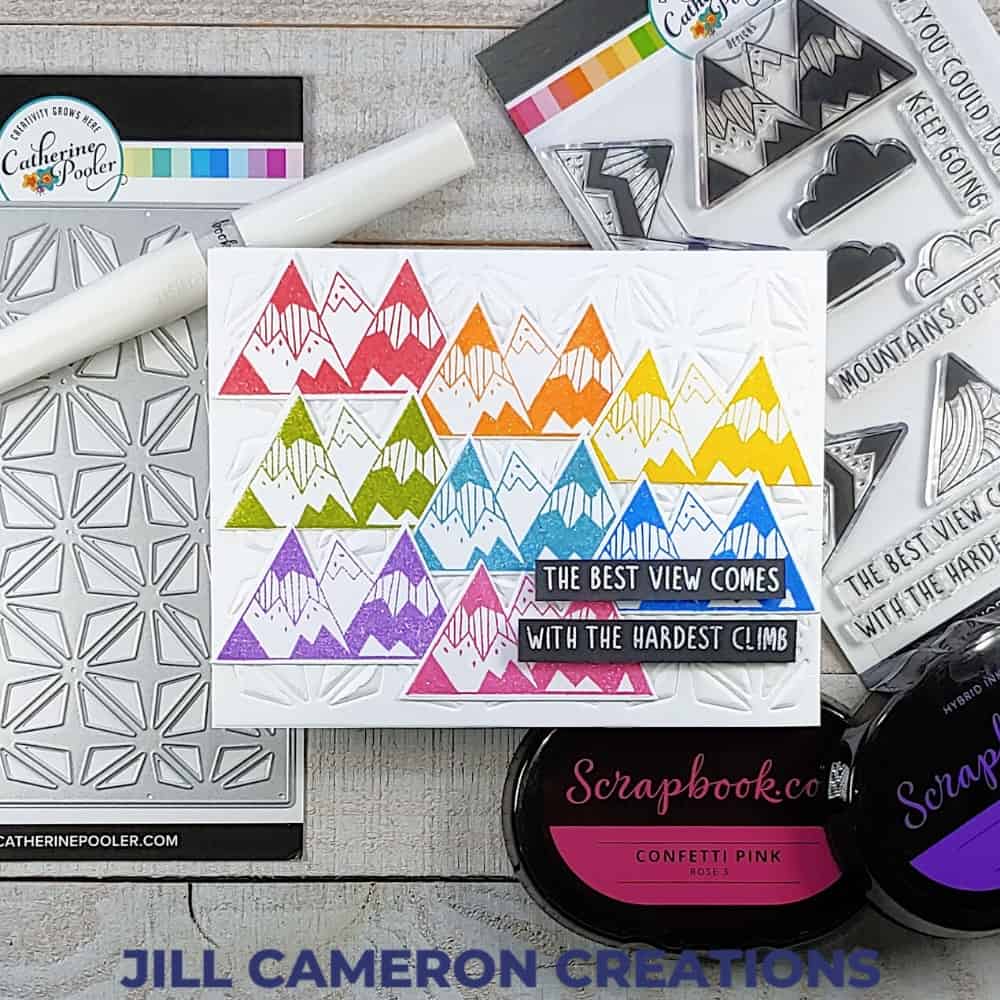
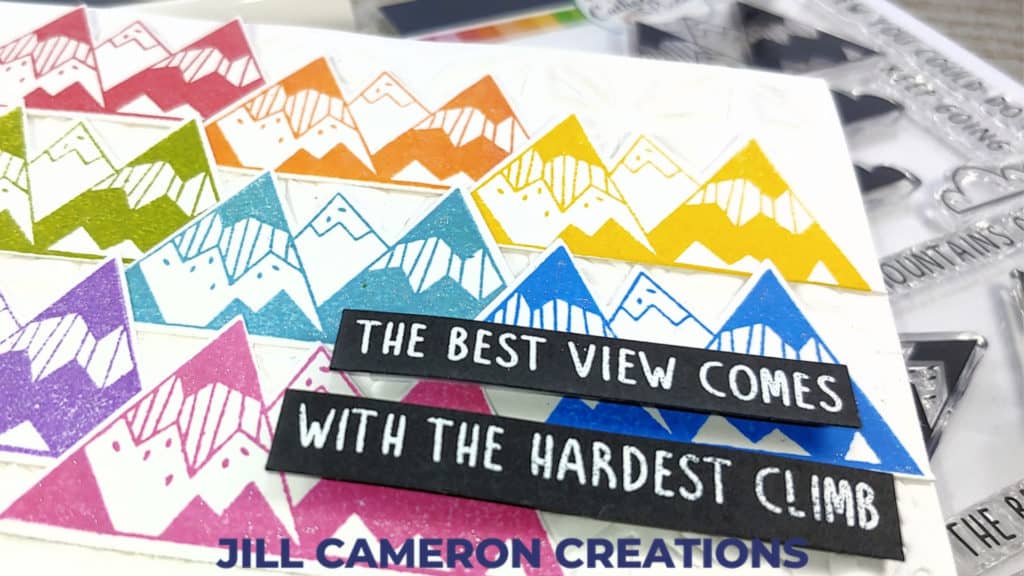
This is my favorite rainbow card ever! I used Scrapbook.com Hybrid Ink Pads to create this beautiful rainbow of mountains. The placed one of the mountain images from the Mountain of Thanks stamp set in my Mini Misti. I inked up the stamp and stamped in the first color them rotated my paper to stamp the next color. I did clean off my stamp between colors so I wouldn’t transfer the color from one stamp pad to the next.
I used the coordinating die to cut out all of the mountains. To create some texture behind the mountains I used the Retro Star Cover Plate die to emboss a panel of cardstock. The sandwich to emboss a die is on the base plate of the Spellbinders Platinum 6 Die Cutting Machine.
I glued down the dry embossed panel to a white landscape card base. Then I glued down each of the mountains in rainbow order. At first, I was going to stager the mountains up to look like a chain but I didn’t like that so I put them on the card front as you see them in the finished card.
The sentiment is white heat embossed on black cardstock and popped-up with some foam tape.
Dream Big Pray Bigger Bold Background with Catherine Pooler
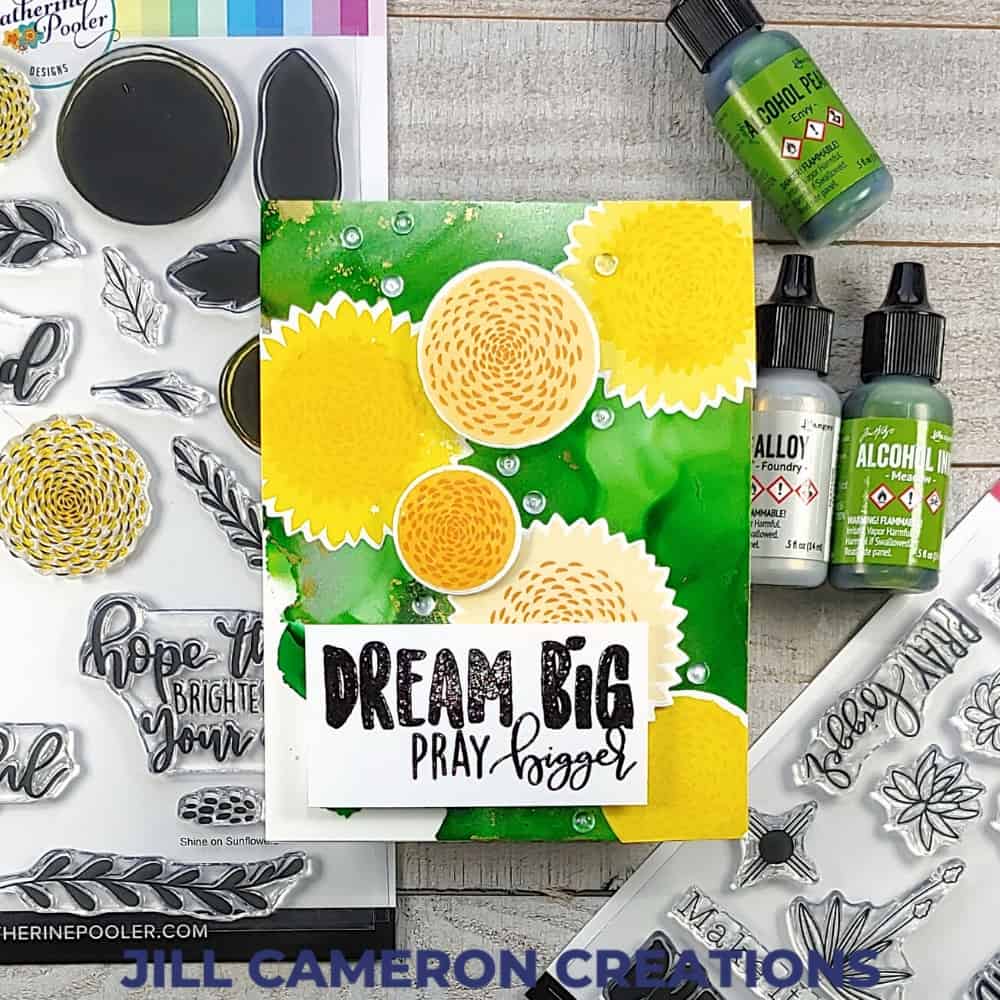
The first thing I did for this card was to create an alcohol ink background. I used a few different colors of alcohol ink including some pearl and a new Alloy. I didn’t cover the entire paper. You can see the bottom left corner is not inked. I did that purpose to create more movement in the background.
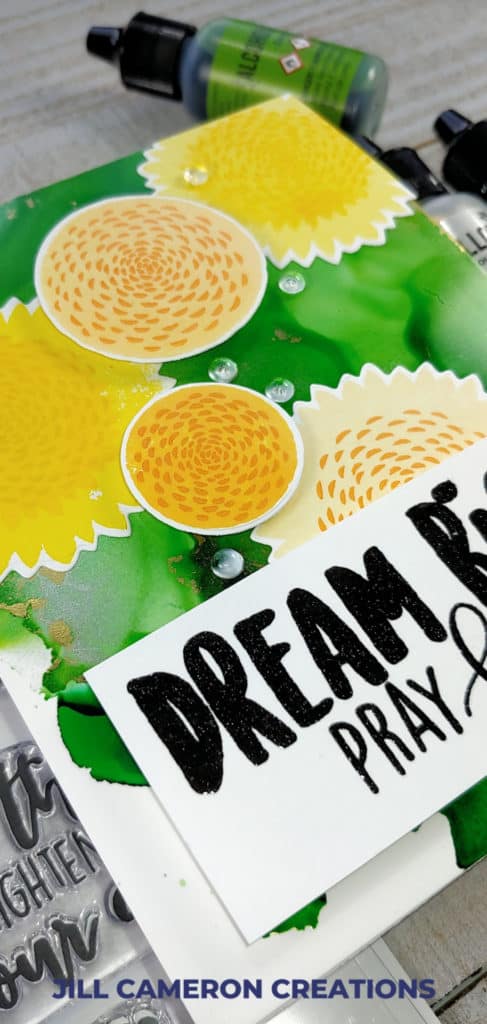
I stamped all of the flowers in oranges and yellows then die cut them using the coordinating dies. I popped up a few of the flowers and the sentiment with foam tape.
The sentiment is from the Dream Big stamp set and it’s stamped in black pigment ink and heat embossed using clear embossing powder. You can stamp this in clear Versamark (or another embossing ink) and use black embossing powder if you wanted to. Either way be sure to use your antistatic powder tool so no stray powder sticks to the paper.
To finished off this card I used moonstones around the card front. I think it looks like raindrops on the flowers. 💜
Heat Embossed Bold Background with Catherine Pooler
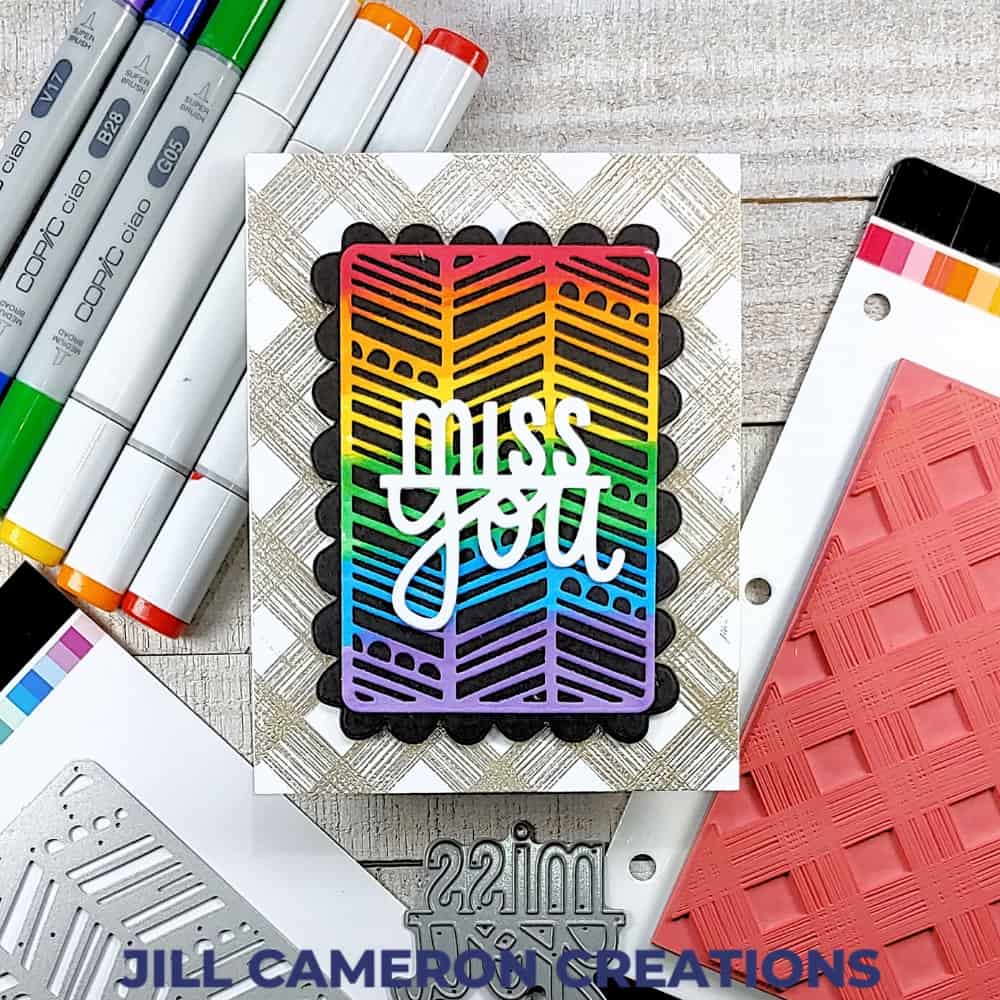
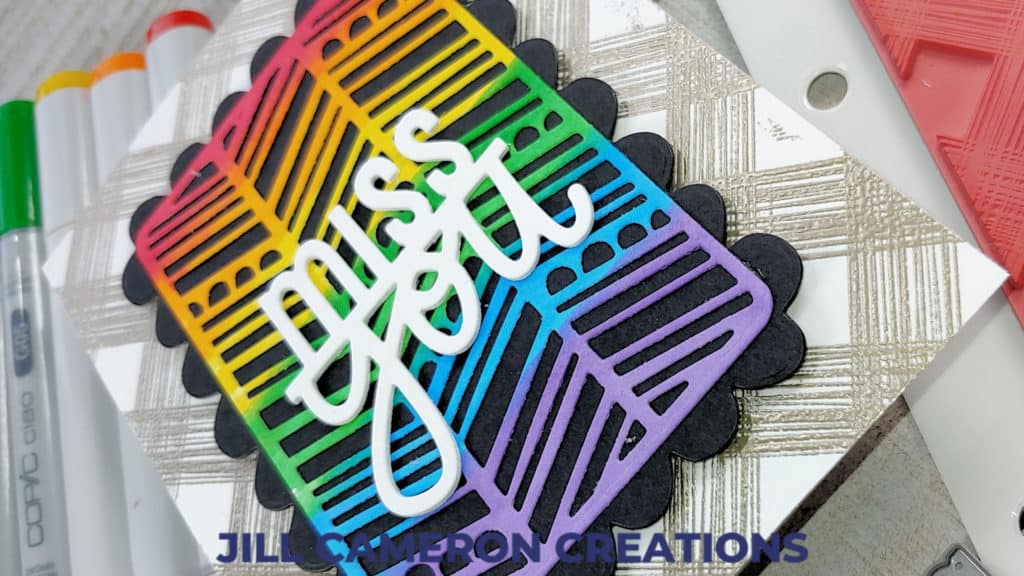
This card took me about 10 minutes to make but looks like it’s really complicated. First, take a few Copic (or other alcohol-based marker) and color in your preferred rainbow order. Let the panel of cardstock dry completely. It doesn’t take long but it does take a minute or two for all the alcohol to evaporate from the paper.
Next, die-cut the panel using the Canyon Mini Cover Plate die. I used my Tool-n-One to get all of the little pieces out of the panel. I also die cut the scalloped backing piece and the miss you sentiment (three times) while I was die-cutting paper.
For the background, I inked up the Sketch Plaid Background with Versamark ink and stamped it directly on the card base front. I used a neutral embossing powder and heat set it.
I stacked the miss you sentiment and glued down the rainbow cover using Nuvo Deluxe Adhesive. I popped up the black scalloped panel with some foam tape. And that’s it.
Something that would step this card up? Add some clear glitter brush marker to the sentiment and add a coat of Glossy Accents.
Thank you so much for joining me today! I hope you enjoyed these bold background cards using products from Catherine Pooler!
Other Alcohol Ink background cards: How-to: Alcohol Ink Christmas Tree with Gold Foil and Spread Joy Not Germs Blog Hop.
Affiliate Disclosure Policy
This post contains affiliate links for your convenience. This means if you make a purchase after clicking a link, I will get a small commission with no additional cost to you as the consumer. Jill Cameron Creations/Jill Lipscomb participates in the Amazon Services LLC Associates Program, an affiliate advertising program designed to provide a means for sites to earn advertising fees by advertising and linking to Amazon.com. For full disclosure policy click here.


Love your cards