Beach Bum Card
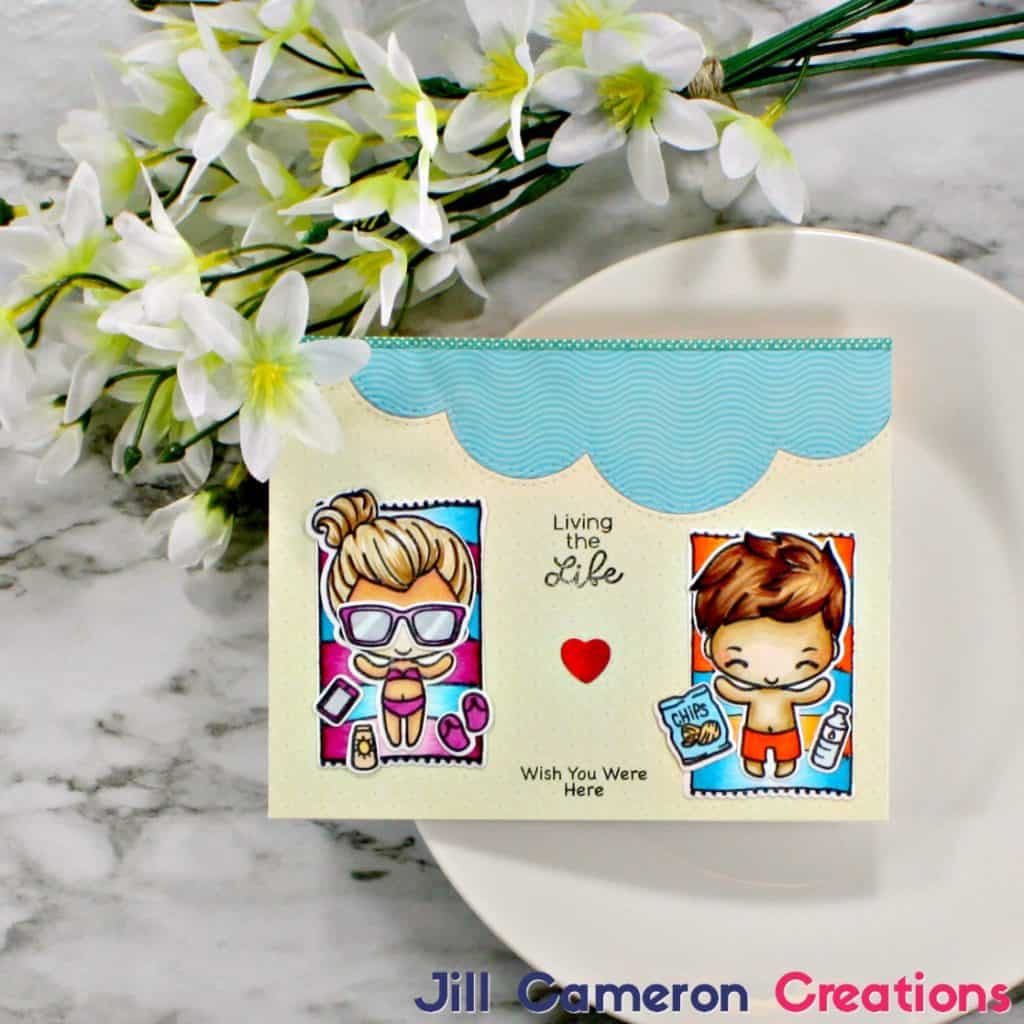
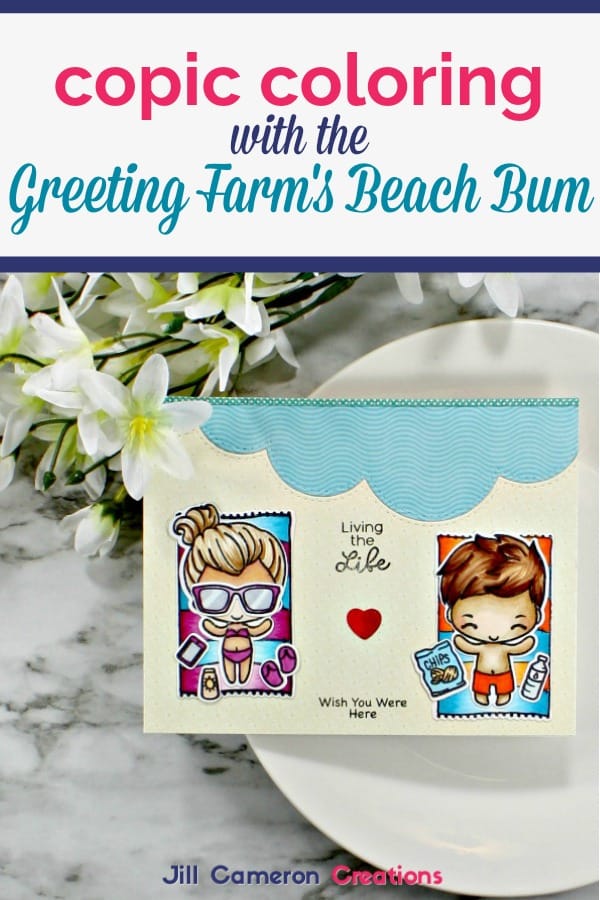
Since I want to be a beach bum more than anything these days, I figured I’d continue the beach theme this week. The Greeting Farm’s Beach Bums stamp and die set is so adorable!! The set comes with sunglasses, a bag of chips, a water bottle, and several other tiny little accessories. So cute!! I colored these cuties with Copics and used some patterned paper as my backdrop for these beach bums.
Beach Bum Card
Affiliate Disclosure Policy
This post contains affiliate links for your convenience. This means if you make a purchase after clicking a link, I will get a small commission with no additional cost to you as the consumer. Jill Cameron Creations/Jill Lipscomb participates in the Amazon Services LLC Associates Program, an affiliate advertising program designed to provide a means for sites to earn advertising fees by advertising and linking to Amazon.com. For full disclosure policy click here.
First, stamp all of the images using your MISTI with Lawn Fawn Jet Black Ink. It’s a Copic safe ink. Next, color all of your images using Copics. Check out the video for details about coloring the images. Then, die cut all of the colored images using the coordinating dies for the Beach Bums stamp set. To create the ocean, use the Stitched Clouds from My Favorite Things Die-namics. Yep, that’s right! Clouds! Die cut both the ocean patterned paper and the sand patterned paper at the same time. This will ensure the papers align properly. Now, arrange your colored images and the background how you want them on the card front. Lastly, adhere everything down.
Check out another beach themed card Layered Beach Scene + Waffle Flower’s Sandy Toes
Be sure to Pin the below image to your Pinterest boards.
See more Copic Coloring:
You Rock My World Copic Coloring
Happy Friendship Day One Layer Card
White Space in Card Creation
